How to Easily Optimize Images for Web Without Losing Quality

Photos and graphics play an important role in most website designs and help users enjoy better online experiences. However, high resolutions could cause poor site performance and slower loading times.
By optimizing your images before uploading to WordPress, you greatly improve your website speed. Even so, make sure you don't end up with blurry results that can damage the brand's credibility and hurt engagement.
Use the right tools and techniques while resizing your images without losing quality. This article will show you how to optimize your images for faster web performance without losing quality. We will also share automatic image optimization plugins for WordPress that can make your life easy.
Table of content
What Is Image Optimization?
If you're not familiar, image optimization is the process of saving and delivering images in the smallest file size without reducing the overall image quality. You can use one of the many image optimization plugins and tools to automatically compress images by up to 80% without any visible loss in image quality.
Here's an example of an optimized vs. unoptimized image:
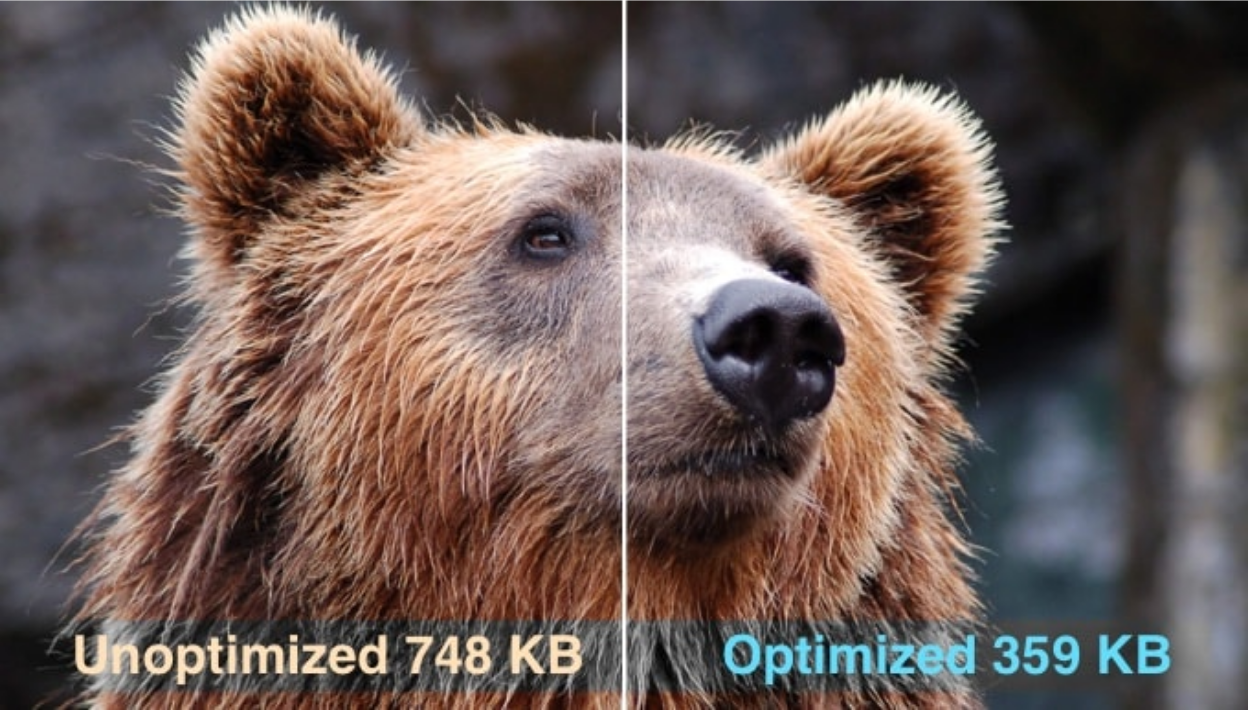
Based on that picture above, when optimized properly, the same image can be up to 80% smaller than the original without any loss in quality.
In simple terms, image optimization works by using compression technology. There are two types of compression: lossy or lossless.
Lossless compression reduces the overall file size while maintaining the same level of quality before and after the compression. Meanwhile, with lossy compression, there may be a minor loss in quality, but typically in a way that the human eye won't notice.
Say goodbye to slow website!
WP Speed of Light comes with a powerful static cache system, and includes, a resource group and minification tool, a database cleanup system, a .htaccess optimization tool and an automatic cache cleaner.
How to Easily Optimize Images for Web Without Losing Quality
1. Choose the Right Format
When you're creating your image, it's important to know the difference between file formats and settings that can have a massive impact on your site. There are three different image formats: JPG/JPEG, GIF, or PNG. Each of these has different benefits and drawbacks.
If you need to create an image specifically for small icons or thumbnails, then use a GIF. This format supports animations. However, use PNG if you need an image with a transparent background. This all comes at the cost of a larger file size.
The most common format used by digital cameras and online is JPEG images, which support a wide range of colours. Also, the JPEG compression settings allow you to strike a balance between image quality and file size.
2. Resize Images Before Uploading
One of the easiest ways to optimize images for the web is to resize them before uploading to your site. For example, if you're uploading images with a resolution of 1024 x 1024, but your WordPress theme images are at 500 x 500, it can decrease site speed without providing a real benefit.
That's why you need to crop or resize your images before uploading to help your site load just a little bit faster and save your disk space for even more images.
3. Compress Images
Once you have your final image, saved in the right format and cropped to an appropriate size. Then, compressing it before uploading to your website. This step will help you make the file size smaller without losing image quality.
If you see a specific image on your site load and slowly come into view, that may be a sign that it needs compression, resizing, or both. To compress your images, all you need is an image compression tool, such as TinyPNG, ShortPixel, and Smush.
TinyPNG
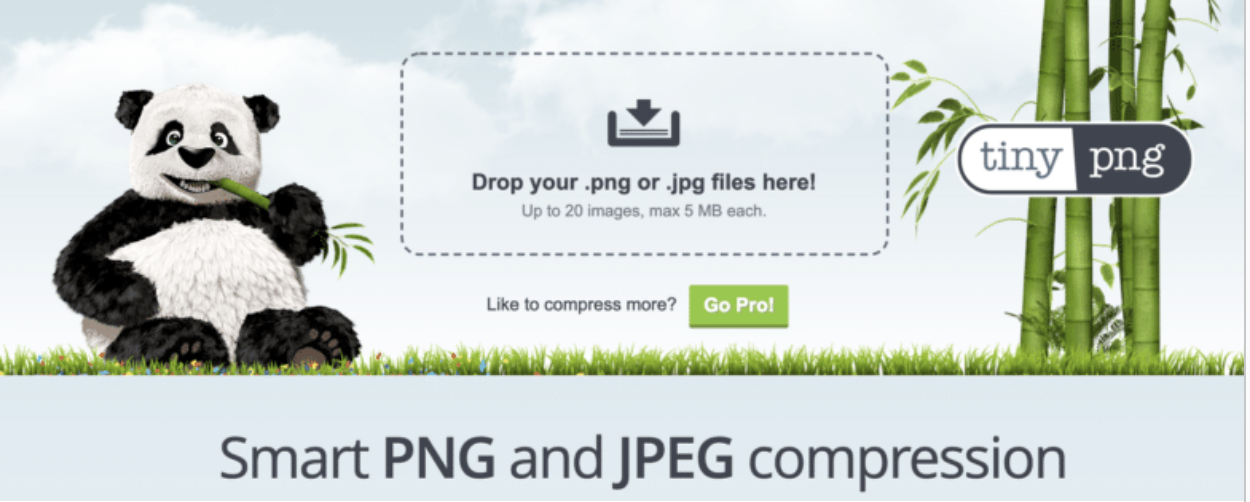
TinyJPG is a free image optimizer and accepts both JPG and PNG images. This tool analyzes the image for you to determine the smallest possible file sizes, while still maintaining optimal image quality.
ShortPixel
Another free image optimizer is ShortPixel, which could easily make your website faster and save your time when dealing with images. The goal of this tool is to deliver the original-looking images at the smallest possible size.
As we know, JPEG is the most popular format, however, there are new formats like WebP and AVIF that offer better image quality at a smaller size.
ShortPixel takes all the complexity away from you and makes everything simple: with just a few clicks you can convert all your JPG/PNG images to WebP/AVIF and make them available to the right browsers.
Smush
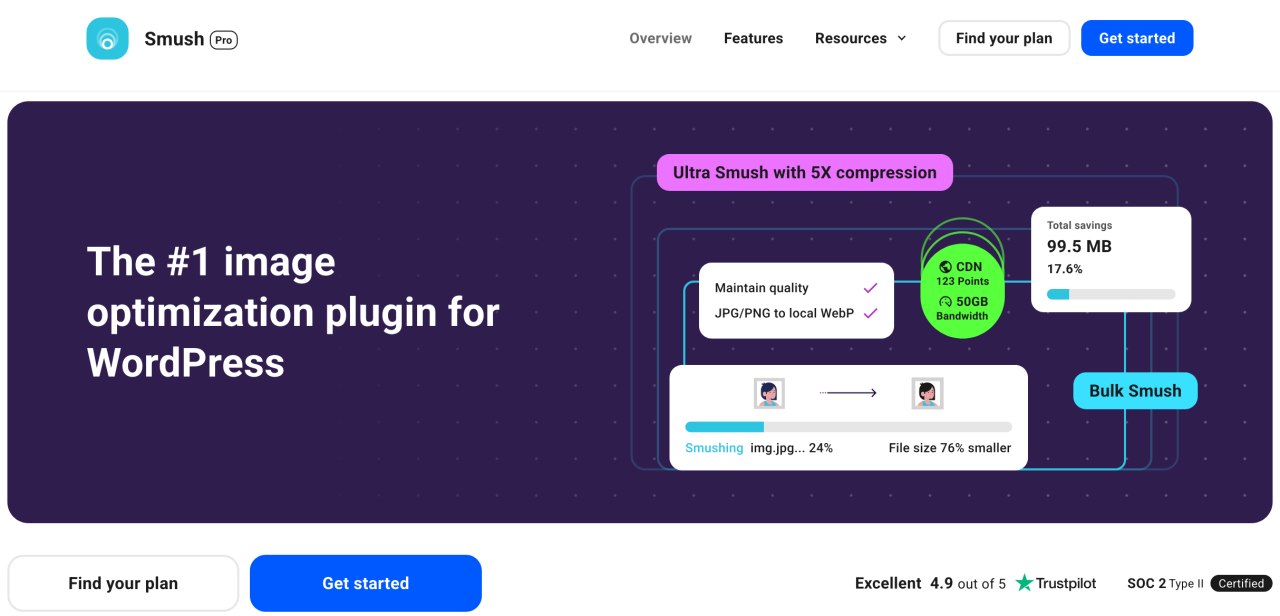
Smush is the leading image optimization plugin – optimize, resize, and compress images, as well as convert images to WebP format for faster loading web pages. With this tool, you can compress images and serve images in next-gen formats (convert to WebP), all without introducing a visible drop in quality.
4. Use the "Blur Up" Technique
After all the previous optimization steps, there are cases where you still might be working with large file sizes or lots of images on a page, slowing down your site speed. In those cases, sometimes it's helpful to not only optimize images, but to optimize the load experience so site visitors think your media files are loading faster than they really are.
So, you need to load a Lower Quality Image (LQI). This gives the perception of a faster load time even if, technically, everything is loading at the same rate. A popular way to do this is the "blur up" technique.
5. Lazy Load Your Site Images
Same as the "blur up" technique, lazy loading is another trick that will help you give the appearance of faster loading images.
When someone lands on your site, it's probably going to take them a moment to scroll the entire page, especially if they're engaged. Lazy loading acts under the assumption that users care most about the content they can see instead of trying to load all the images at once.
So, the images within their browser view fully load first, while the other images load a placeholder first, until the user scrolls to that section of the page.
It's a great technique on its own, and even more powerful when paired with the rest of the image optimization tips.
Speed Up Your Site Instantly!
Are you planning to improve the speed of your WordPress site? Download WP Speed of Light to know how it helps to reduce page load times by 50%
Conclusion
That's all of the tips on how to optimize images and tool recommendations for your site without losing the quality. We hope this article helped you and don't forget to share your experience!
In addition, organize, optimize, and manage your media files like a pro with WP Media Folder. It's the right time to say goodbye to messy libraries!
When you subscribe to the blog, we will send you an e-mail when there are new updates on the site so you wouldn't miss them.


Comments