How to Add an AI Chatbot to Your WordPress Site Using ChatGPT

Are you interested in adding an AI chatbot to your WordPress website? You may have a virtual assistant ready to answer your visitors' questions 24/7, tirelessly and always responsive. Now, with the help of ChatGPT, you can bring that interactive experience to your WordPress website. AI-based chatbots aren't just a trend- they're essential for improving user experience, speeding up service, and even driving sales conversions.
In this article, we'll explain how to add openAI ChatGPT to your WordPress site, from choosing the right plugin, setting up the API, and customizing the look to match your website's style. Let's start from the basics and see how easy it is to build a chatbot for your WordPress site!
- A ChatGPT-powered chatbot provides 24/7 instant support—engaging with website visitors around the clock, improving user satisfaction, and making your site feel more interactive and responsive.
- These advanced chatbots personalize every conversation, learn from interactions, and can be tailored to your brand's voice—guiding visitors, answering FAQs, and collecting leads to boost conversion and retention.
- By automating customer service and support tasks, ChatGPT chatbots streamline operations, reduce manual workload, and deliver actionable insights through analytics, letting teams focus on complex cases while increasing overall efficiency.
Table of content
- Benefits of Adding an AI Chatbot to Your WordPress Site?
- Step-by-Step: How to Add a ChatGPT AI Chatbot to WordPress
- Step 1: Choose the Right Plugin
- Step 2: Install and Activate the Plugin
- Step 3: Get Your OpenAI API Key
- Step 4: Configure API Settings in Plugin
- Step 5: Create a New Chatbot
- Step 6: Personalize your Chatbot
- Step 7: Training your Chatbot
- Step 8: Customize Chatbot Appearance
- Step 9: Publish the AI Chatbot
- Real-World Examples of AI Chatbots in WordPress Sites
- Tips for Optimizing Your ChatGPT Chatbot
- Conclusion
Benefits of Adding an AI Chatbot to Your WordPress Site?
Adding an AI chatbot to your WordPress website can be an effective way to improve interaction with visitors. With the ability to answer questions instantly, chatbots like ChatGPT make the user experience more pleasant and efficient. They can greet visitors, provide the necessary information, and help with navigation without waiting for manual admin assistance.
In addition, AI chatbots also play a big role in supporting customer service. Chatbots are available 24/7, answering common questions, filtering user needs, and directing users to the support team if needed. The result? Response times are faster, visitors feel well-served, and you can focus on other tasks.
Key benefits:
- Real-time interaction with visitors
- Non-stop support without human presence
- Quick response to common queries
- Increases user comfort and trust
Step-by-Step: How to Add a ChatGPT AI Chatbot to WordPress
Now that you know the main benefits of an AI chatbot for your WordPress website, it's time to get into the steps of adding a chatbot to WordPress. Let's get started right away.
Step 1: Choose the Right Plugin
A crucial first step when adding an AI chatbot to a WordPress site is choosing the right plugin. Not all WordPress chatbot plugins offer a robust AI experience. So, you must consider important features such as direct integration with OpenAI, the ability to train AI using data from your WordPress site, and support for various document and file types.
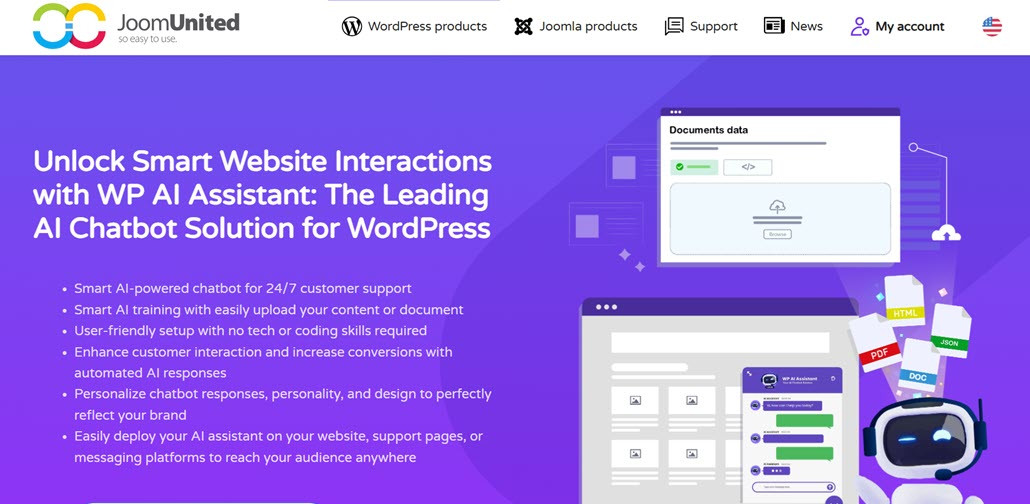
One plugin you can consider is WP AI Assistant. This plugin offers excellent features such as.
- Direct integration with OpenAI
- AI training based on WordPress site content
- Support for files and documents
- Compatibility with various GPT models
- Chatbot role personalization
- Fully customizable chatbot design
- Easy integration with no coding required
Therefore, in this article, we will use WP AI Assistant as a plugin to create our chatbot.
Turn Your Website Into a Smart AI Powered Assistant!
Engage visitors 24/7 with an intelligent chatbot that understands your business, deliver instant answers, and boosts conversions—no technical skills required!
Step 2: Install and Activate the Plugin
To install the plugin, upload the WordPress ZIP file by navigating to Plugins > Add New Plugin > Upload Plugin.
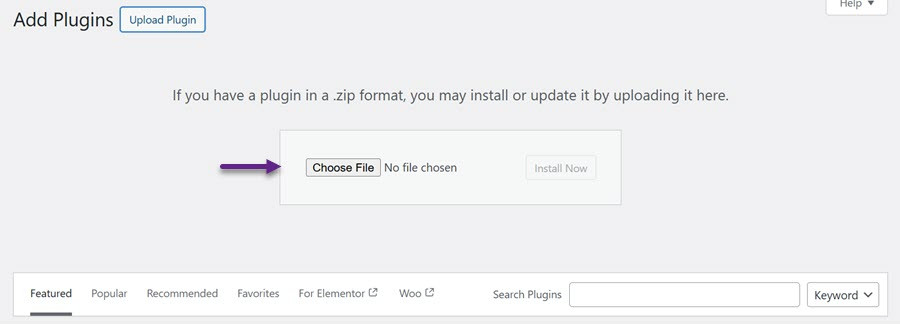
Once the upload is complete, click Activate to enable the plugin. You'll then see the WP AI Assistant menu appear in the left-hand sidebar.
Step 3: Get Your OpenAI API Key
Next, sign up for an OpenAI account and log in through the official website. Once logged in, navigate to the account menu and choose "View API key."
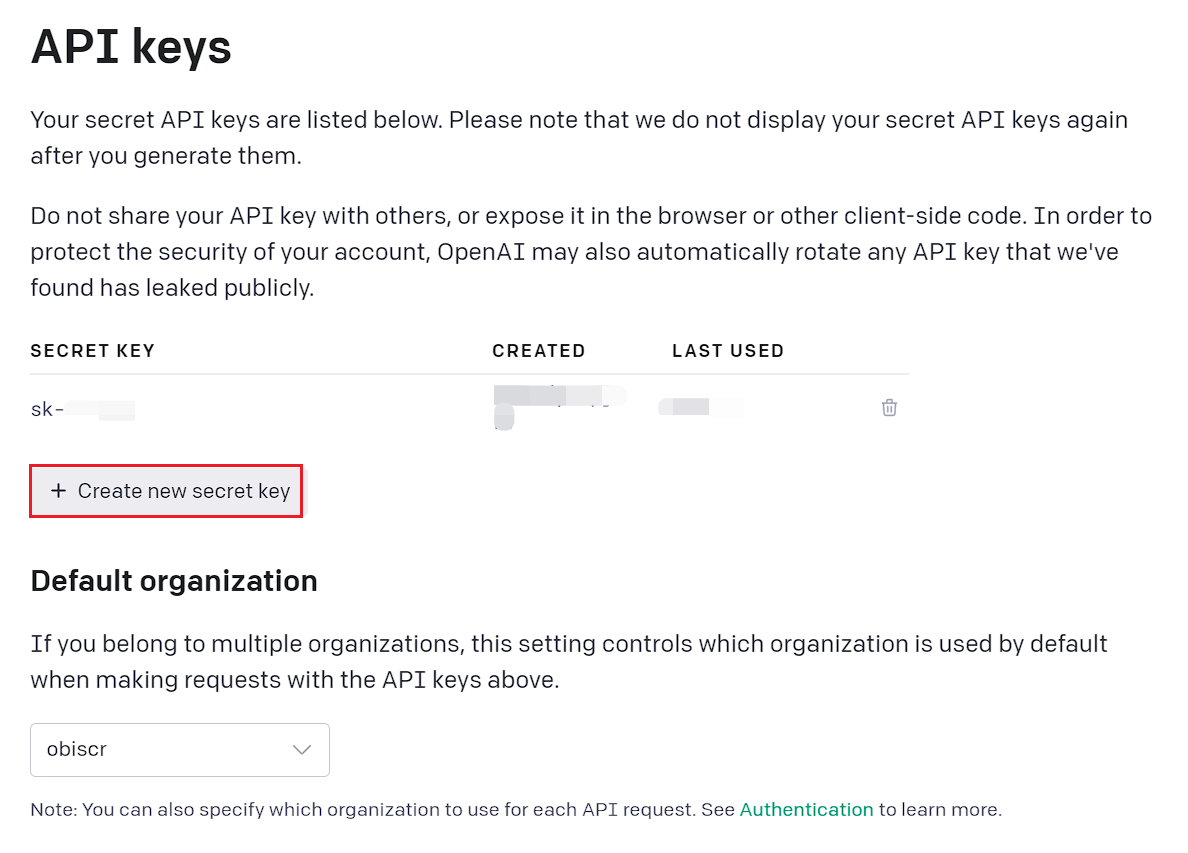
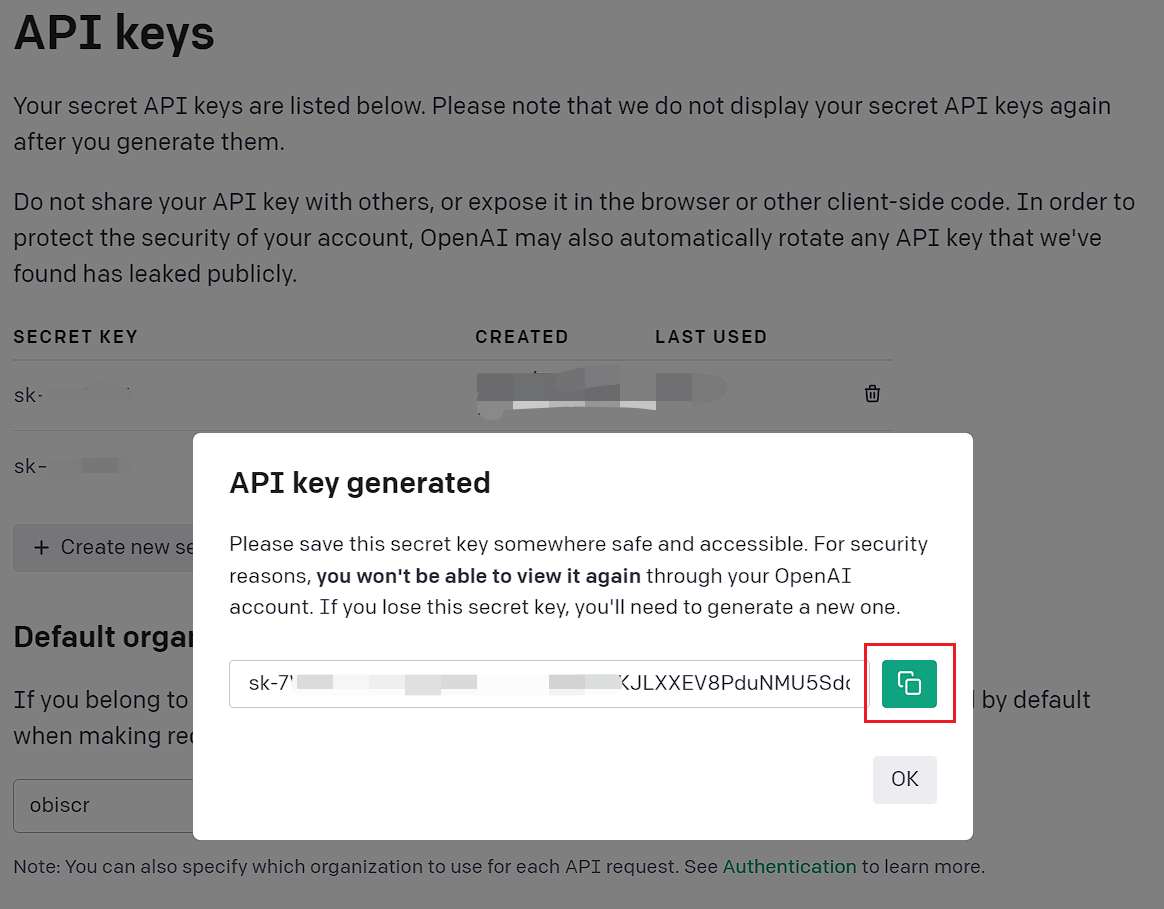
steNext, click "Create new secret key" as shown in the image below. Once the key is generated, click the copy icon on the right to save it.
Step 4: Configure API Settings in Plugin
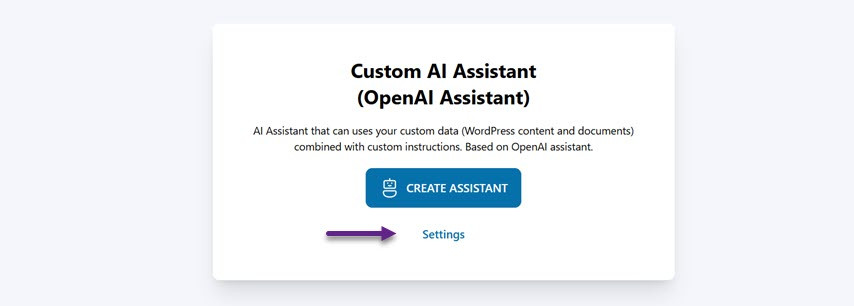
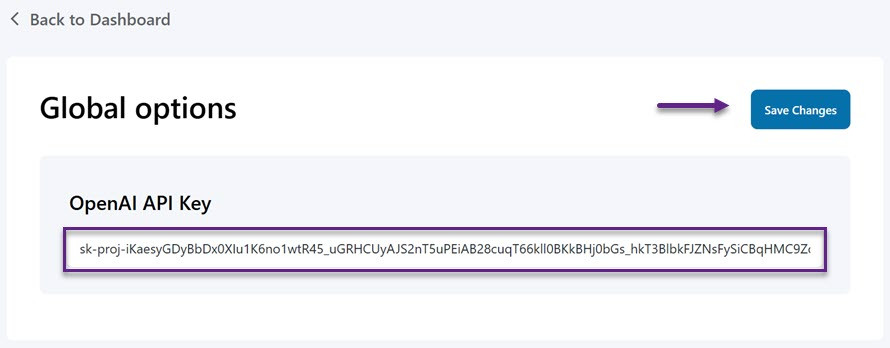
To configure, open the menu, and a display will appear. Click on Settings to enter the API Key you obtained from OpenAI.
Next, paste the API key in the provided field and click Save Changes to apply the update.
Step 5: Create a New Chatbot
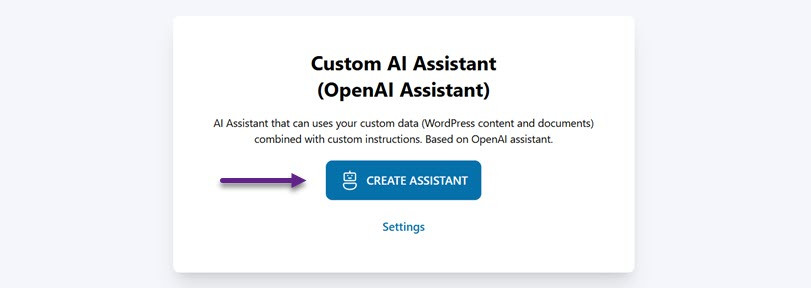
Once OpenAI and WP AI Assistant are successfully integrated, you can create an AI Assistant to answer customer inquiries. Simply open the WP AI Assistant menu and select Create Assistant.
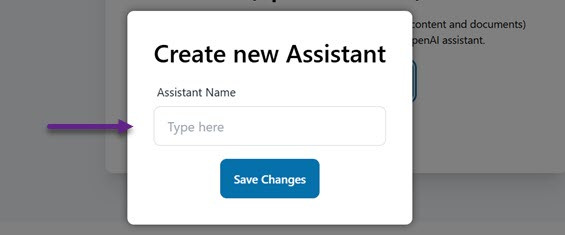
Next, provide a name for your assistant and click Save Changes. Don't worry—you can edit the assistant's name anytime.
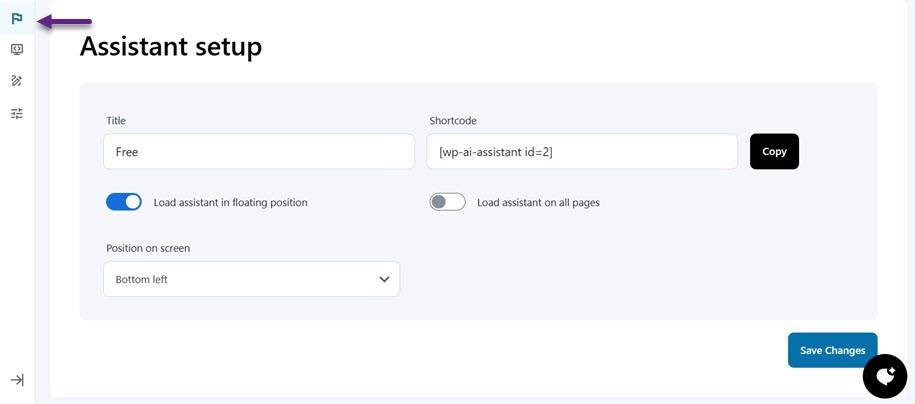
Next, you will be taken to the chatbot settings page. Untuk setup chatbot kamu, you can click the menu with the flag icon to configure the assistant/chatbot, starting with the name, choosing its position on the screen (bottom right or left), setting the chatbot to load in a floating position, or making it visible on all pages. Additionally, there are shortcodes available for use.
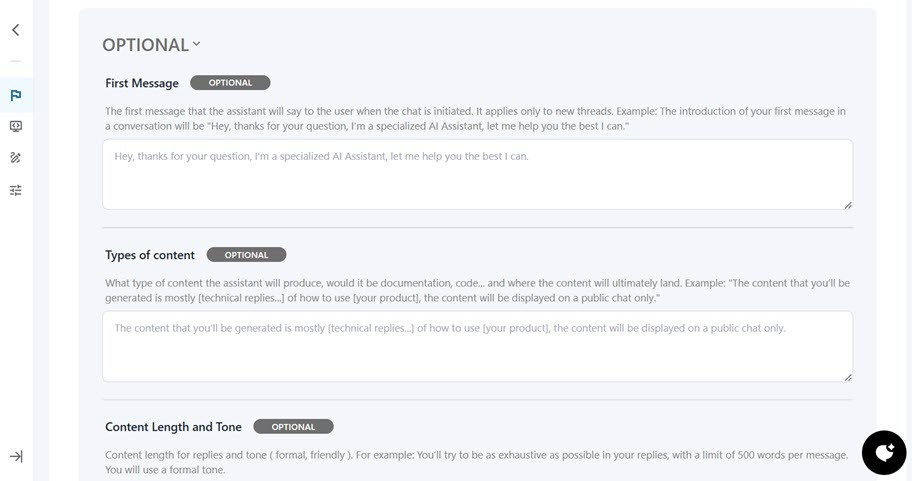
Step 6: Personalize your Chatbot
Next, scroll down to personalize your chatbot. This includes configuring the AI assistant's name and nickname, defining its target and goals, and specifying custom data usage.
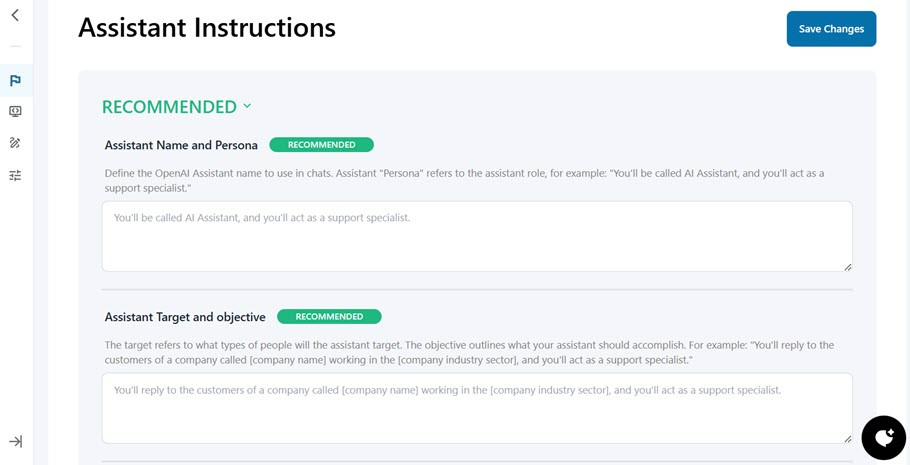
In addition to these recommended settings, you'll find optional settings such as the first message, content types, content length and tone, and response examples.
Step 7: Training your Chatbot
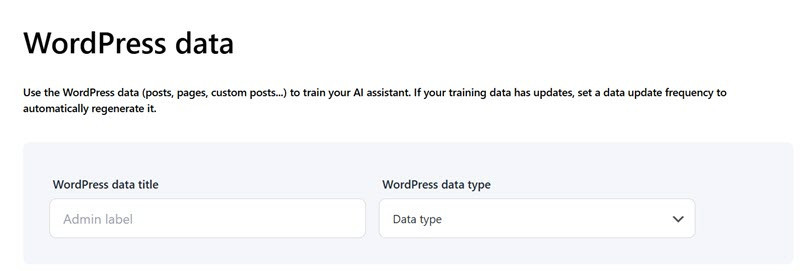
The next step involves training the chatbot using data. This plugin allows you to train your assistant with content from your WordPress site, uploaded documents (like PDFs or text files), or external URLs. This helps ensure the assistant provides users with the most relevant and up-to-date information.
First, you can train the assistant using existing content from your WordPress site, such as posts, pages, products, or other custom content types.
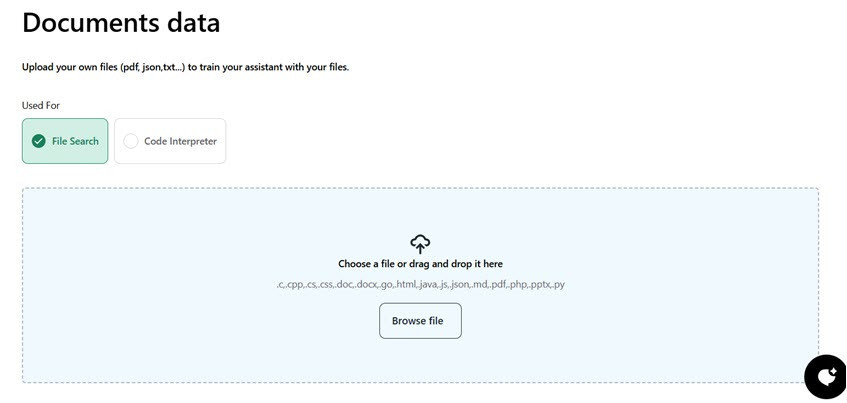
Another option is uploading documents directly to WordPress. You can choose whether the document will be searchable or interpreted as code. Supported document formats include .jpg, .jpeg, .xlsx, .xml, and others.
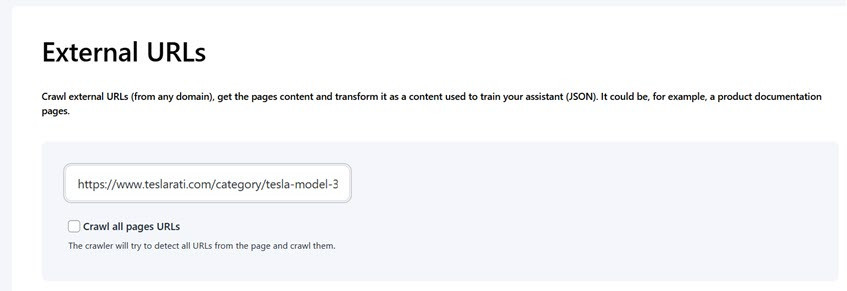
Lastly, you can also use external URLs to train your assistant. The assistant can extract and convert the content into structured data (JSON) by entering a URL, enhancing the chatbot's knowledge base.
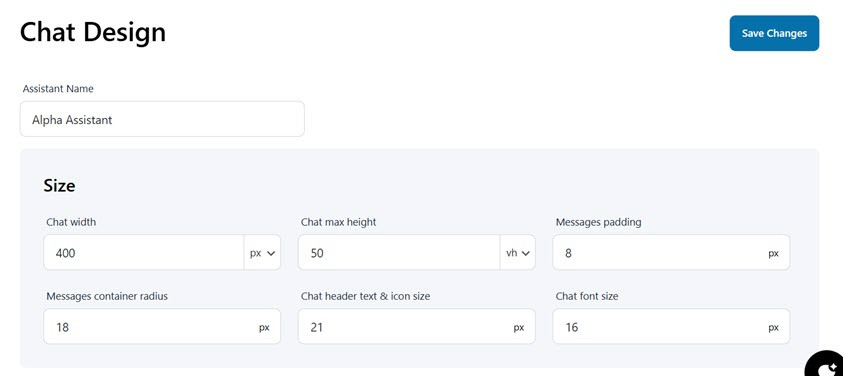
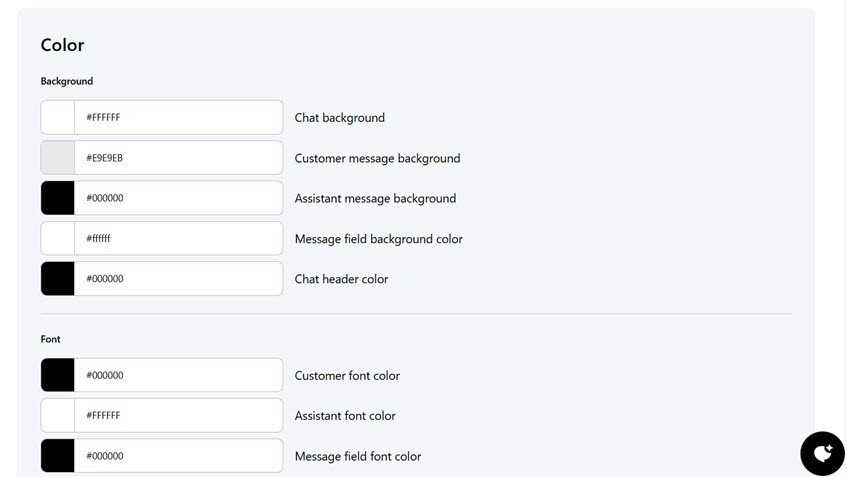
Step 8: Customize Chatbot Appearance
In the next step, you can customize the chatbot's design. This includes setting the assistant's name and adjusting the chat size, background color, font, button color, and message color.
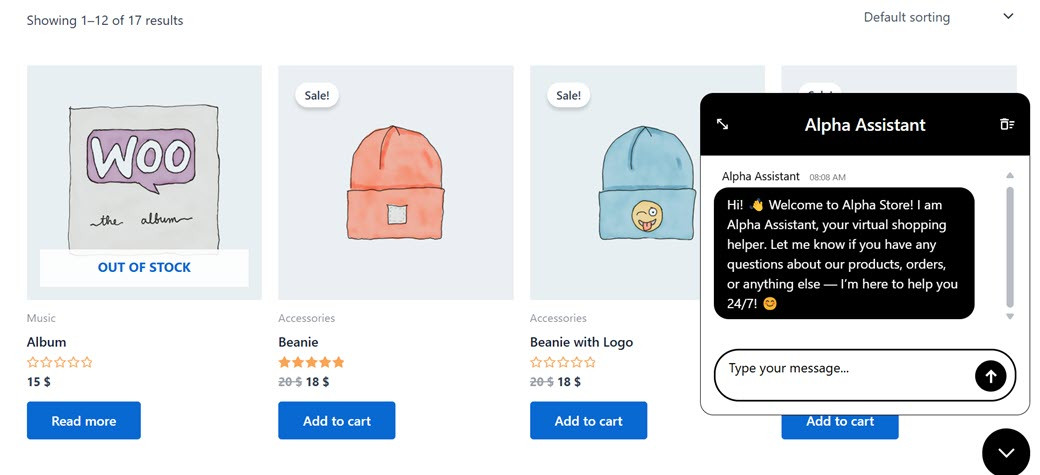
Step 9: Publish the AI Chatbot
The last step is to publish the chatbot you created so that it appears on your WordPress website page. To publish, you just select the Publish button. If successful, then this is how our AI chatbot looks.
Real-World Examples of AI Chatbots in WordPress Sites
You can use AI Chatbot on your WordPress website, whether it'san eCommerce, company profile website, and many more. The existence of a chatbot is very helpful for users to get answers to their questions quickly.
Here's a real-life example of using an AI chatbot on an eCommerce site. Here we will ask some questions related to products and services.
Tips for Optimizing Your ChatGPT Chatbot

After successfully creating an AI chatbot, continuously optimizing its performance is also important. This section will cover some important tips to help you optimize your ChatGPT chatbot and ensure its efficient and effective performance.
Use Effective Prompts
Effective prompts are essential for getting the best responses from your ChatGPT chatbot. Clear, specific, concise prompts help the AI understand the user's intent and generate accurate responses. Avoid vague or overly complicated prompts, as they may confuse the chatbot. You can also refine prompts based on user interactions to improve the chatbot's performance, ensuring it aligns with your site's goals and delivers relevant information.
Monitor Interactions and Evaluate Frequently Asked Questions
Monitoring chatbot interactions regularly is key to enhancing its performance. By tracking frequently asked questions (FAQs), you gain valuable insights into what users want to know, allowing you to adjust the chatbot's responses accordingly. This also helps identify knowledge gaps, ensuring the chatbot offers the most relevant and up-to-date information while improving user satisfaction.
Ensure No Sensitive Data is Leaked
Protecting sensitive information is crucial when using AI chatbots. Ensure your chatbot does not access or disclose private data like personal details or payment information. Implement safeguards to prevent data leaks and ensure compliance with privacy regulations, such as GDPR. Direct sensitive inquiries to human support and limit the types of questions the chatbot can answer to safeguard user trust and data security.
Update Prompts and Communication Style Based on Audience Needs
Your chatbot's communication style should evolve with your audience's preferences. Regularly update its tone and style to match user expectations, language trends, or cultural context shifts. Adapting your chatbot's communication to the needs of your audience ensures it stays relevant and relatable, providing an optimized and personalized user experience.
Smarter Conversations, Happier Visitors!
Provide instant answers, assist users 24/7, and automate support effortlessly. WP AI Assistant is your key to a more interactive and intelligent website.
Conclusion
Integrating an AI chatbot like ChatGPT into your WordPress site can significantly enhance user experience, streamline customer support, and provide real-time visitor interaction. Following the steps to install, configure, and personalize your chatbot can offer your website users a more responsive and efficient service.
If you're ready to take your WordPress site to the next level with an AI chatbot, consider try the WP AI Assistant plugin. It offers seamless integration with OpenAI, is easy to set up, and provides complete customization options to align with your brand's needs.
When you subscribe to the blog, we will send you an e-mail when there are new updates on the site so you wouldn't miss them.

Comments