How to Connect Google Photos with WordPress Media Library

Google Photos is a great and important tool to save your images from your phone or PC directly to the cloud and automatically. Connecting Google Photos with the WordPress media library offers a seamless way to manage, store, and access your images directly from your website. This can also save you lots of time and effort.
With WP media library integration, you're going to be able to import your files from Google Photos with one click. Let's find out!
Table of content
Why Connect Google Photos to WordPress?
Google Photos is one of the most popular free Google tools to store and share all kinds of media and videos. With this integration, you gain time efficiency where you don't need to manually download and upload images.
Moreover, it is quick to import images and easily access, and you can save server space by linking to cloud-hosted images. Also, allows you to share images and files without sharing Google password, so your account is safe.
How to Connect Google Photos with WordPress Media Library
The easiest way to connect Google Photos to WordPress by using the JoomUnited WP Media Folder. There are two ways to connect, the manual and automatic modes. In the manual mode, you have to create a Google dev App, while the automatic mode uses a validated Google app.
Say goodbye to messy media library.
WP Media Folder lets you categorize files, sync folders with
cloud storage, create amazing galleries and even
replace images without breaking links.
Optimize your media workflow today
Set Up the WP Media Folder Plugin
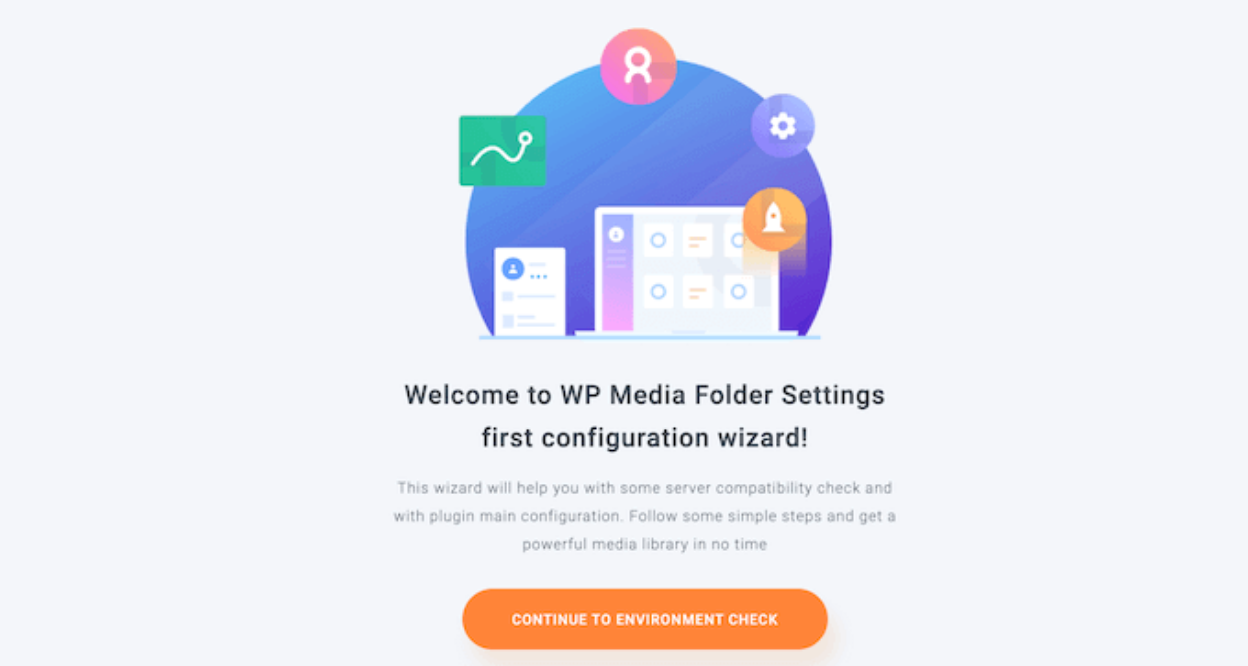
First, you need to install and activate the WP Media Folder plugin. Upon activation, you will see the setup wizard. Click on the "Continue to Environment Check" button.
The plugin will show some information about your WordPress environment, such as its PHP version and extensions. Next, click the "Continue" button.

You can now choose whether to disable the gallery and lightbox features. The features allow you to create, edit, and delete folders inside the WordPress media library.
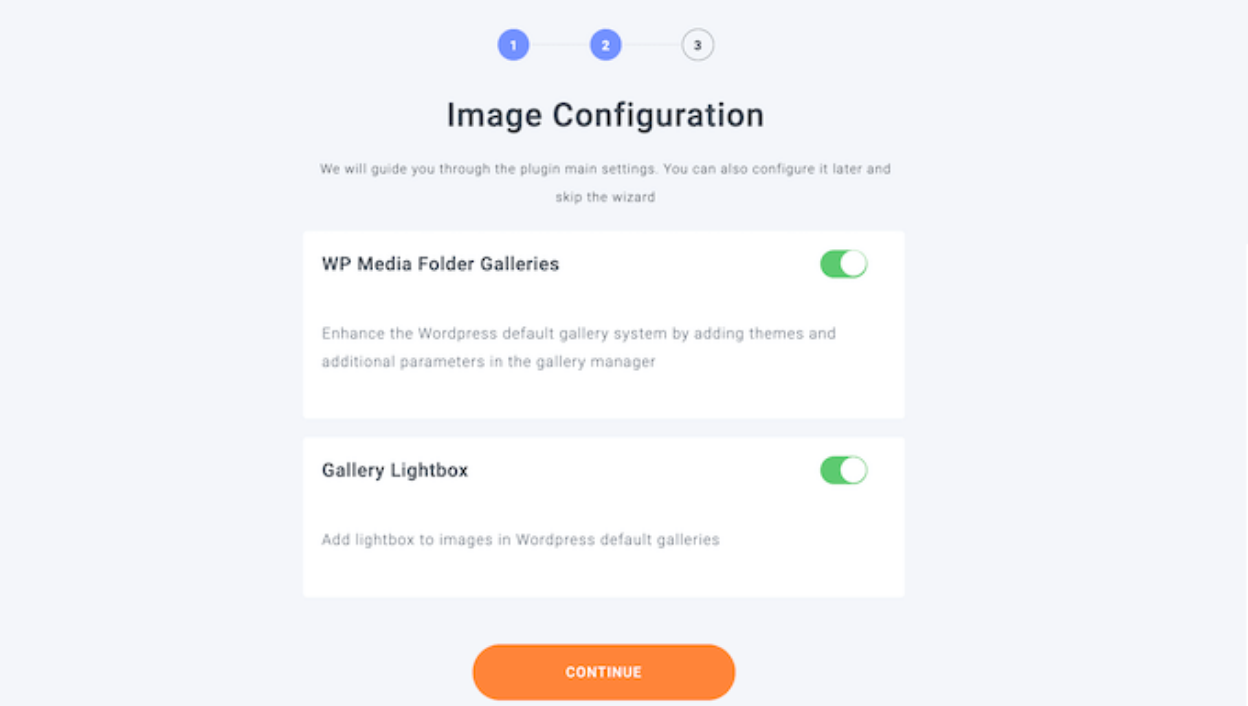
With that done, click on the 'Continue' button.
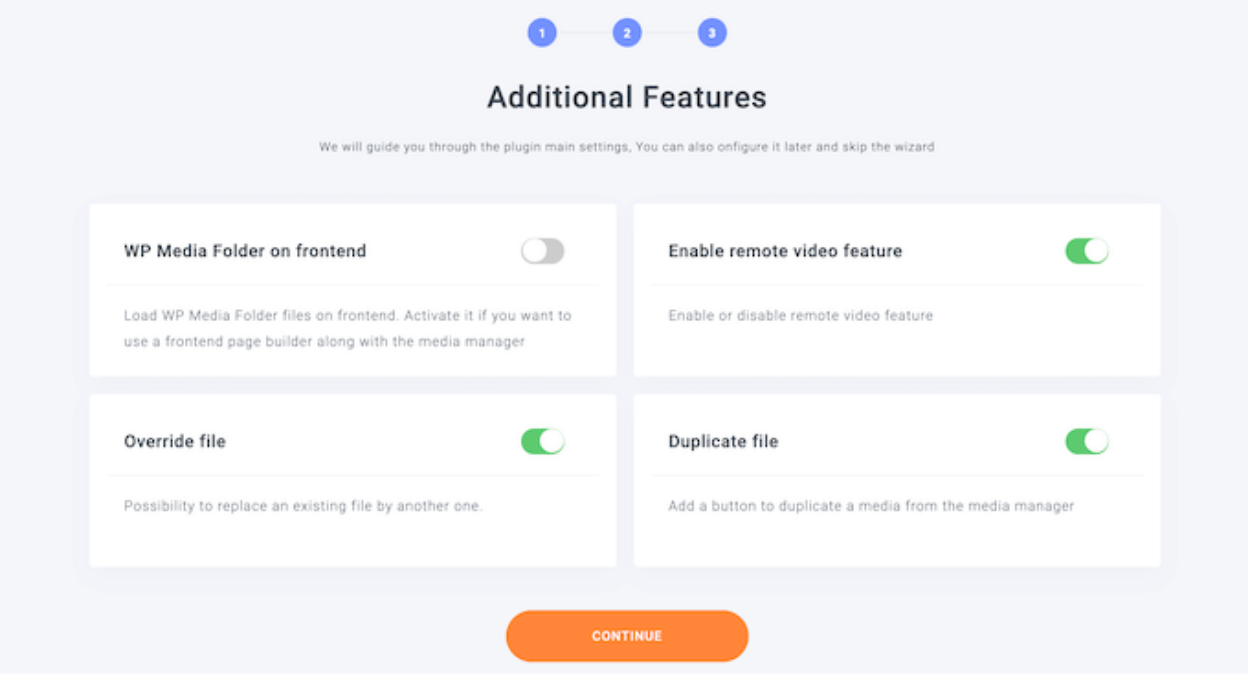
After that, you will see some extra features you may not use. This can be adjusted to your website needs. If you think that the default settings are not enough, you can enable additional features. When you are happy with settings, click on "Continue".
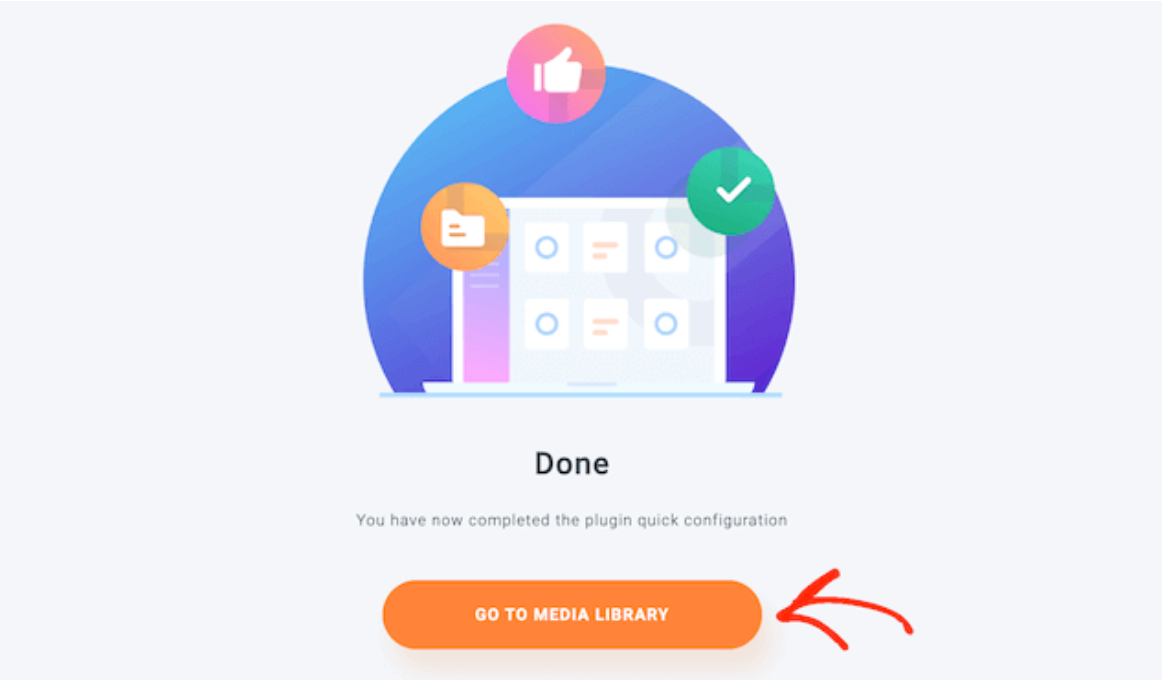
After a few moments, you will see the following message: "You have now completed the plugin quick configuration."
When you are ready, click the 'Go to Media Library' button.
Manual Connection Google Photos and WordPress with a Custom App
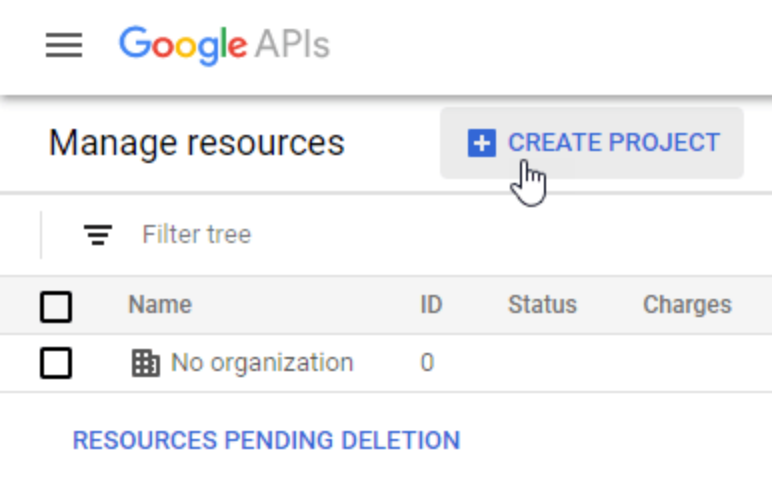
If you want to do manual connection between Google Photos and WordPress, using JoomUnited's Google app will be one of the best solutions. First, you need to create a Google dev App to connect it with your site. Click "Create Project"
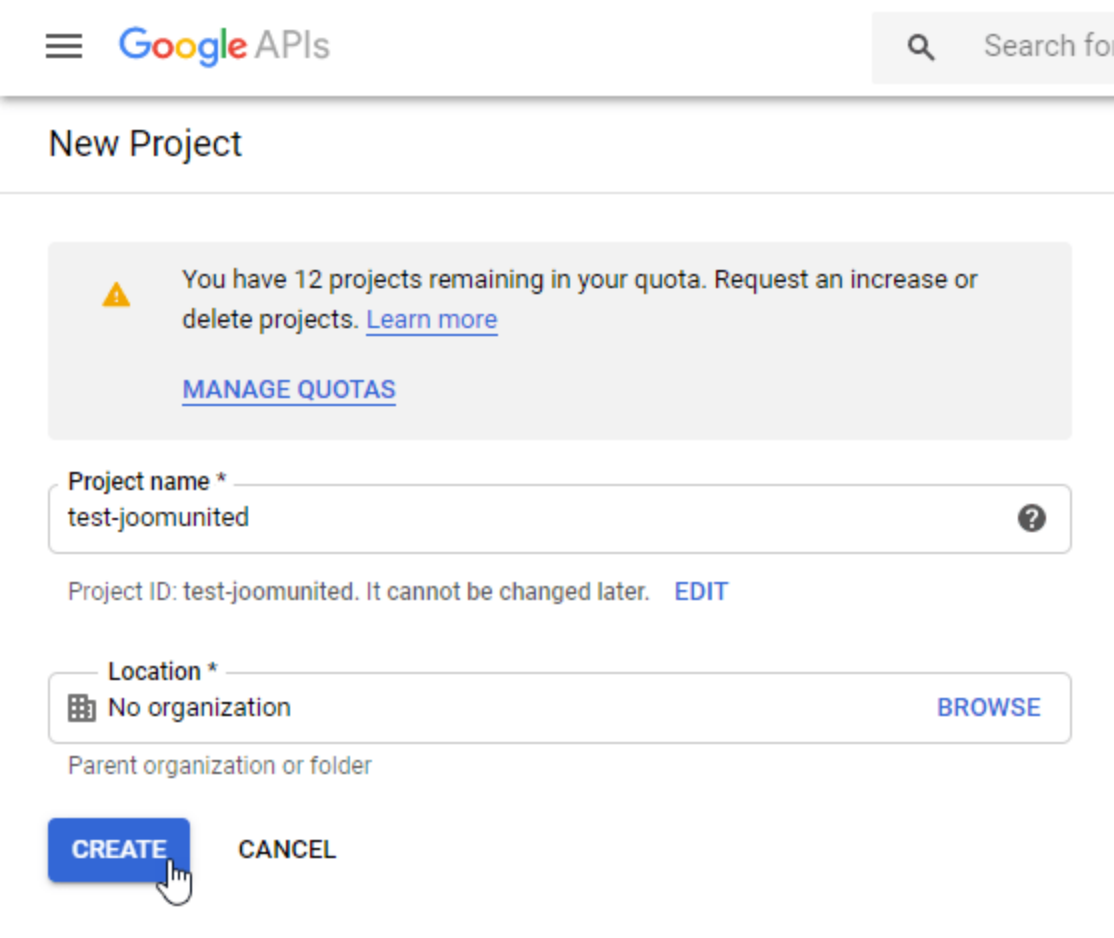
Then, you will be able to choose the project name and then, just click on "Create".
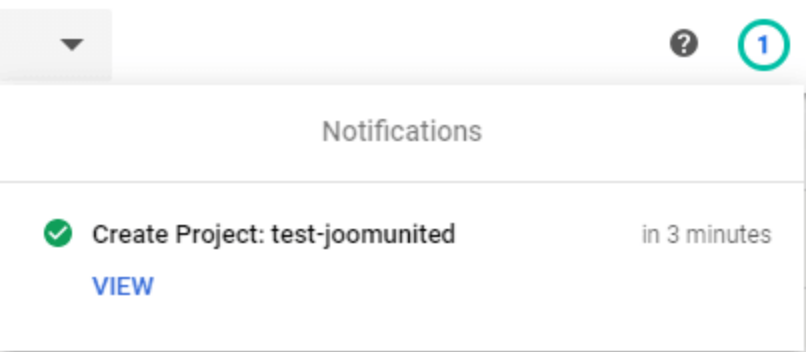
Wait a few seconds for the project creation. After that, go to the project by clicking on the notification.
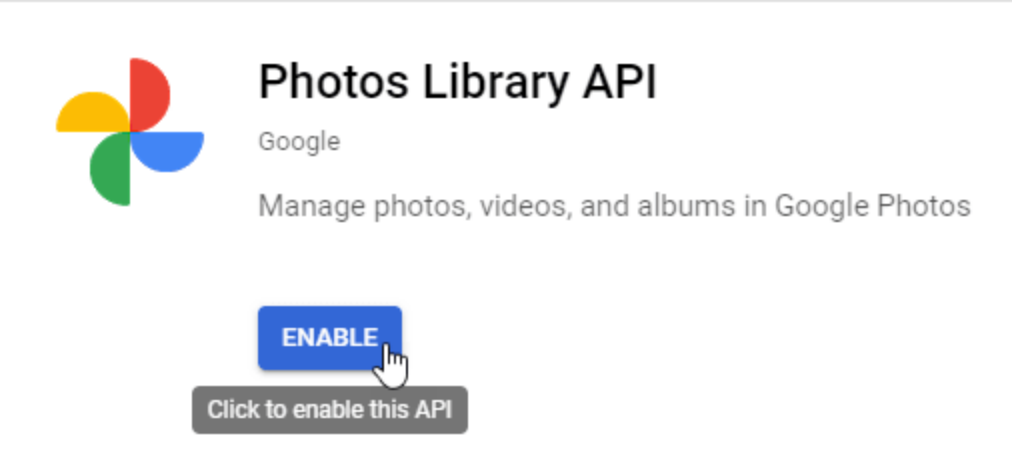
If this is your first time using Photos Library API, you will have to enable it. Then, go to APIs & Services > Library and search "Photos Library API", select it, and click on "Enable"
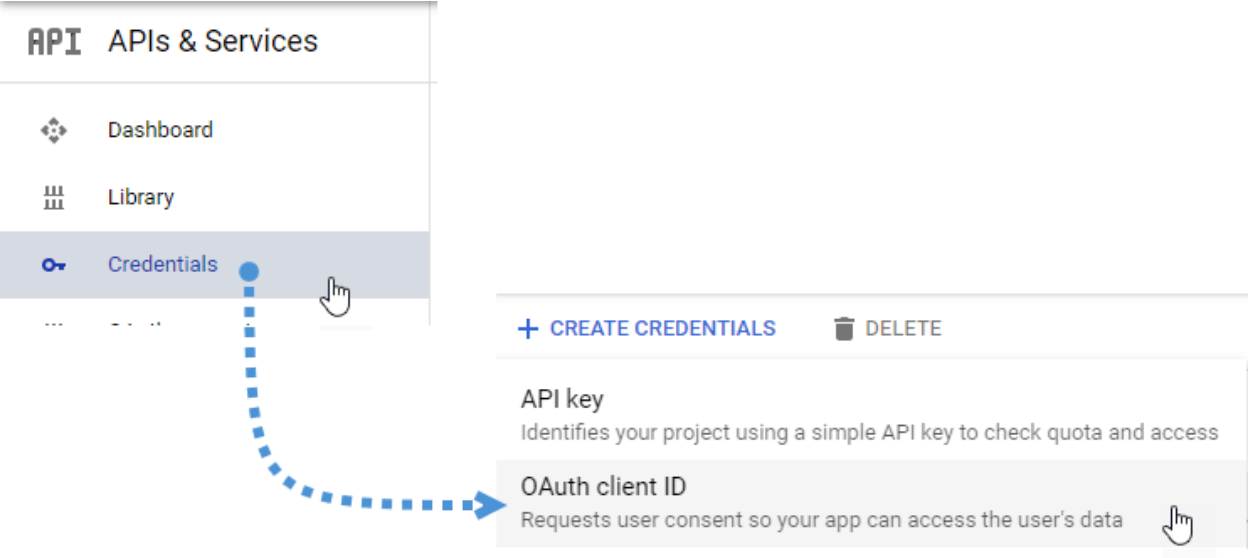
From the left menu, click on APIs & Services, then go to Credentials > Create Credentials > OAuth client ID.
If this is your first time, click on "Configure Consent Screen" and select the user type.
The next one is the most important step:
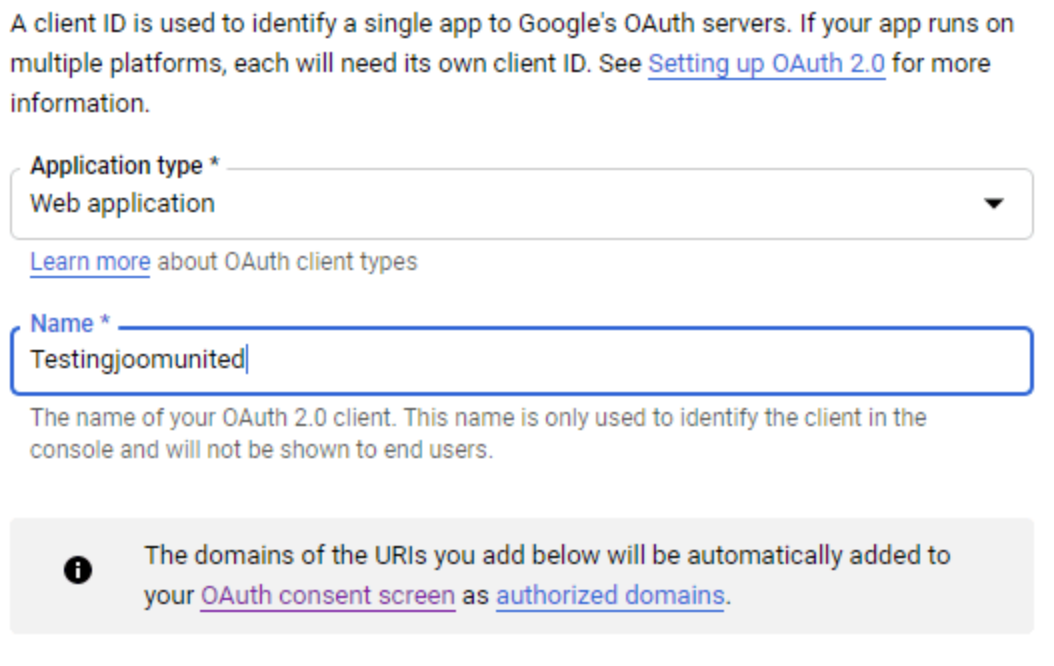
Click on "Web Application" and choose a name.
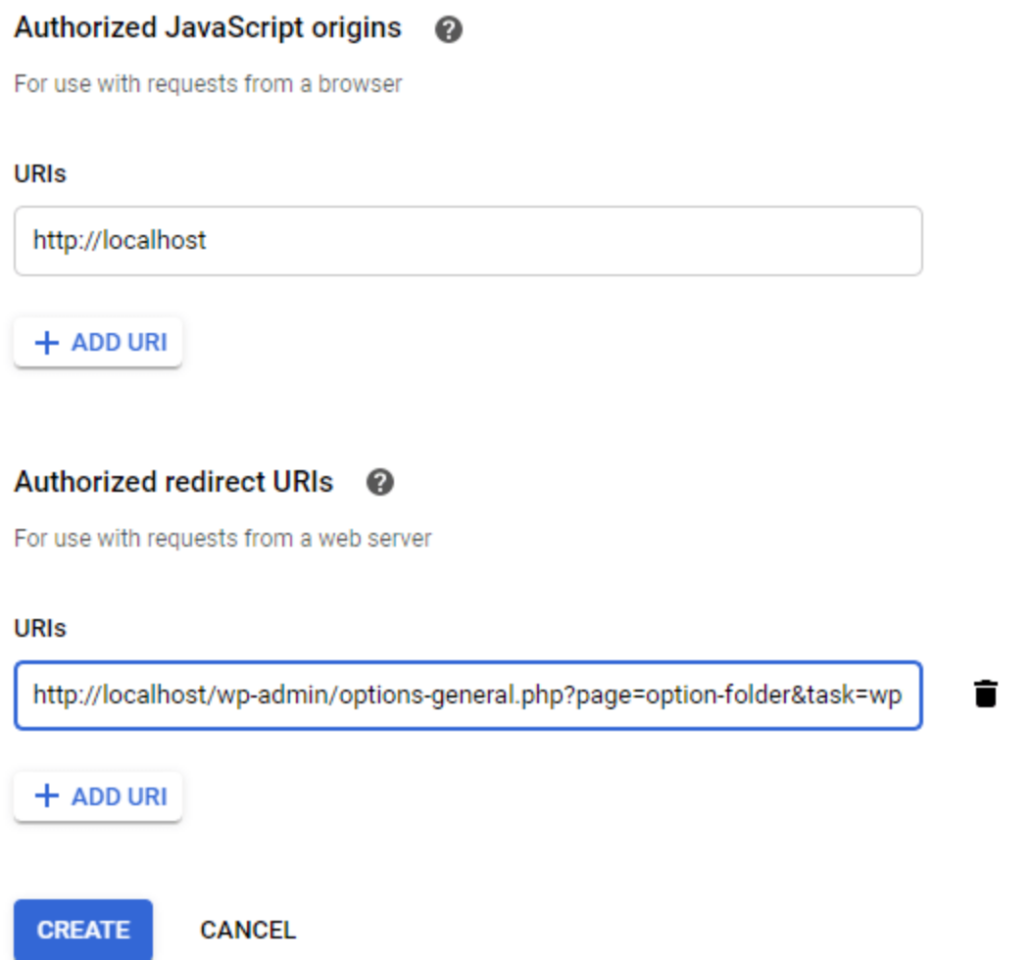
Now click on "Add URL" on the "Authorized JavaScript origins" section. Replace by your domain name with no trailing slash. Also, click on "Add URL" on the "Authorized redirect URIs" section. Then, click on "Create"
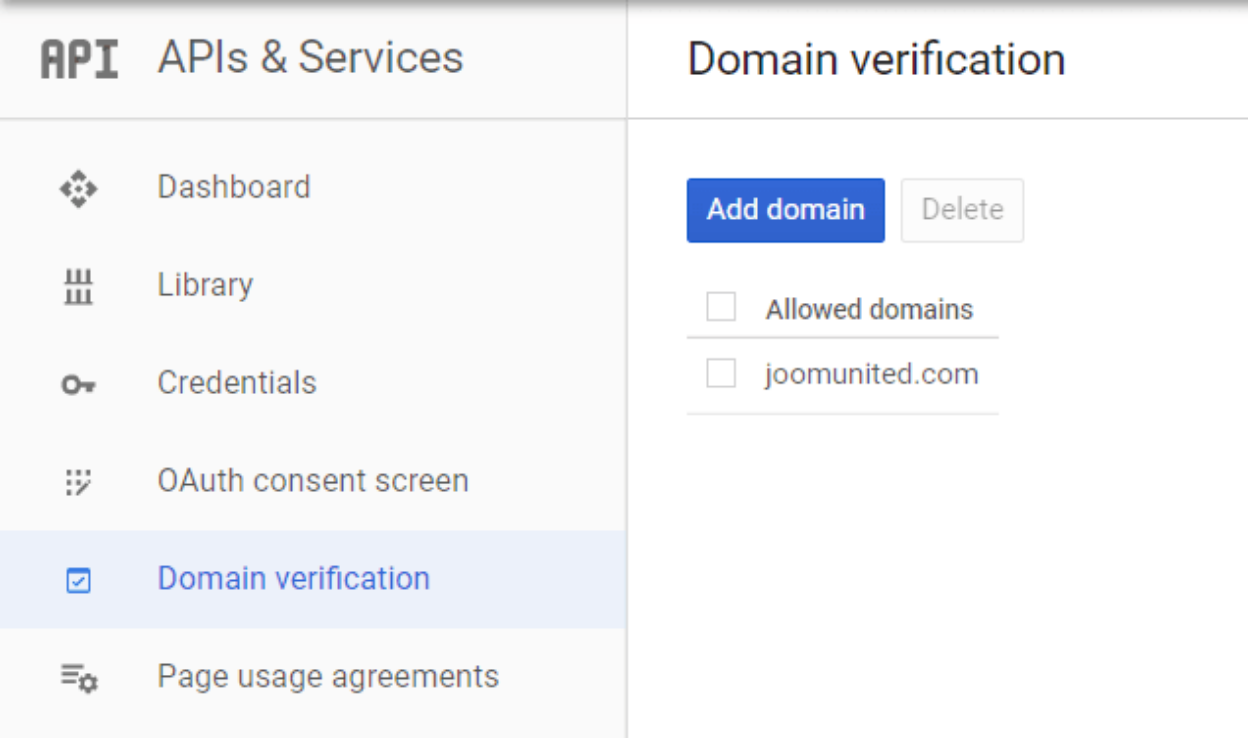
Fill your Authorized domains at OAuth consent screen tab > Edit App.
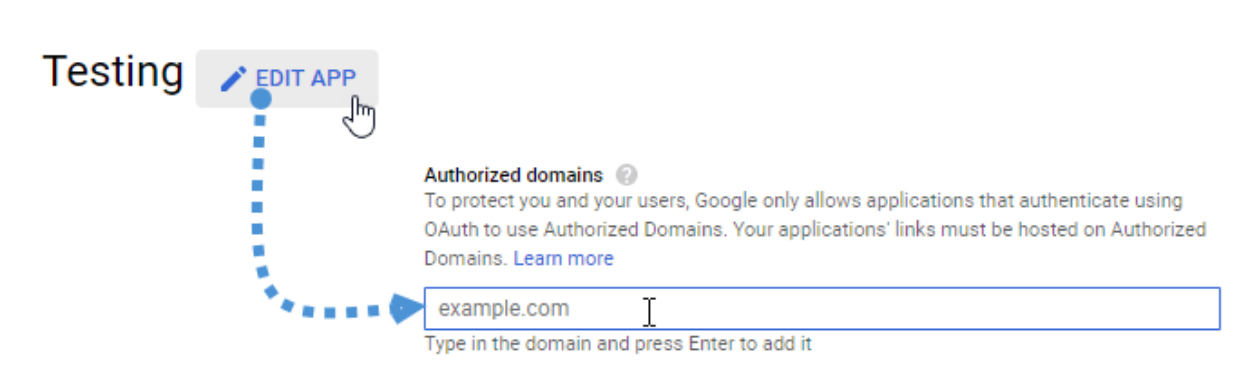
Please click on the "Add domain" button and follow the instructions.
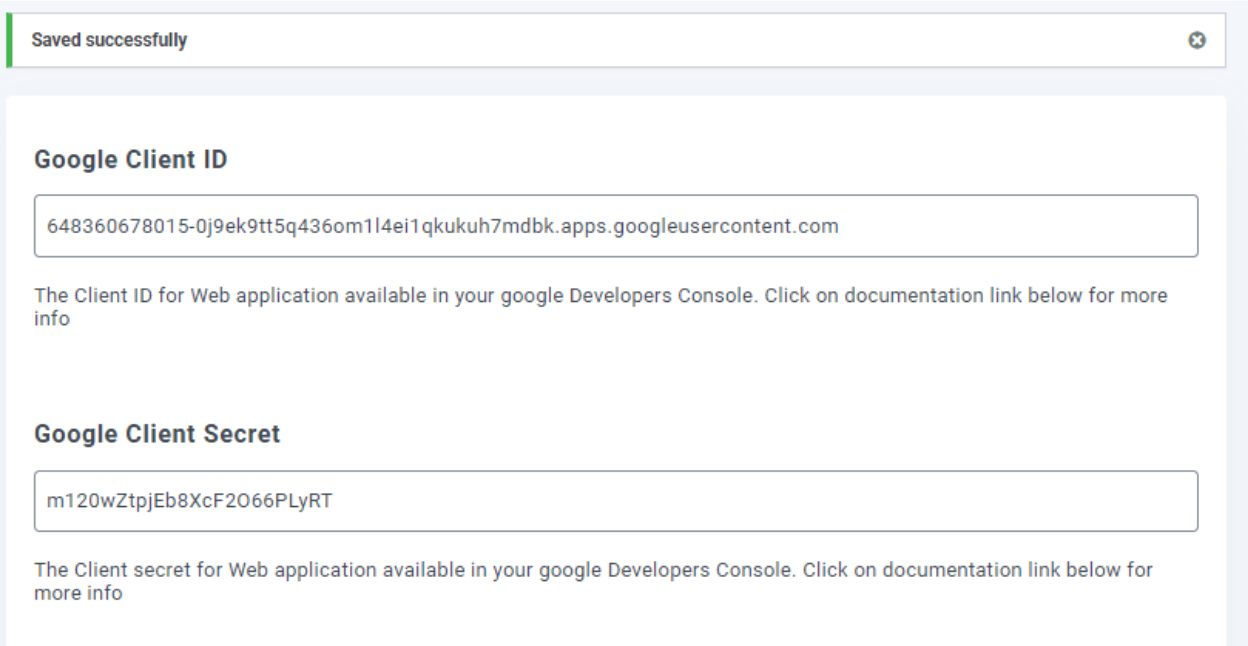
And finally, you got your ID and Secret to add in WP Media Folder's configuration.
Now go to Settings > WP Media Folder > Cloud tab > Google Photo and copy/paste the Client ID and Client Secret from your Google dev App to the WP Media Folder configuration, then click on "Save".
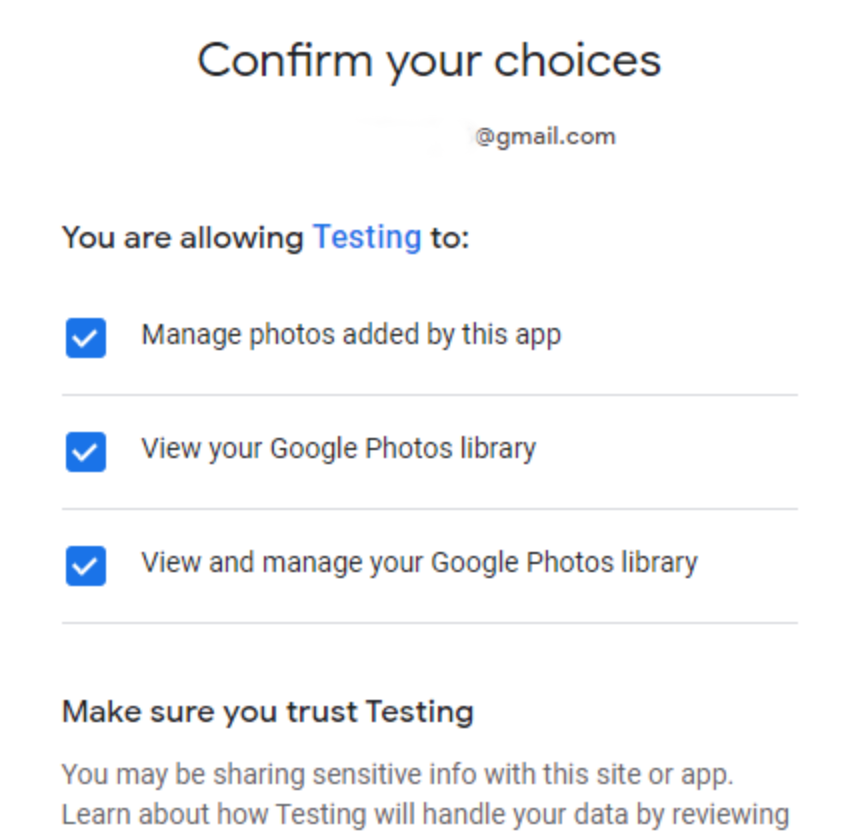
The data will be saved, "Connect Google Photo" and sign in to your Google account, also allow all the permissions.
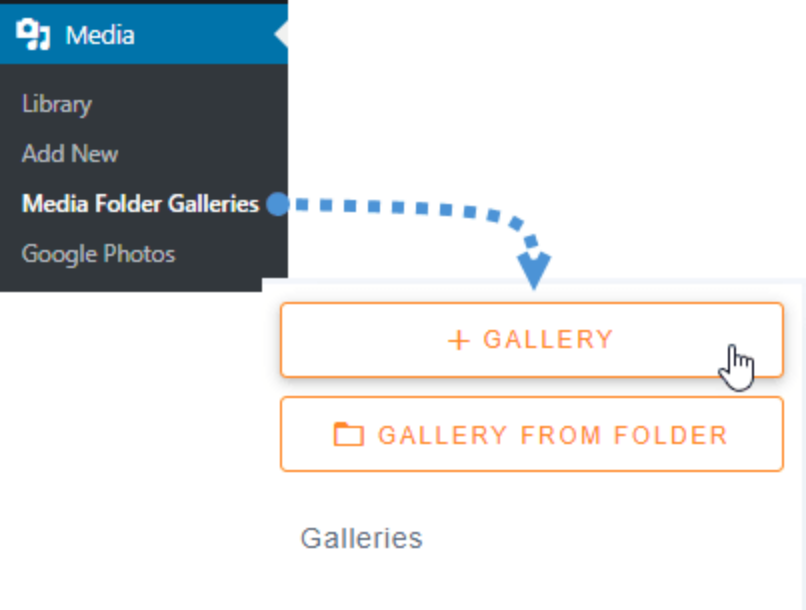
After all, create a gallery based on Google Photos media. Go to Media > Media Folder Galleries > +Gallery.
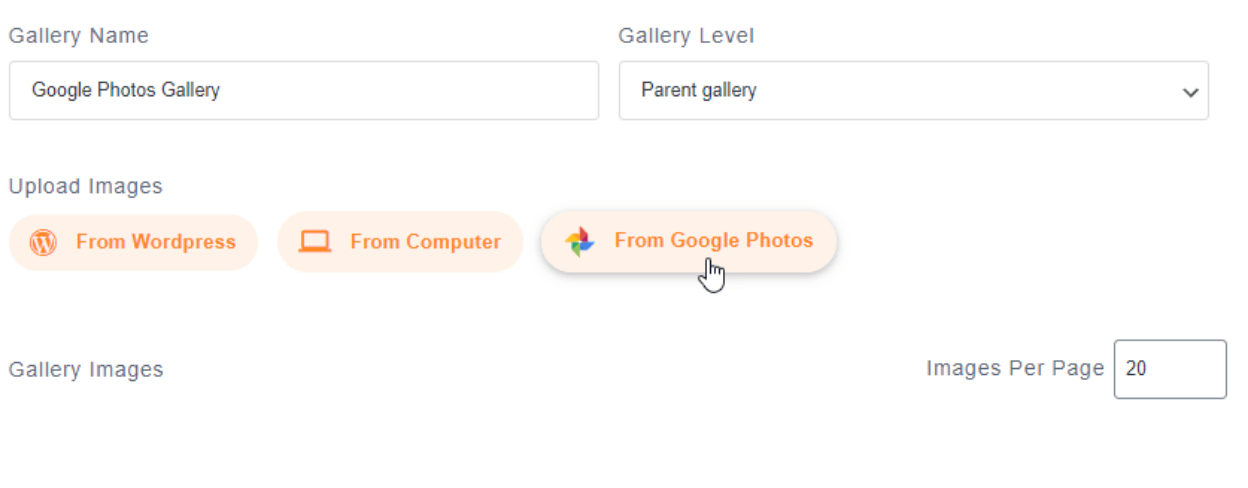
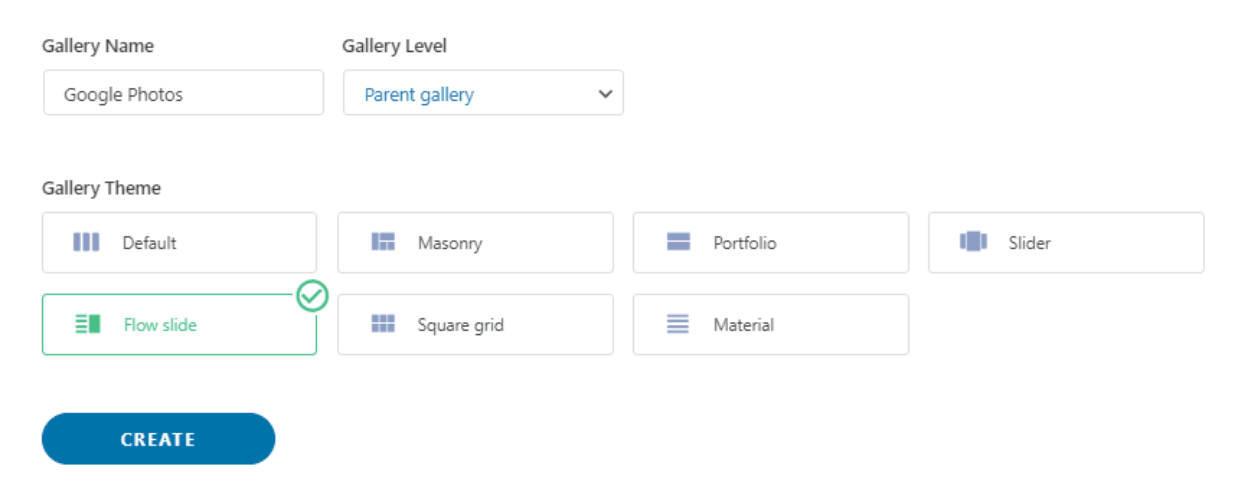
We will have to type a name, select a theme, and click on "Create". The next step on the gallery creation is to add the media for the gallery, you need to select Google Photos as an option.
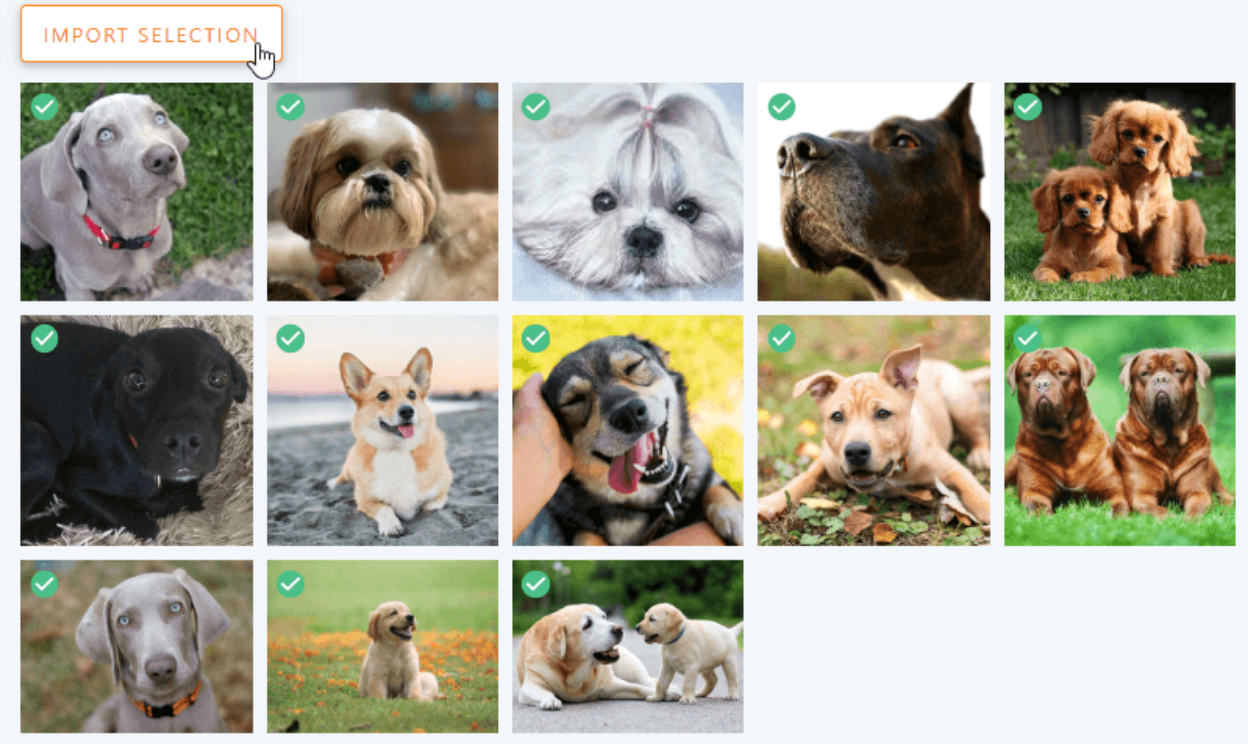
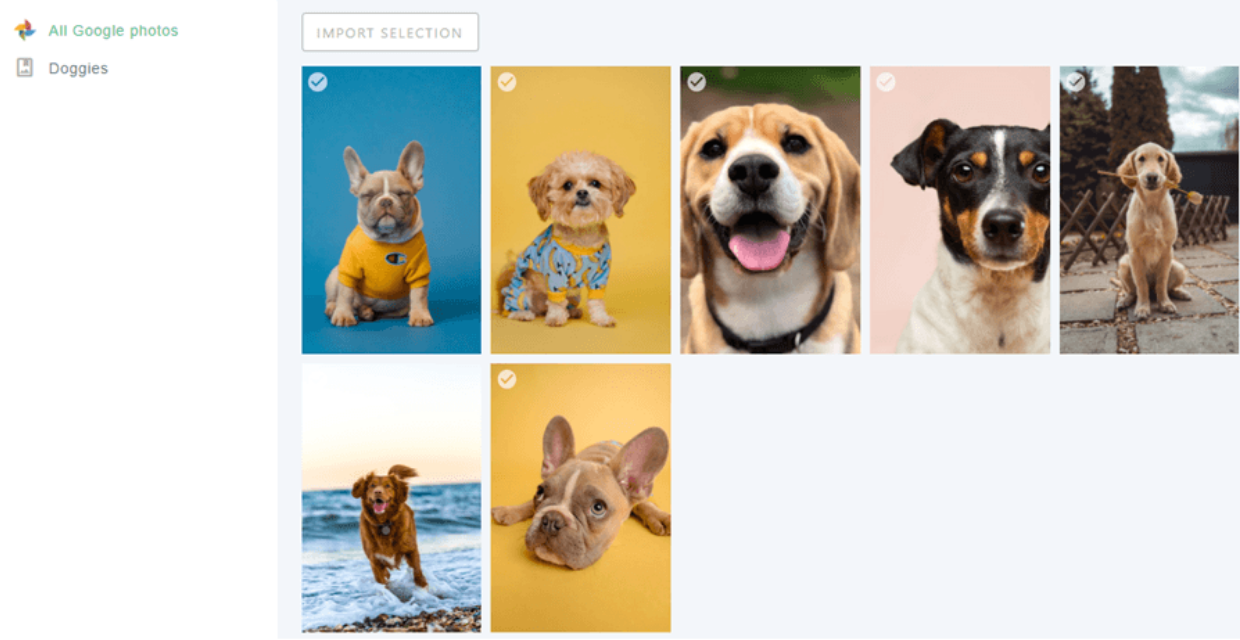
Now, you are going to be able to see the Google Photos folders. Select all and then click on "Import Selection". It will automatically import your selection and the images are going to be available on the dashboard. After editing the gallery as you want, click on "Save".
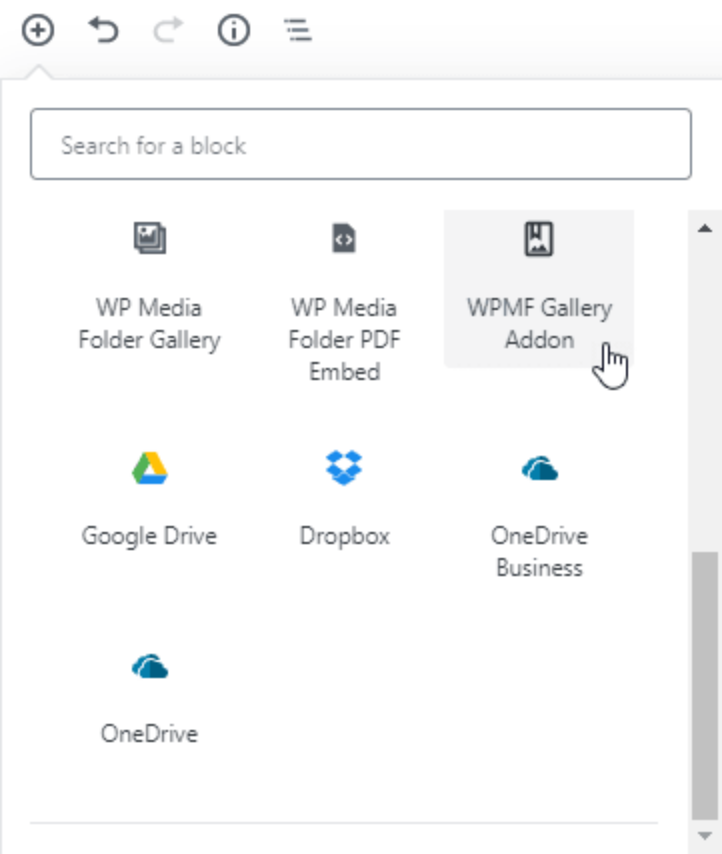
Click on + > WP Media Folder > WPMF Gallery Addon block.
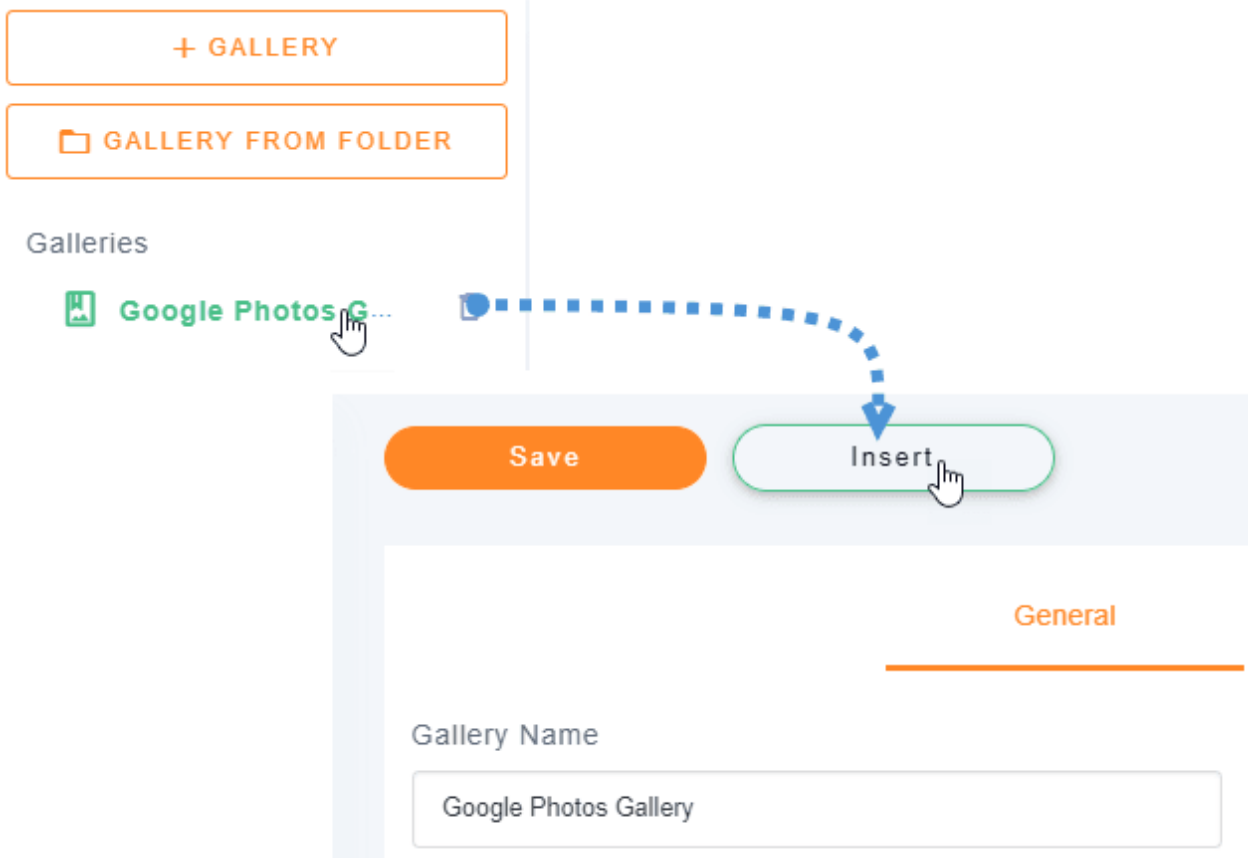
Click on "Select or Create a Gallery", and choose "Insert"
You are going to be able to see a preview of your gallery in the block editor. If done, click on "Publish" and everything is going to be done.

Automatic Connection Google Photos and WordPress
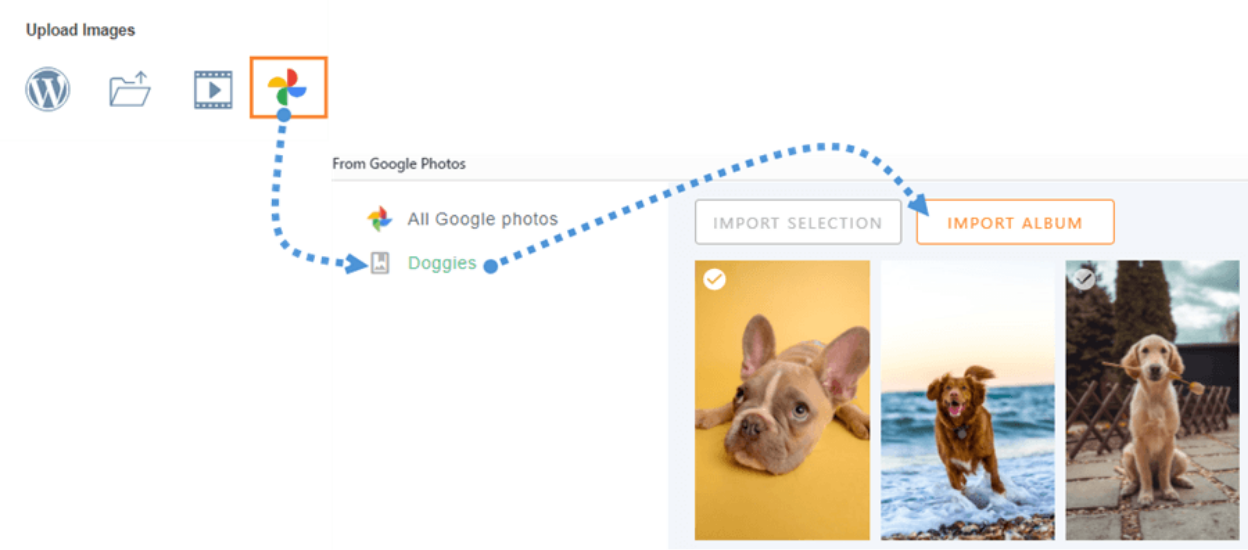
In another way, you can choose automatic mode for the simple and easy way. For this, go to Media > Google Photos, you will see a preview of all your images and albums.
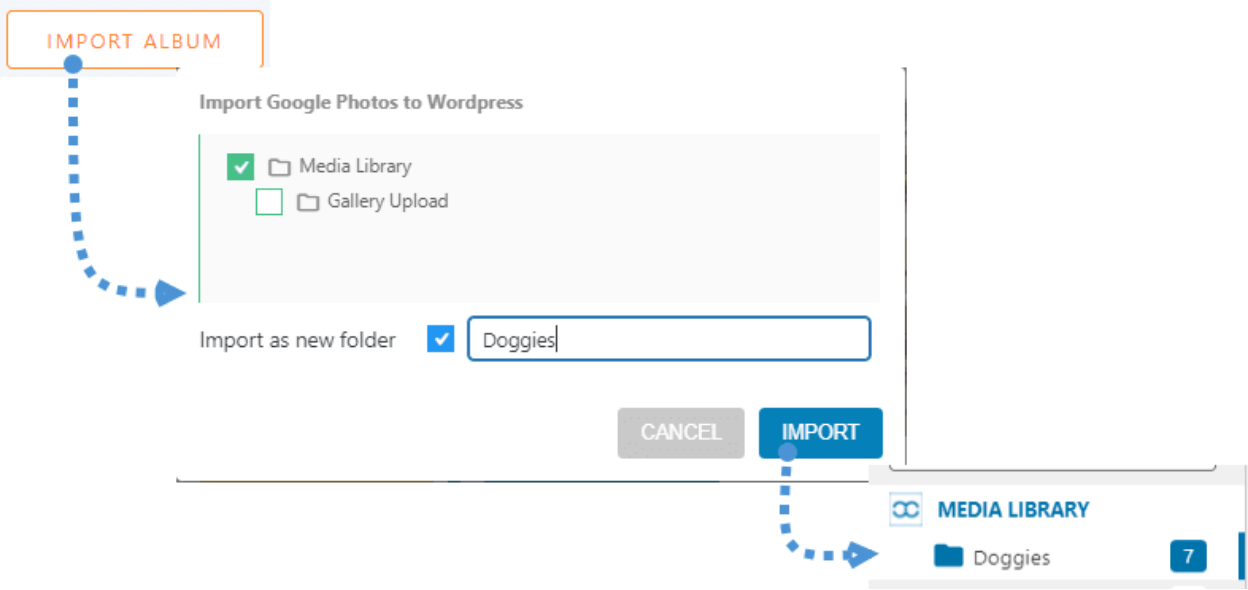
From here, you can select many images or an album and import it to your media library. Click on "Import Album" then select where you want to import it. Set the name of the new folder, click on Import button, and it will appear in your media library.
Create galleries based on Albums directly, but we will need to be sure to have installed the Gallery Addon.
Now you have to install it. Go to Media > Media Folder Galleries. You will see the gallery management addon dashboard with the options to select images from your PC, WordPress, and Google Photos.
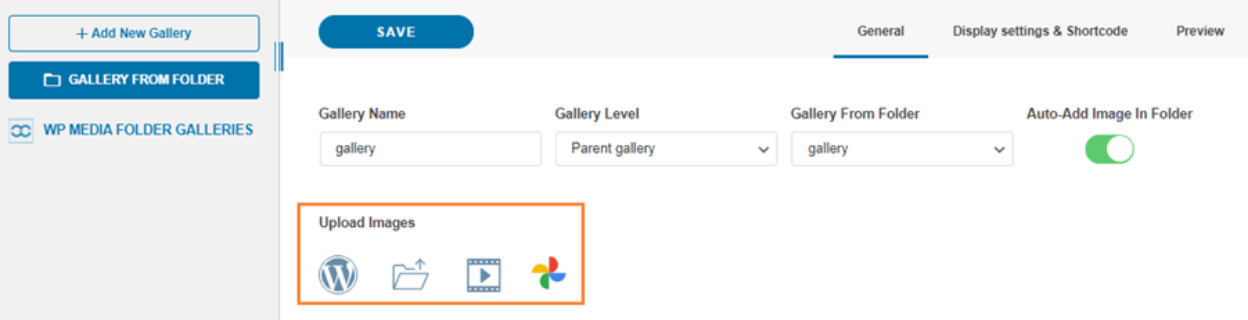
Click on +Add New Gallery, add the type, and select the gallery theme that you want to use.
Select all the images that you want to include in the gallery, and wait a few seconds for it to import. Then, you can use all the images that you selected in the Gallery Addon dashboard.
Now, to create the gallery, you only need to define all the things and publish it.
Calling all webmasters!
Save time and boost productivity with WP Media Folder. Effortlessly organize client media
files, create custom
galleries, and provide a seamless user experience.
Upgrade your website projects now!
We hope this article helped you learn how to connect Google Photos to your WordPress media library. If you have any experience with the two methods above, please share in the comment section!
When you subscribe to the blog, we will send you an e-mail when there are new updates on the site so you wouldn't miss them.


Comments