How to Add Text on Top of an Image in WordPress (3 Methods)

Adding text on top of an image is a popular technique to enhance the visual appeal of their content or website. Also, it is a great way to make your images more informative and engaging.
In this article, we've found three easy ways to add text on top of an image in WordPress. Whether you prefer using the Block Editor, a plugin, or custom code. Let's find out!
Table of content
Why It is Important to Add the Text on the Top of the Images
Before moving forward to methods, you need to know the reason behind why adding the text on the top of images is important.
1. Catch Attention
If users are quickly scrolling through content, adding images alone may not be enough to grab their attention. That's why you need to add text on top of an image to help you catch users' attention and convey your message more effectively.
2. Enhance User Experience
It's true that images can provide a lot of value on their own, however, adding text on top of them, such as captions, quotes, or other text-based content, can make them even more useful. Moreover, users can understand the context of the image and how it relates to your content.
3. Improving Accessibility
You can also help improve accessibility for users who may have difficulty viewing the image itself. By providing a text alternative, you can ensure that your content is accessible to a wider range of users.
4. Boosting SEO
Adding relevant keywords to your image captions or alt text can help improve the website's search engine ranking. This is because search engines use this information to understand the content of your website and determine how relevant it is to users' search queries.
Say goodbye to messy media library.
WP Media Folder lets you categorize files, sync folders with
cloud storage, create amazing galleries and even
replace images without breaking links.
Optimize your media workflow today
3 Methods How to Add Text on Top of an Image in WordPress
1. Use the WordPress Block Editor
First, go to the page or post on which you are going to add the text over the image.
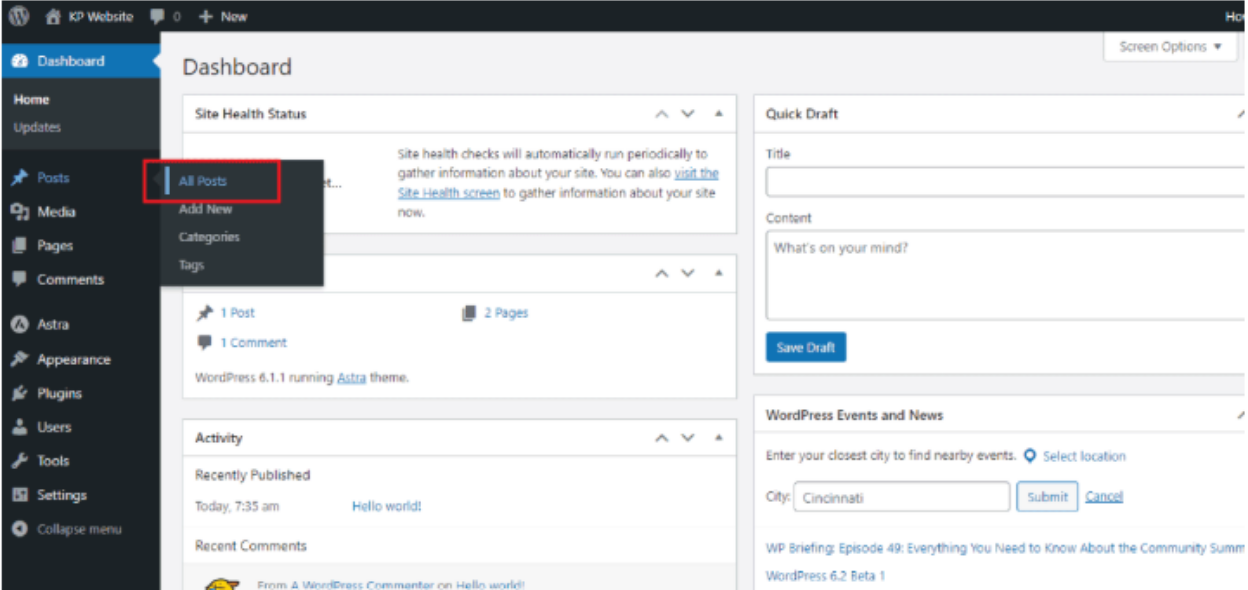
Choose Cover to write the text over the image.
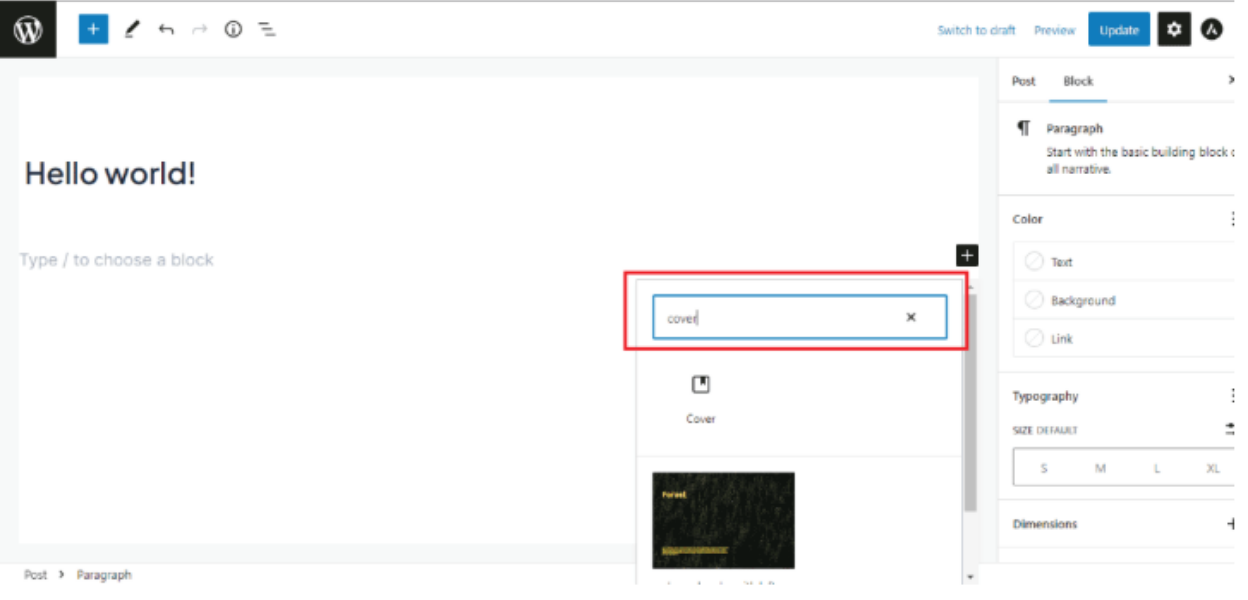
After that, it will start appearing on your screen. It shows you the default image, but you can change the image as you want.
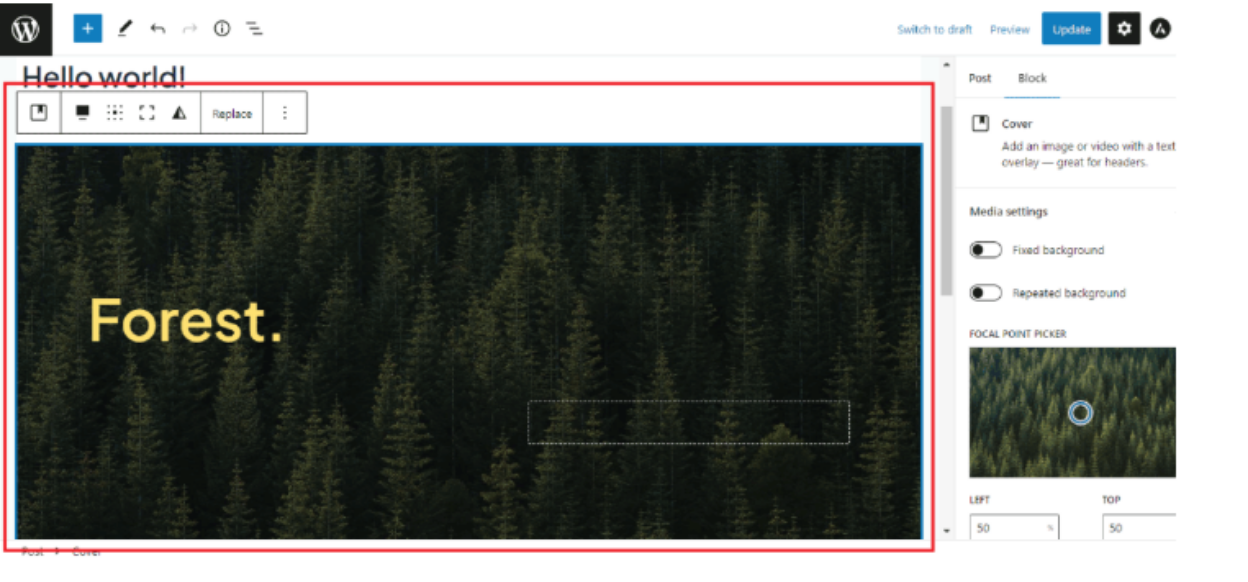
You can also replace the default image with your custom image. Click on the replace button and then upload the image or simply choose from the media library.

It will look like this, then you can write the text over the image as you want.
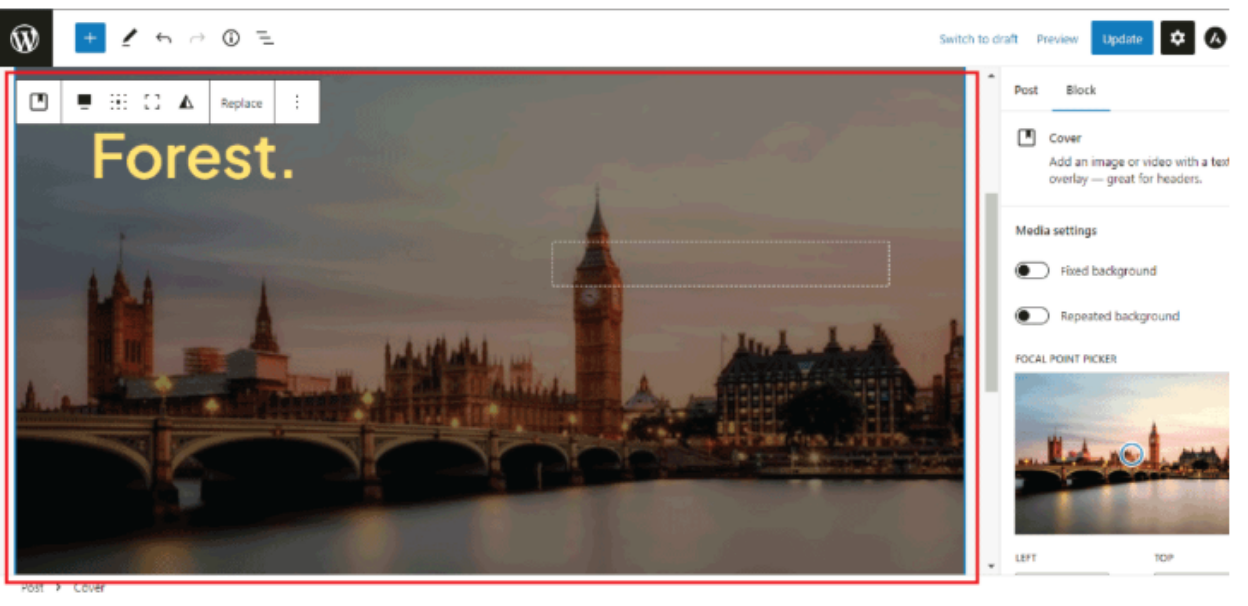
Double-click on the text, you will get the edit option for the text. You can adjust the size, color, and many more as per your requirement.
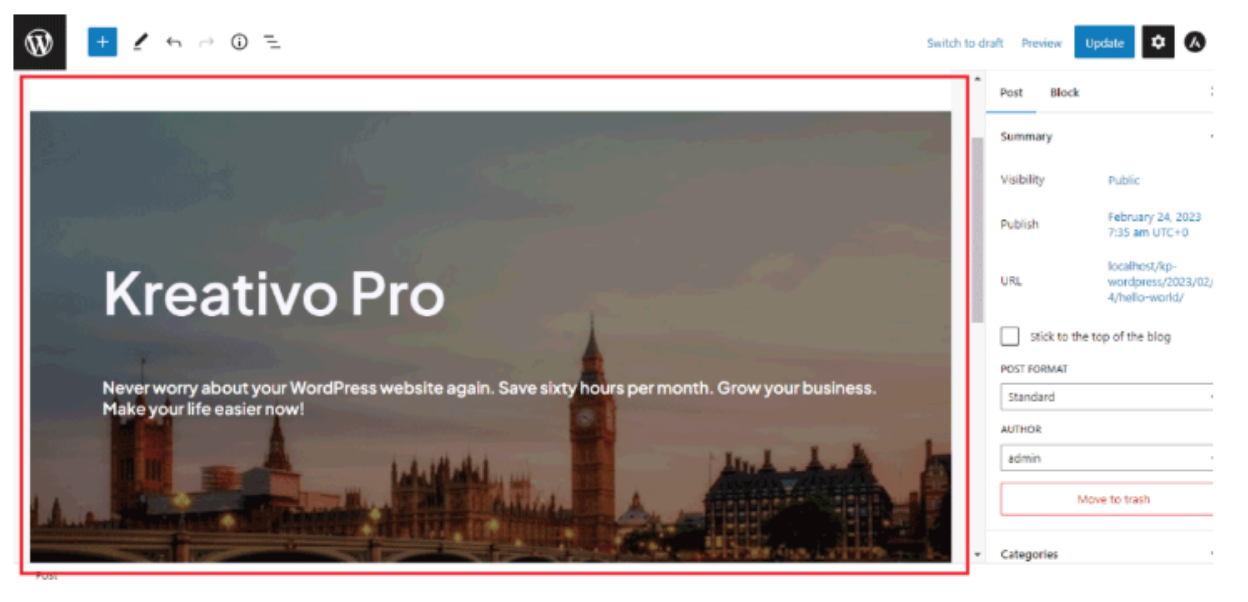
Last, click on the update button, or if you have added the new post or page, then click on the publish button.
2. Use CSS
Open the WordPress Block Editor and select the image block where you want to add text. In the right-hand sidebar, click on the Advanced tab.
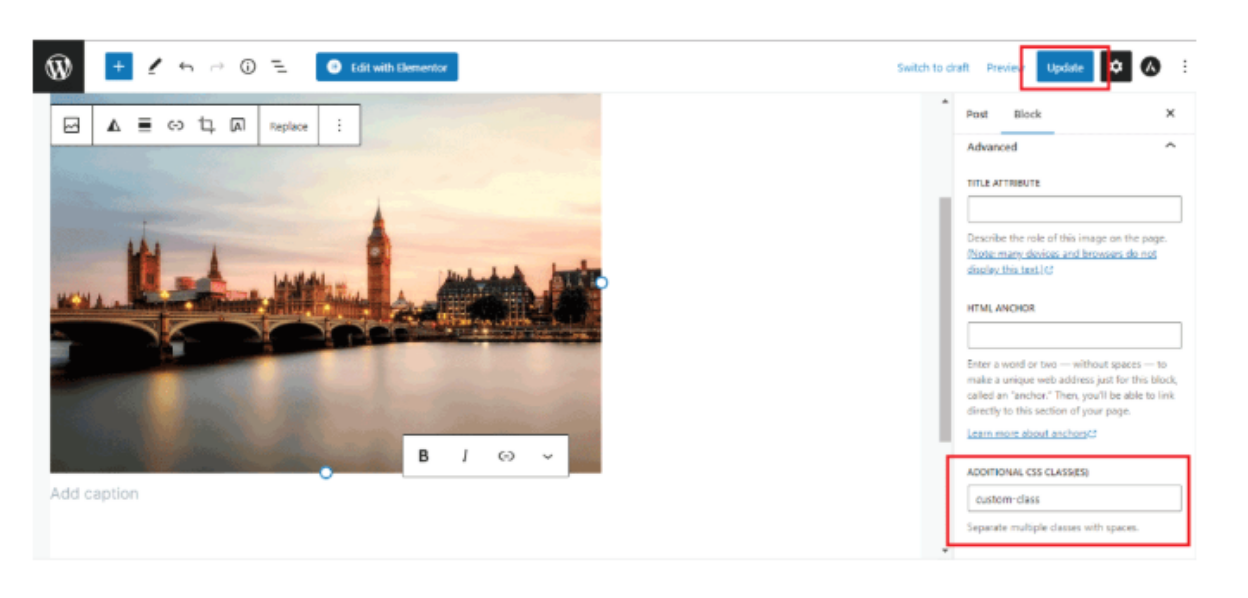
In the Additional CSS Class field, add a custom class for the image block.
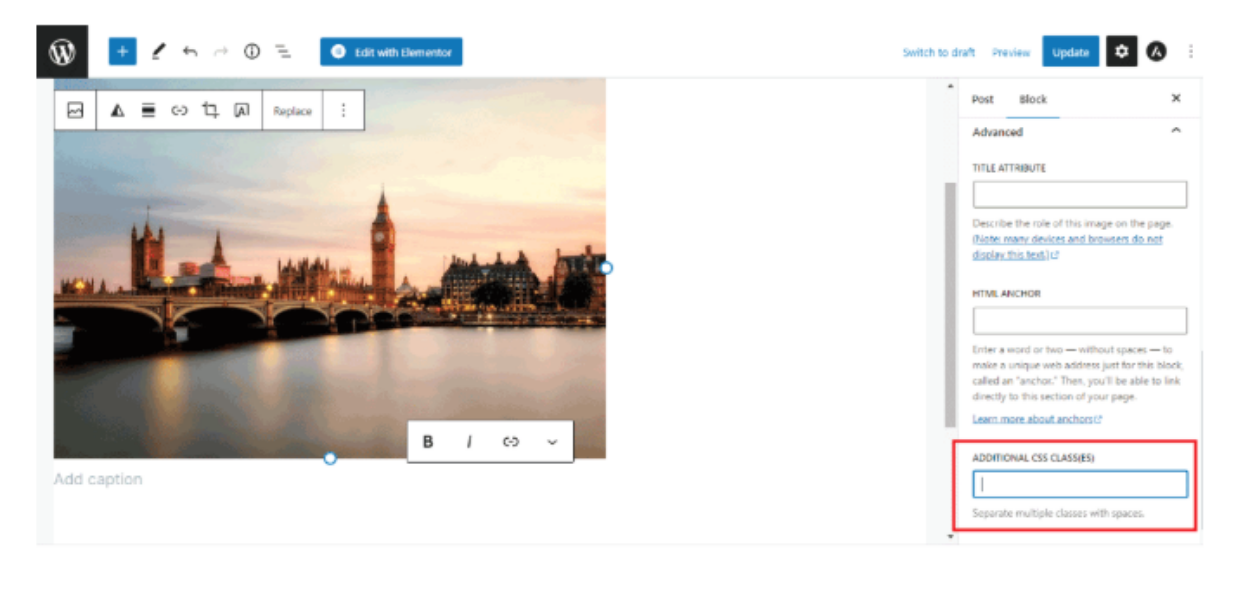
Save the changes and publish or update the page or post.
.custom-class {
  position: relative;
}

.custom-class p {
  position: absolute;
  top: 50%;
  left: 50%;
  transform: translate(-50%, -50%);
  font-size: 24px;
  color: #ffffff;
  text-shadow: 2px 2px 2px #000000;
}
In the code above, replace "custom-class" with the custom class you added to the image block. You can also customize the font size, color, and other styling options to match your preferences.
3. Use WordPress Plugin
If you want the freedom to create completely custom page designs, then you will need a page builder plugin. One of the WordPress page builder plugins is SeedProd, which allows you to add text on top of any image across your entire website.
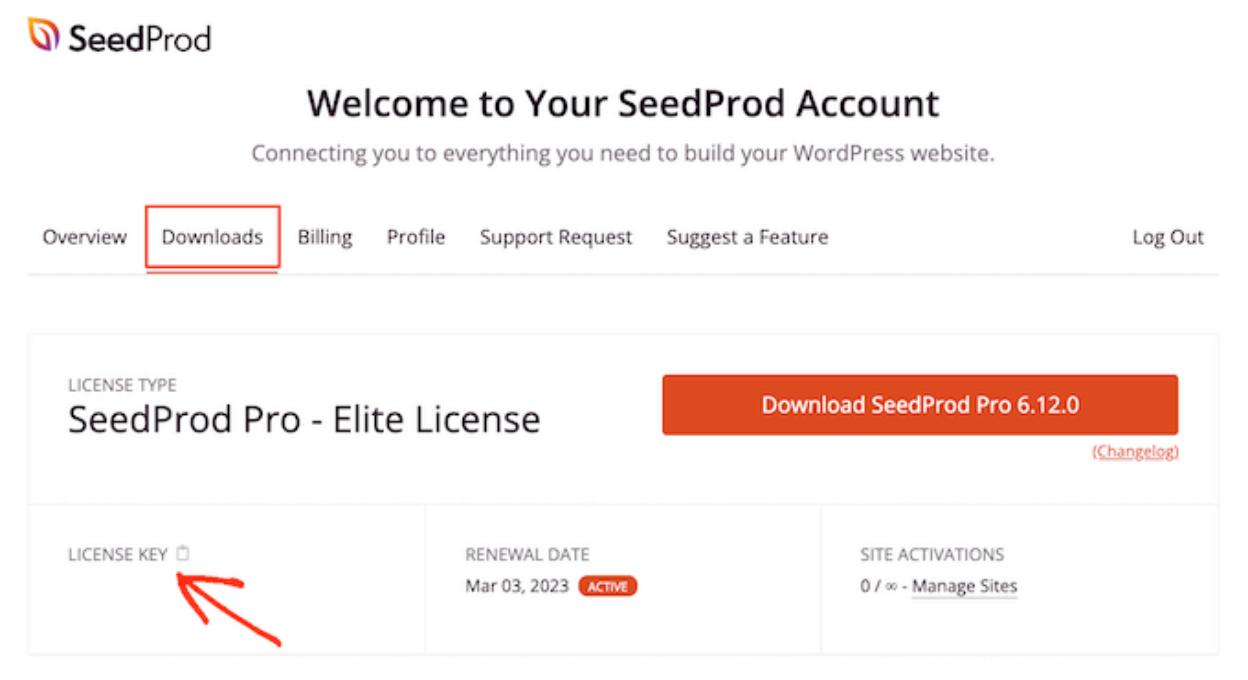
First, install and activate the SeedProd plugin. Upon activation, you'll need to enter a license key. Log in to your SeedProd account, then click on the Download tab.
Once done, copy the key in the License key section.
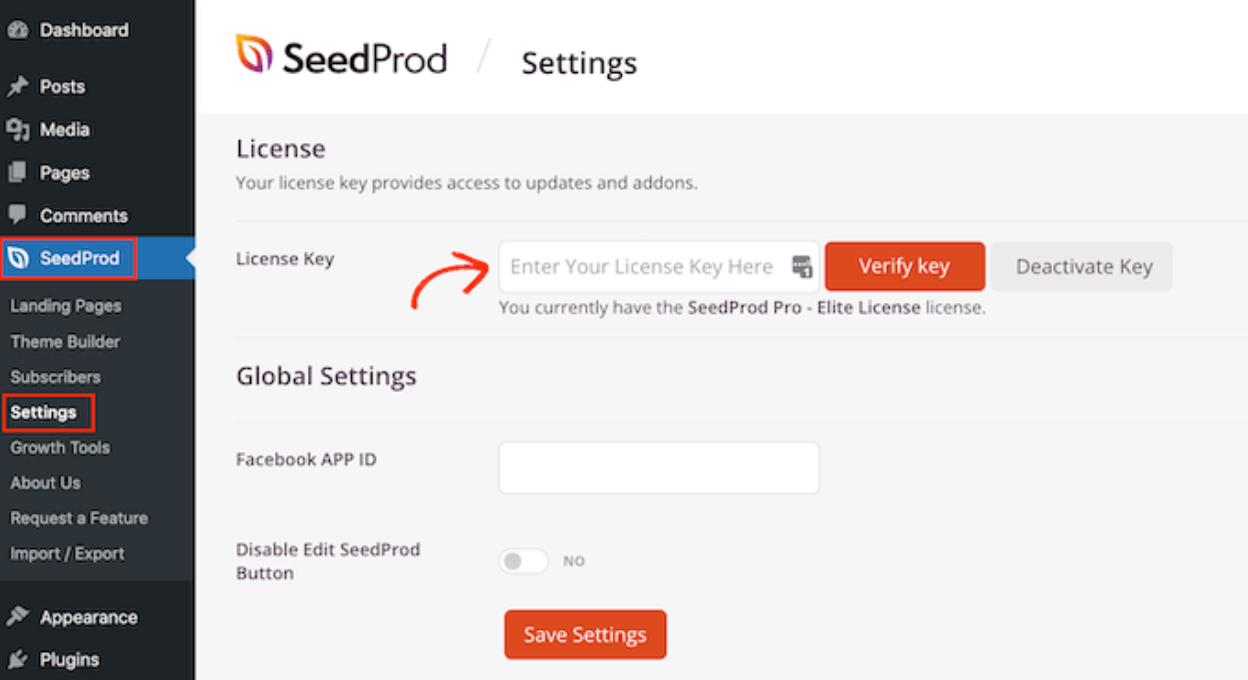
You can now paste this key into your WordPress admin area by going to the SeedProd » Settings page.
Once you are here, go ahead and paste your key into the License key field. Then, you simply need to click on Verify Key.
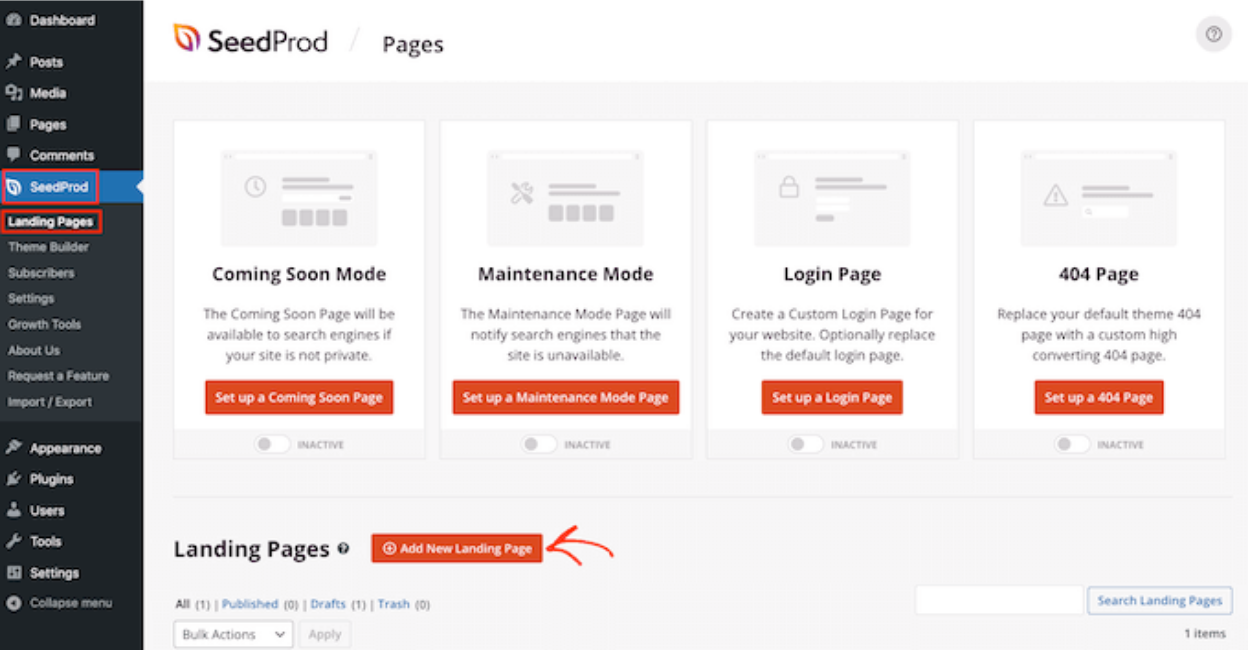
Next, going to head over to SeedProd » Landing Pages and click on Add New Landing Page.
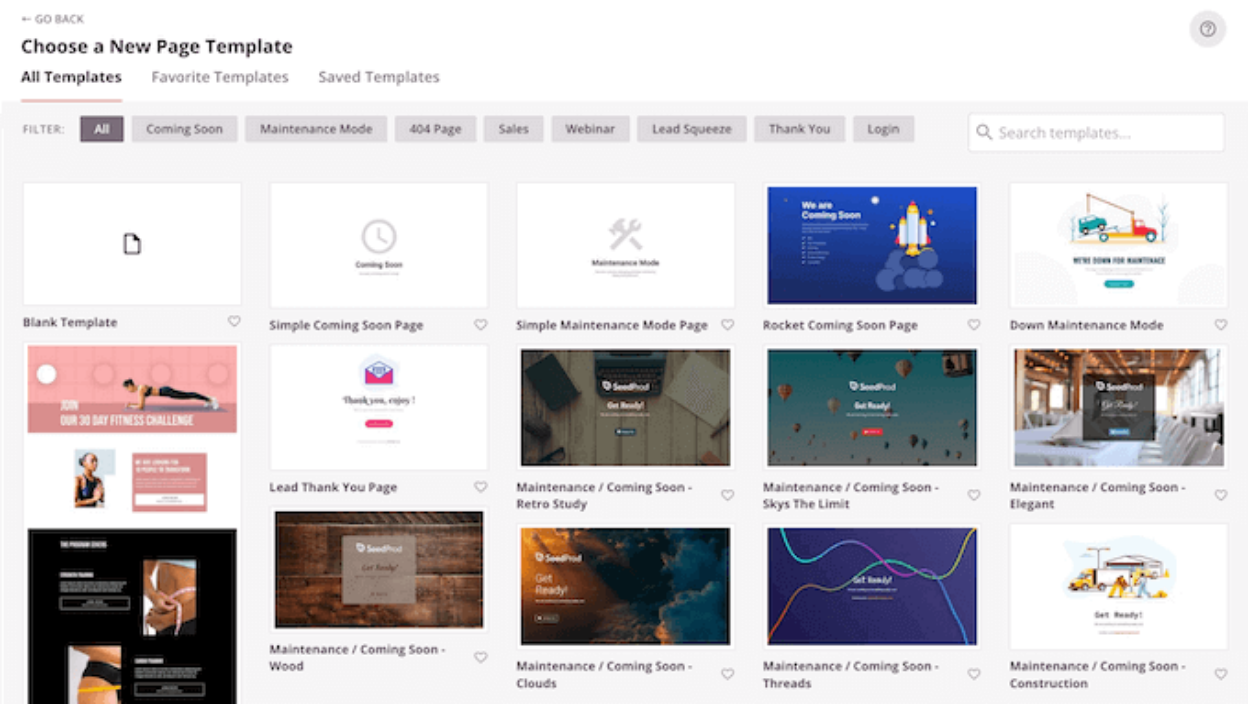
After that, choose a template. No matter what SeedProd template you choose, you can customize every part of the template to perfectly suit your website and branding.
However, if you prefer to start with a blank canvas, then click on the Blank Template.
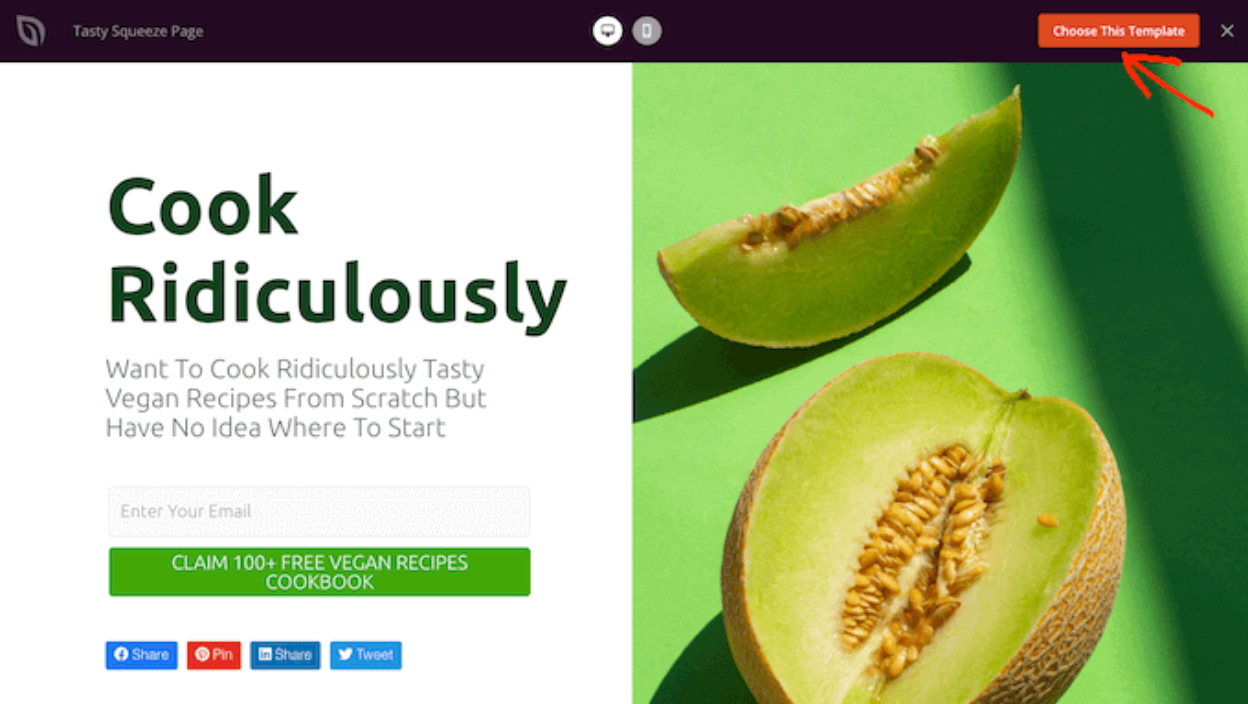
Once you've found a template, hover your mouse over it. You can then click on the Preview icon.
If you're happy with how this template looks, then go ahead and click on the Choose This Template button.
In the Page Name field, type in a name for the page.
If you want to change the automatically-created URL, edit the text in the Page URL field.
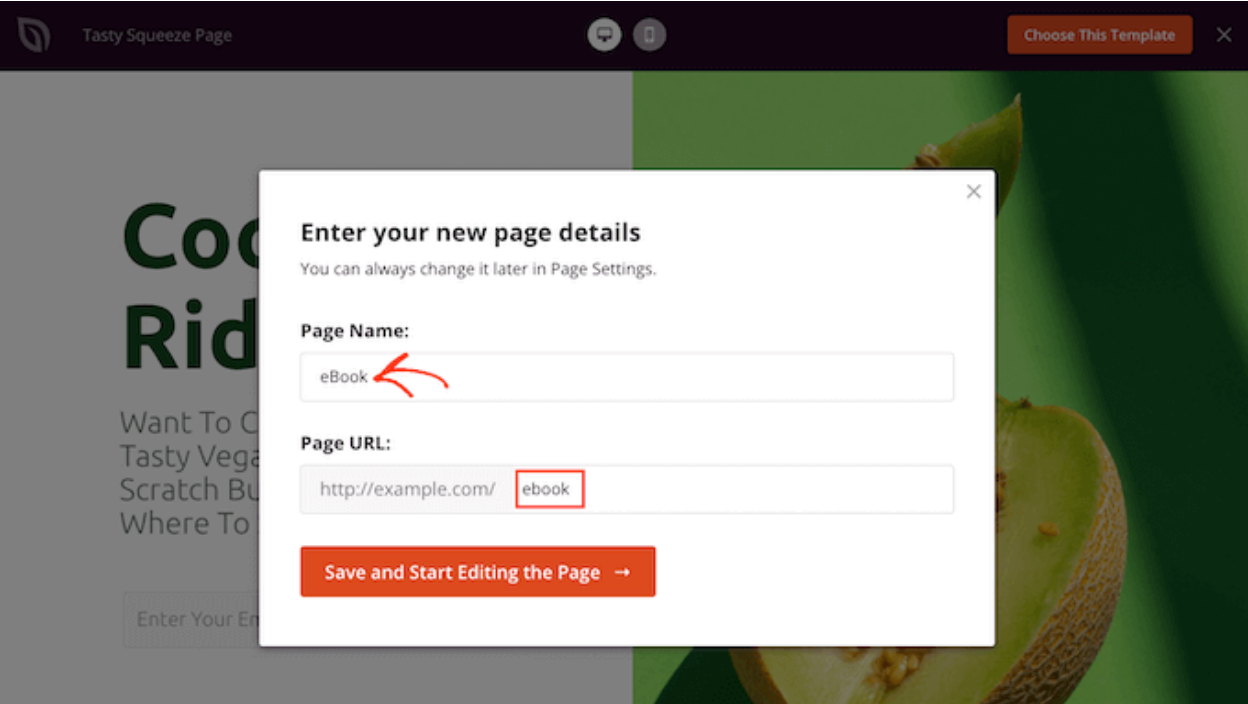
Click on the Save and Start Editing the Page button. This will open the template in SeedProd's drag-and-drop editor.
In the left-hand sidebar, you'll see all the blocks and sections that you can add to your page using drag and drop.
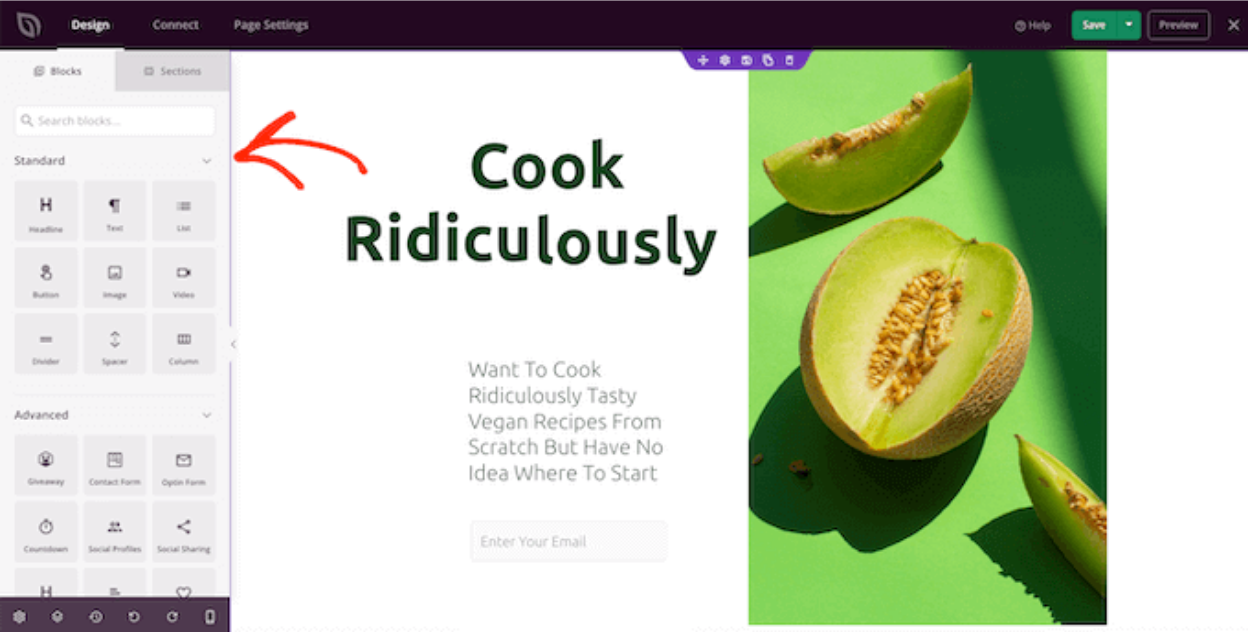
Unless you're using the Blank Template, your SeedProd page will already have some blocks and sections. To edit any of this content, click to select the block or section.
SeedProd's left-hand menu will now show all the settings you can use to customize this block or section.
The easiest way to add text on top of an image is by using one of SeedProd's ready-made Hero sections.
These sections have a placeholder, full-width background image, with some placeholder text added on top. You can simply replace the default background image and text with your own content.
Click on the Section tab in the left-hand menu.
Then, click on Hero to see all of the ready-made hero sections that you can add to your page.
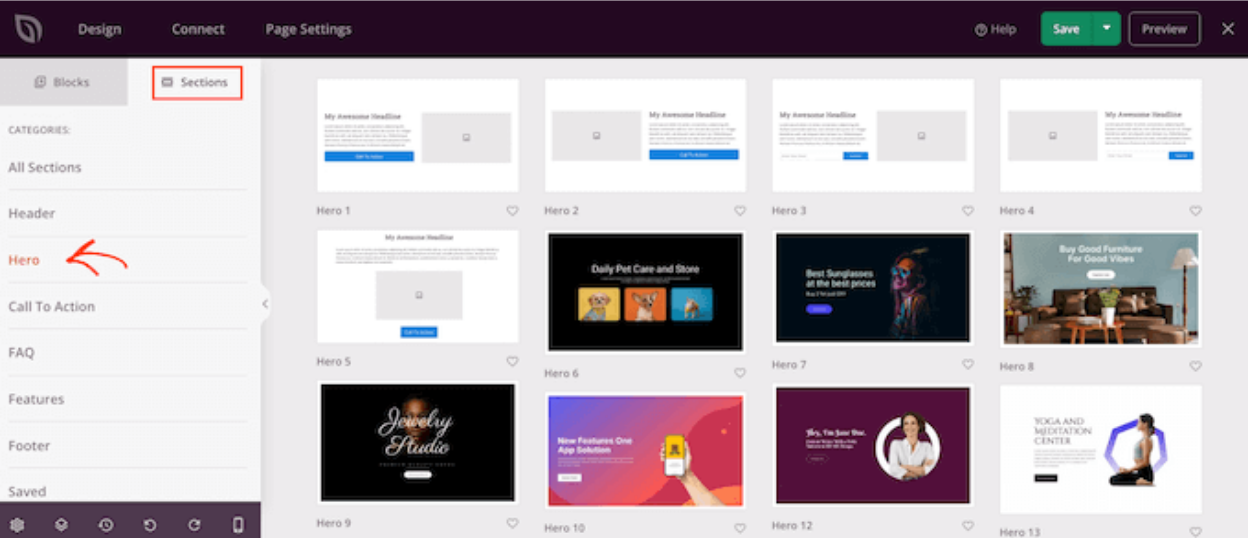
To go ahead and add this hero section to your design, just click on Choose This Section.

Click on the stock image to select it if you want to replace the template's stock with your own image.
Hover Background Image preview until a trash can icon appears. You can then go ahead and click on this icon to delete the placeholder image.

Next, click on Use Your Own Image. You can then either choose an image from the WordPress media library or use a stock image.
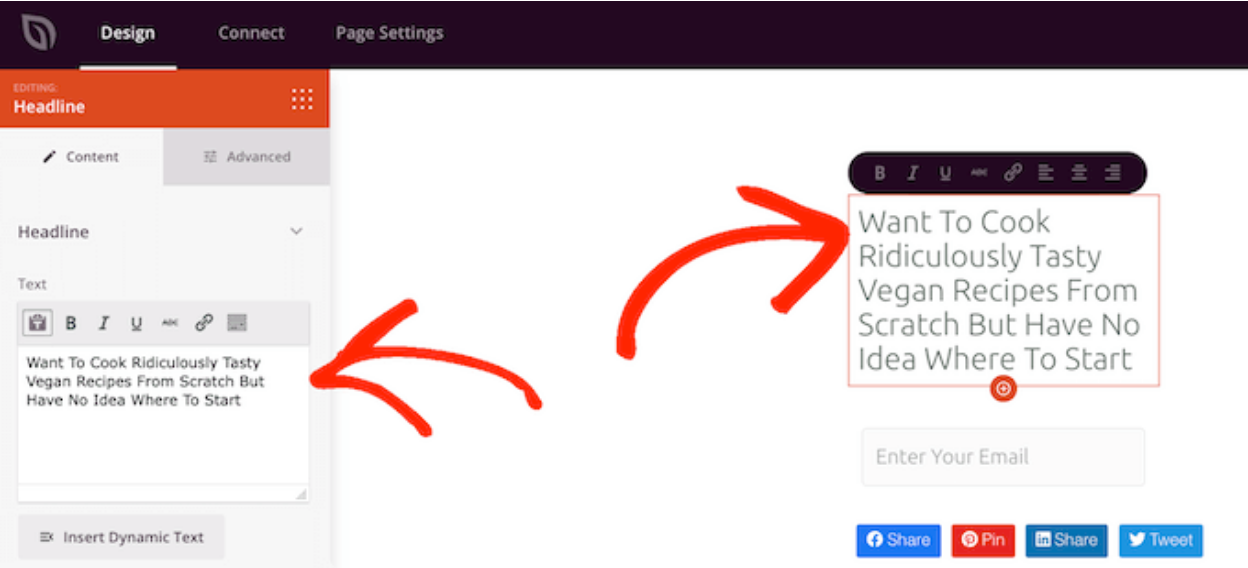
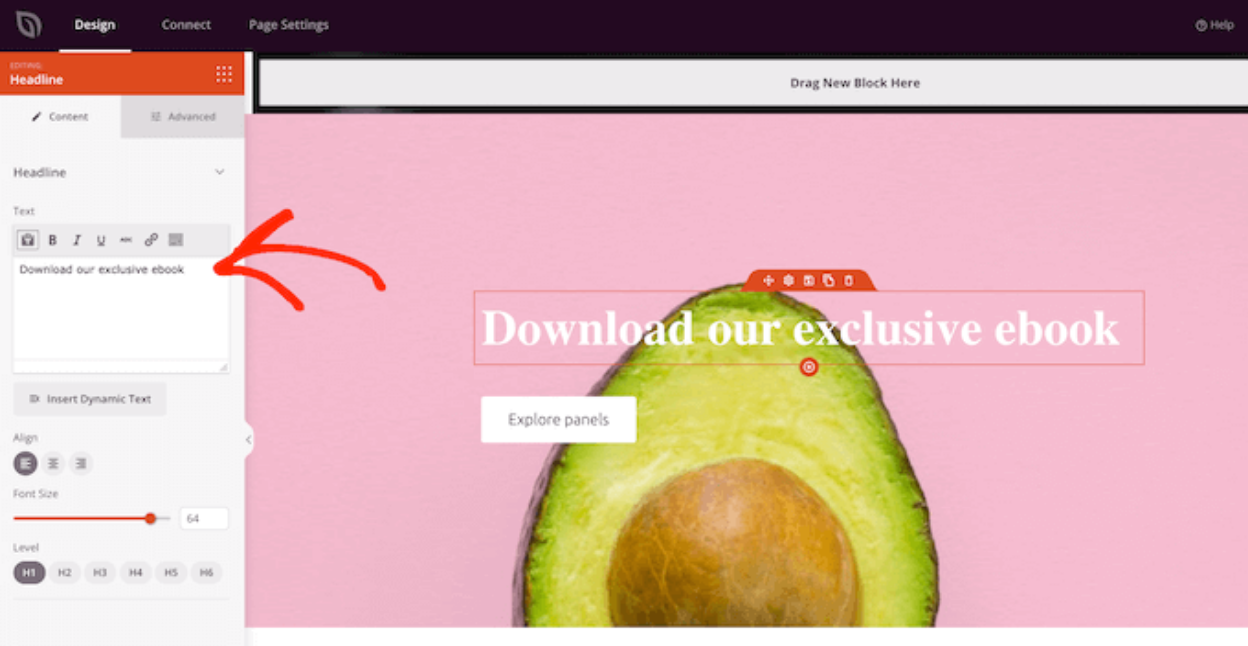
Once you've added an image, you are ready to replace the placeholder text.
Click to select the Text Block. Then in the Text area, simply type in the text that you want to use.
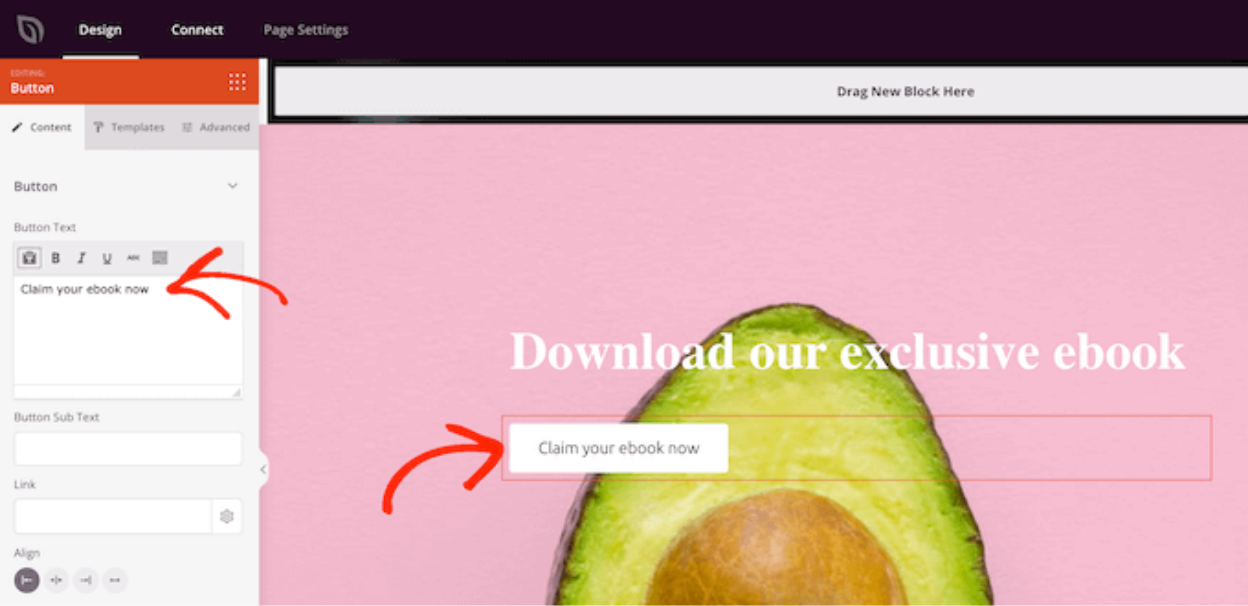
Some of SeedProd's hero templates have extra content, such as call-to-action buttons.
If you want to change this content, click to select the block and then make your changes in SeedProd's left-hand menu.
Another option is to delete the block from the hero template.
To do this, click to select the block and then click on the trash icon.

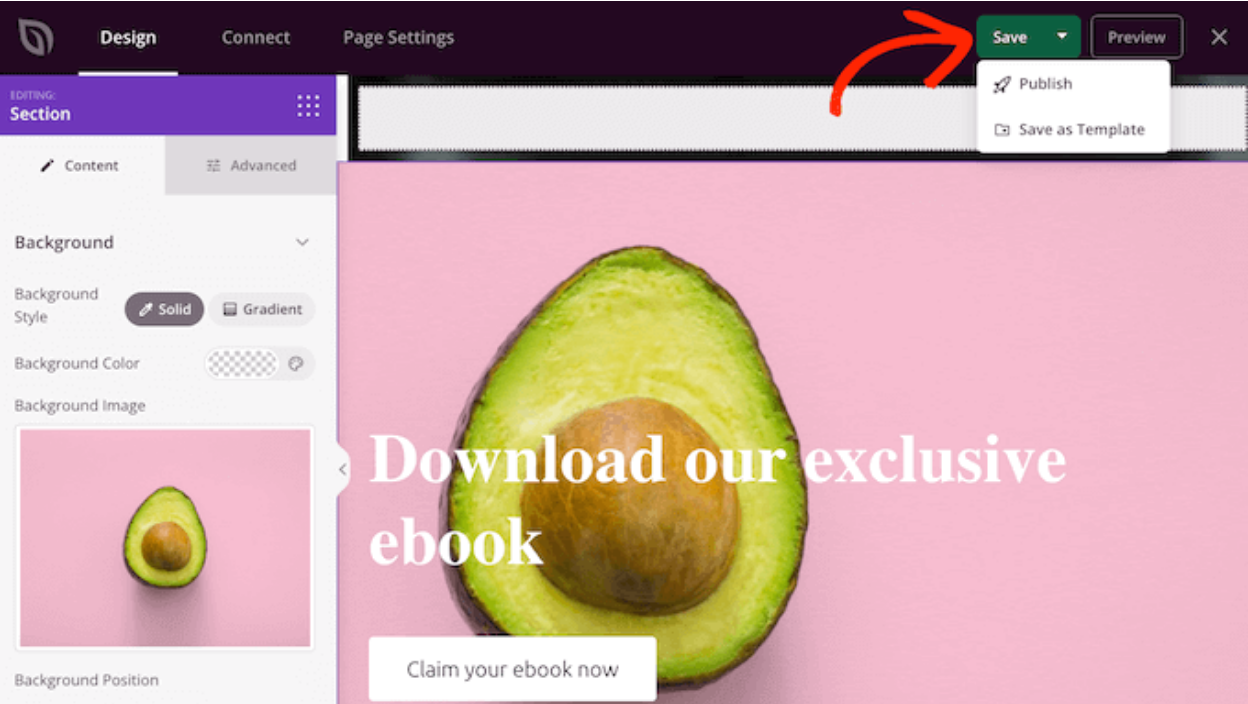
If you're satisfied with your page design, click on the Save button.
From here, you can choose to publish the page or save it as a template.
Calling all webmasters!
Save time and boost productivity with WP Media Folder. Effortlessly organize client media
files, create custom
galleries, and provide a seamless user experience.
Upgrade your website projects now!
Conclusion
That's all of three methods to add text on top of an image in WordPress. Easy right? Choose the approach that best fits your skill level and design preferences.
Moreover, organize, optimize, and manage your media files like a pro with WP Media Folder. It's the right time to say goodbye to messy libraries!
When you subscribe to the blog, we will send you an e-mail when there are new updates on the site so you wouldn't miss them.


Comments