Step-by-Step Guide: How to Setup WordPress File Download Access Limitation

If you run a website that offers downloadable content such as eBooks, PDFs, videos, or exclusive assets, a file repository is one of the most valuable tools you can offer to your users. It provides a safe way to share files with them.
Moreover, controlling who is able to download files on your site can help you manage security. It ensures that only certain user roles or paying customers can download and use your products.
In this article, we will show you through step-by-step how to go about this. Let's find out!
In this post, we'll walk you through step-by-step how to go about this. We'll cover:
Table of content
How to Restrict File Download Access in WordPress
In order to be able to follow this tutorial, we will need WP File Download. With this tool, we can set a limitation per user role to download or upload only for certain of them, create personal user repositories so the user can only see their own file.
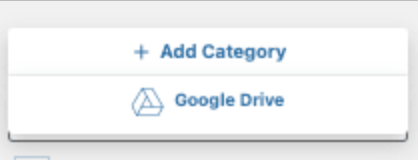
- First of all, you need to create the category. Go to WP File Download. Then, click +Add Category.
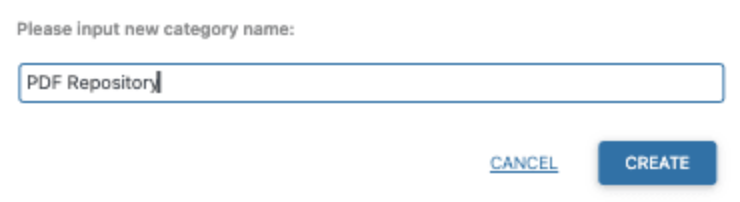
- This shows a pop-up where we can type the name of the category that we will use to create the repository. For instance, we will call this category PDF Repository.
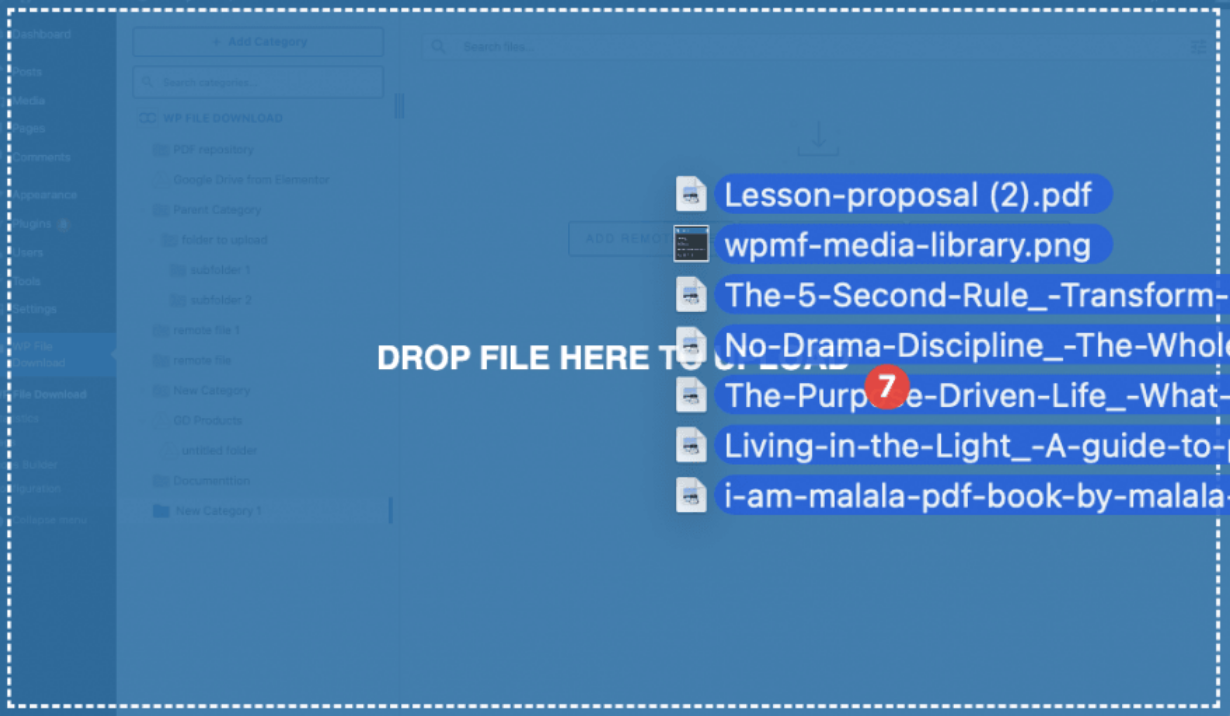
- The new category will appear on the left side bar. Click on it, and on the right panel, we will be able to upload the files that we want to add.

- Select them from PC and drag-and-drop to the right panel that opens after clicking the category to upload the files.
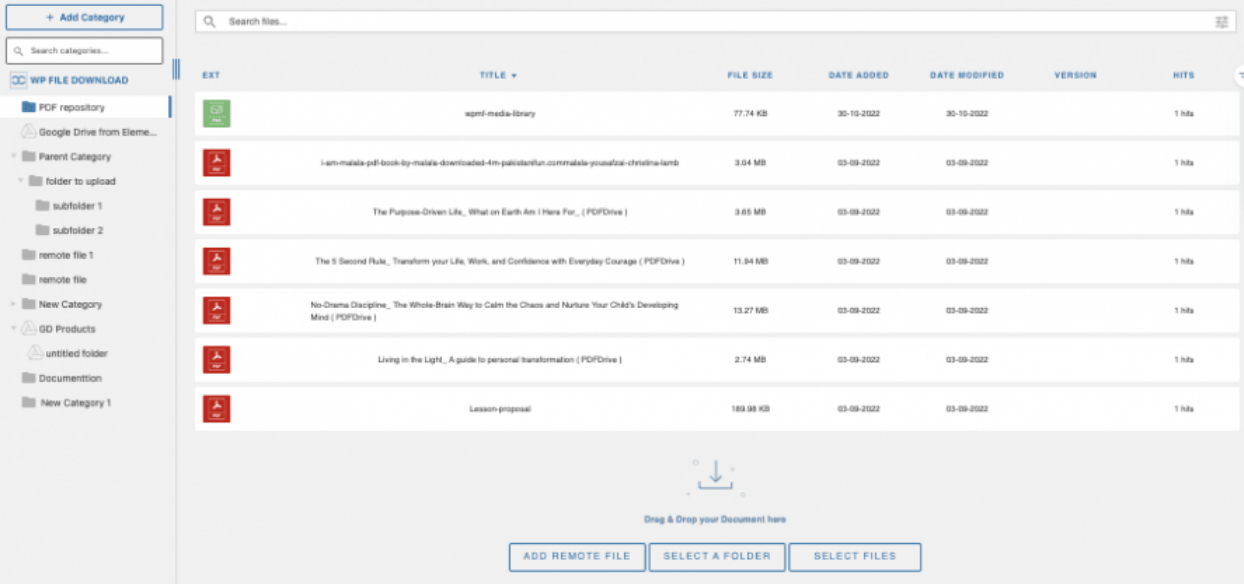
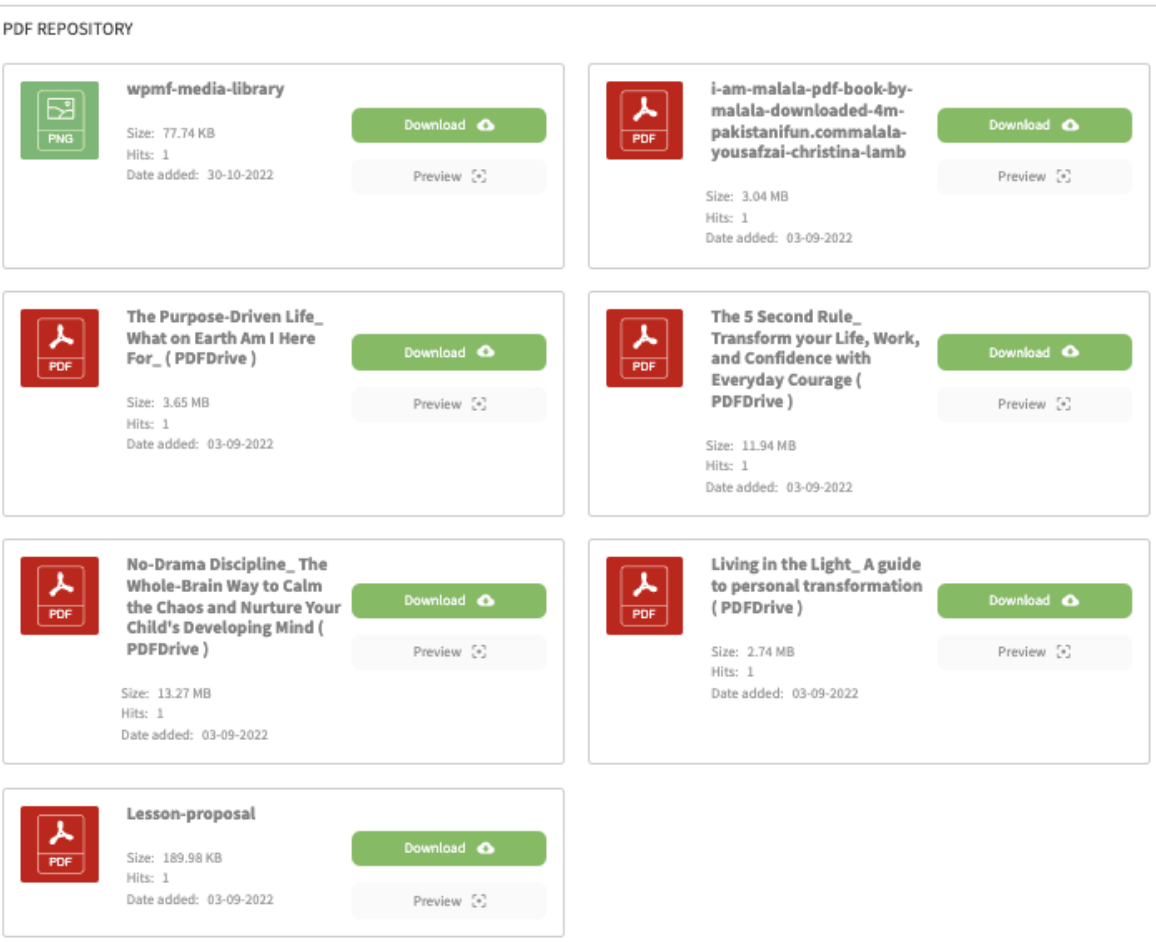
- The files will appear inside the category available to be downloaded if we publish the category.
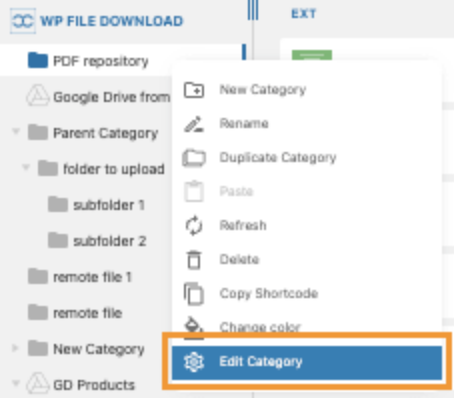
- To make it available only for a certain role, we will need to do a right click on the category name and click on Edit Category.
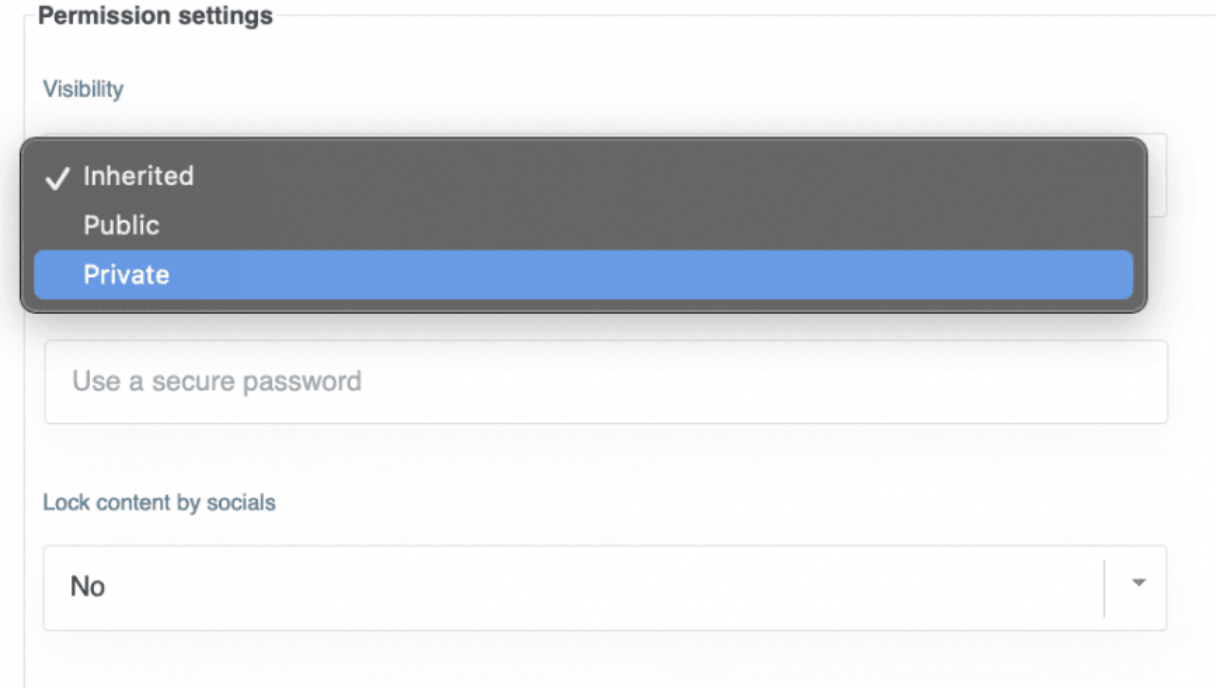
- There is a Permissions Settings block where we will be able to see a Visibility option with a dropdown. Click on it and then click on Private.
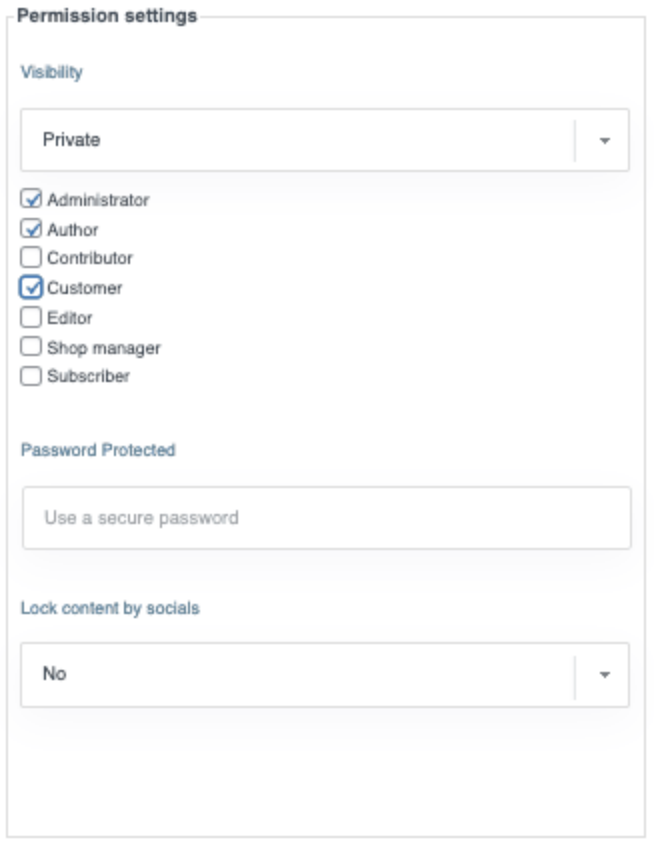
- Then, you can select the role that you want to be able to see and download the category. This will also protect the download link, meaning that the file won't be downloadable if the user is not logged in with an allowed role. Custom roles will also appear like this.
Furthermore, you can use the other available settings to customize further categories like changing colors, setting margins, and selecting the theme.
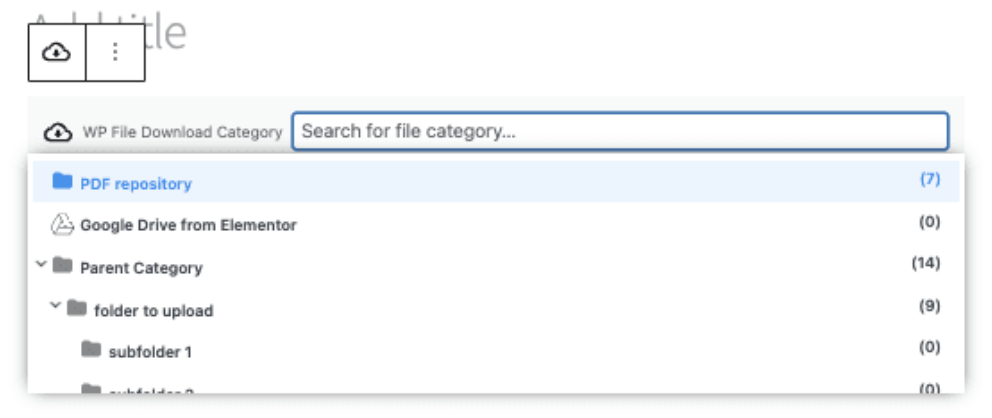
- After that, save the settings and go to the post where we want to show it using the WP File Download box available on all major editors.
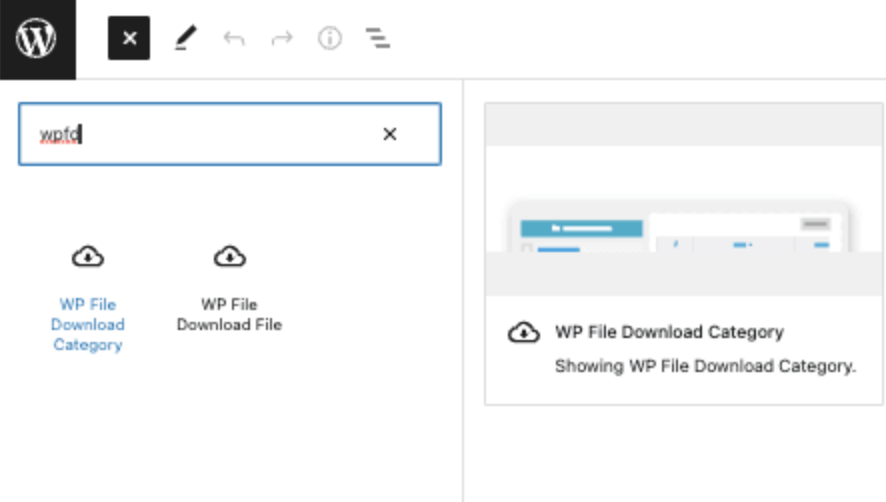
- Click on one of the categories that you want to add to your content, and publish or update your post.
- The files in the frontend will be available only for these roles that were added to the visibility option.
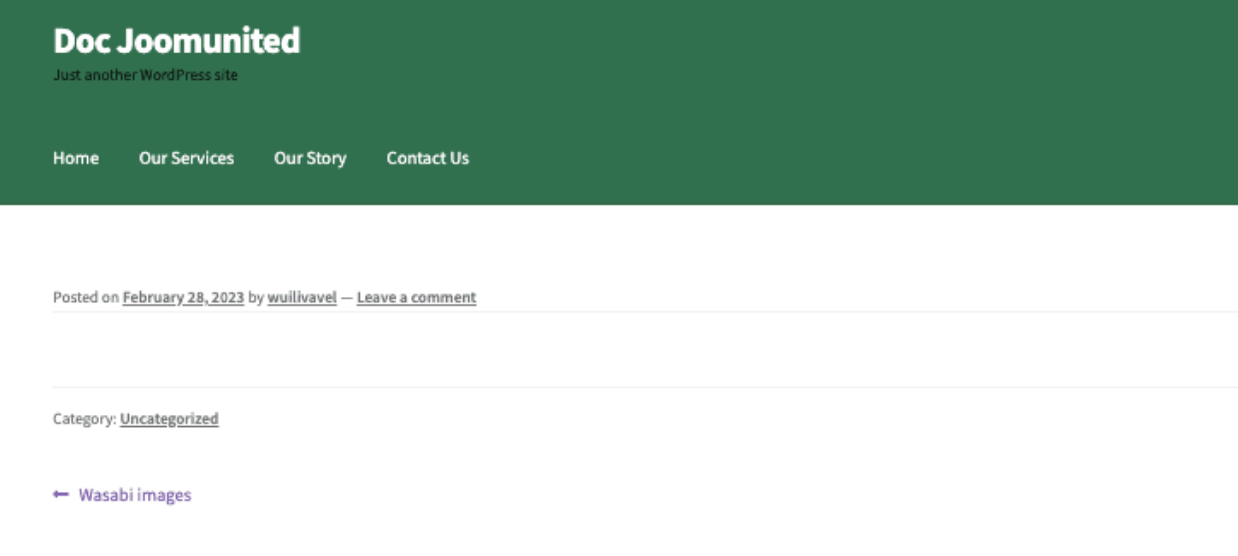
- If you access the category page on a browser where you're not logged in or using a different role, the category won't appear at all.
So this is it! A private download repository created in just a few clicks!
Looking for a powerful file management solution for client websites?
WP File Download is the answer. With advanced features like file categories, access
restrictions, and intuitive UI.
Impress your clients with top-notch file organization!
How to Limit Access by User's Role
If you want to create a personal user repository so that each user can have and manage their own files, follow this tutorial!
- First, go to WP File Download > Configuration > File Access > User Role
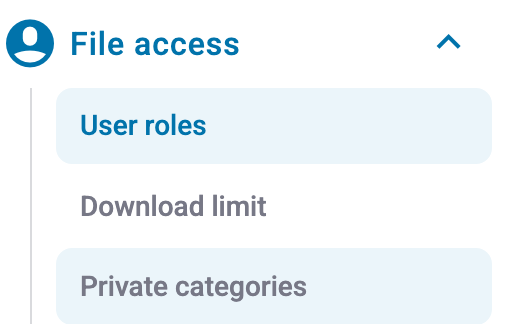
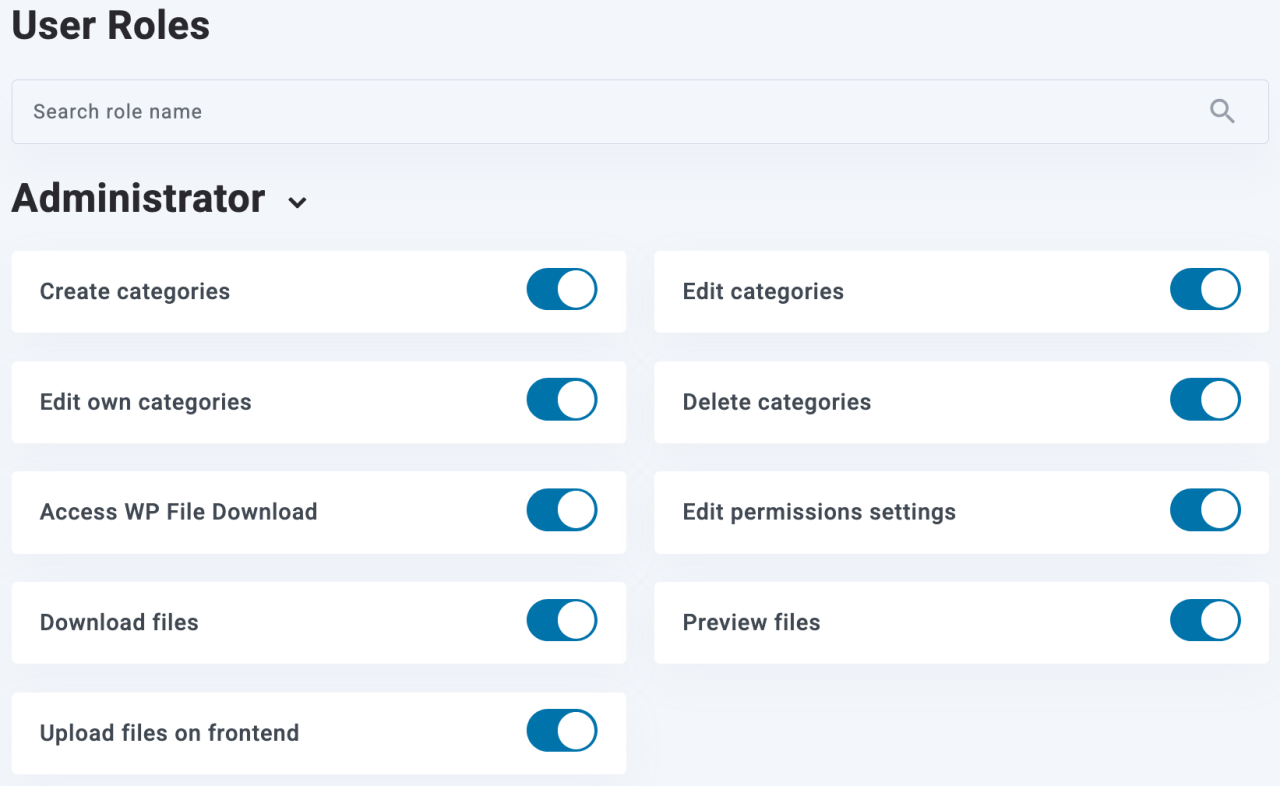
- We will see all the permissions available per user role, including the custom roles that we could create on our site. This is the explanation of each permission:
- Create Categories: To create categories on their own.
- Edit Categories: Allow the user to edit any category available to change the theme, colors, and margin.
- Edit Own Categories: Allow editing categories, but with the condition that the user should be the category owner (this option should be enabled from the main admin settings, explained in this tutorial).
- Delete Categories: To delete categories.
- Access WP File Download: Allow the user to access the WP File Download Dashboard in order to manage the categories from the wp-admin.
- Edit Permission Settings: Allow the user to edit the file or category permissions.
- Download Files: To download the files in the front for the user role.
- Preview Files: Allow users with this role to preview files in the published category.
- Upload Files in the Frontend: Allow users to use the file upload form that can be enabled from the category settings, so they don't need to access the wp-admin in order to upload a file.
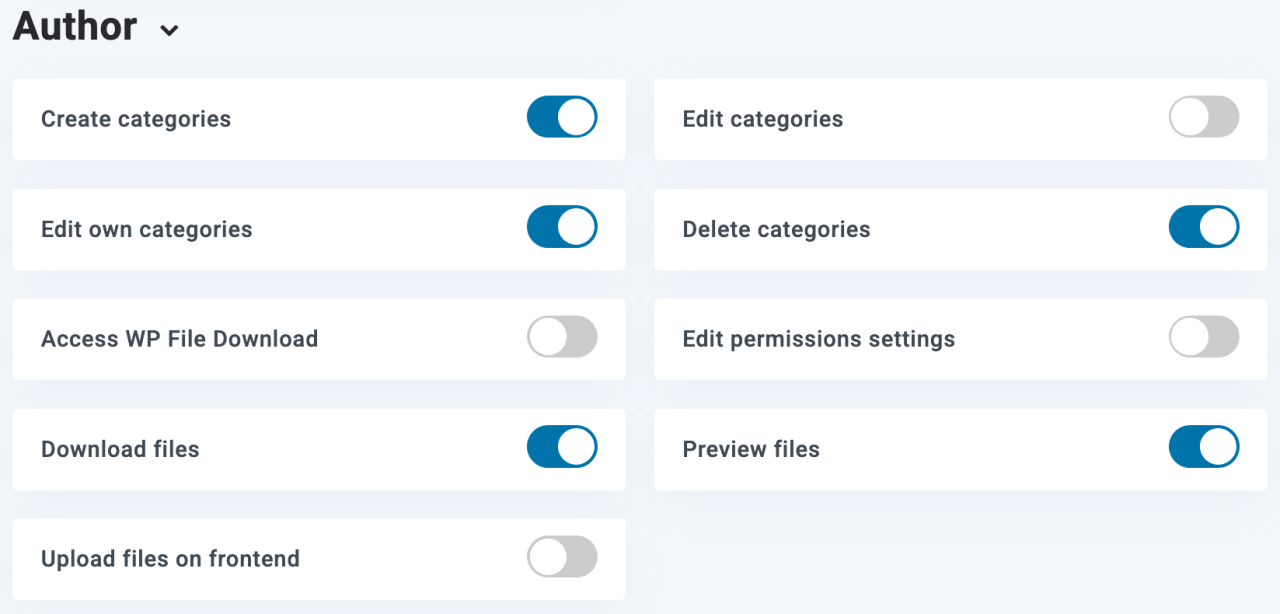
- For instance, we will set the author to be able to edit their own file repository, with the focus is Edit own categories permission.
- After this, enable other permissions like Create Category if you don't want to create categories for the users and Access WP File Download so they can access the wp-admin and create categories on their own as well.
- Then, the author will be able to access the wp-admin and create/manage their own file repository.

- However, if we don't want the author to create categories and we do want to assign them manually, go back to WP File Download > Configuration > File Access > User Role and deactivate the Create Categories option.
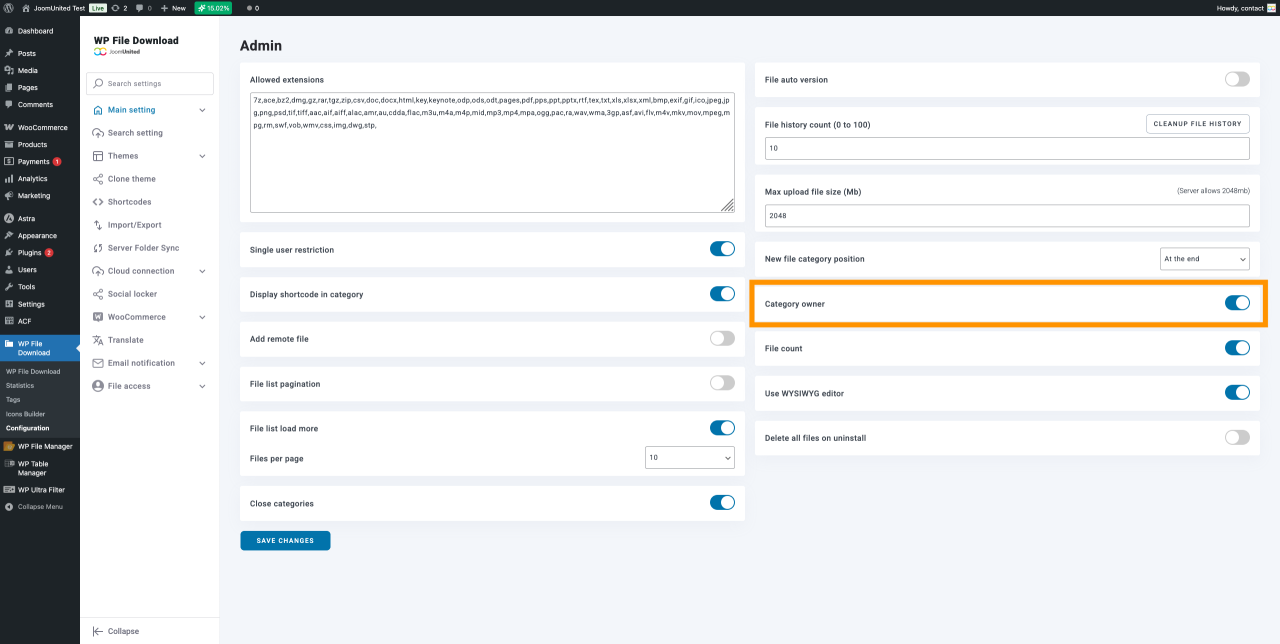
- Next, navigate to WP File Download > Configuration > Main Settings > Admin and enable the Category Owner option. This will allow us to set an owner on the categories that we want.
- Go to WP File Download > WP File Download, do a right-click on the category that we want to add to the specific author user. Click on Edit Category just as we did before.
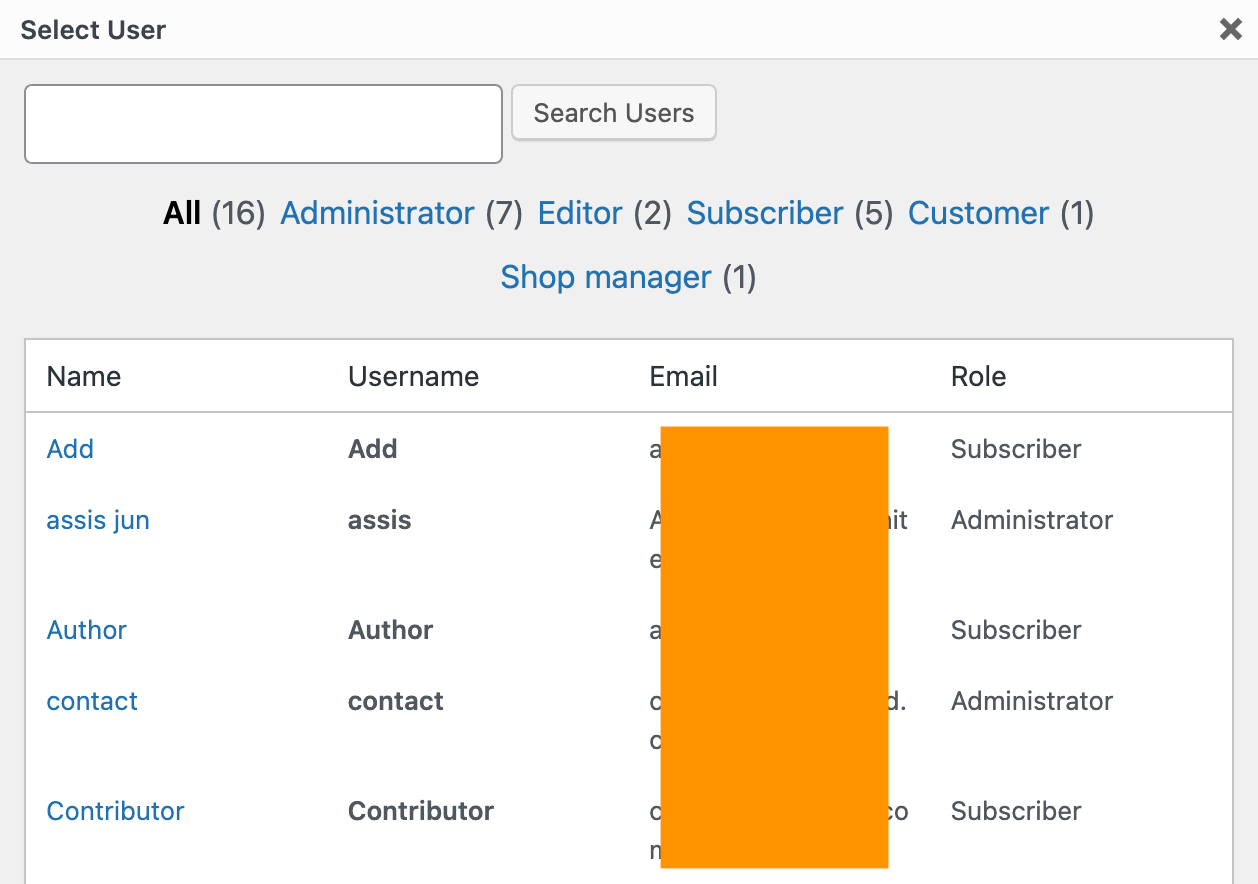
- We will see now an option for User Category Owner under the Permissions settings box. Click the user icon, and a modal with all the users will appear.
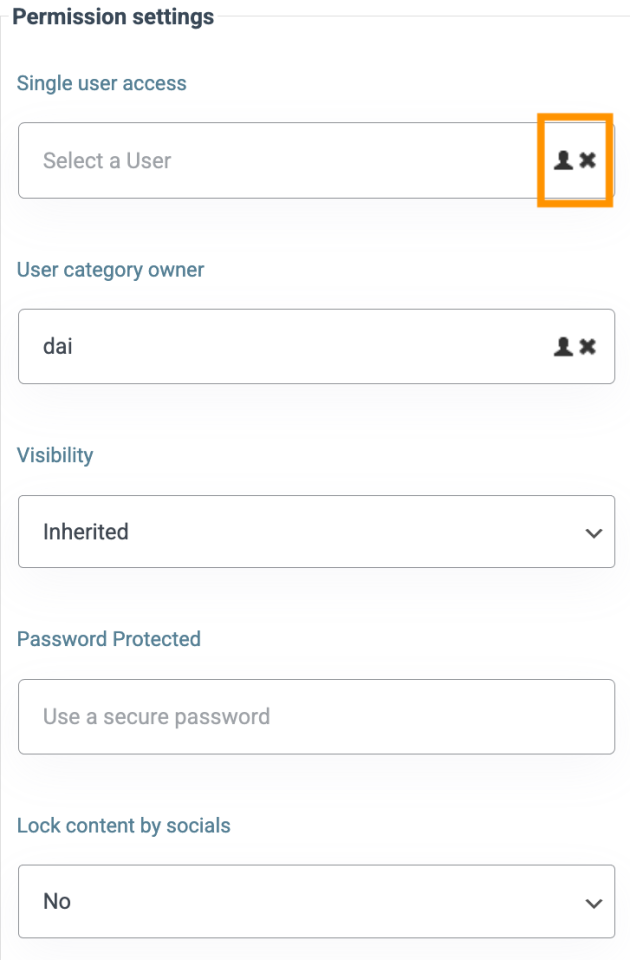
- We can select the user here that we want to assign. The category will be shown only for that user, so the user can manage it.
- The user will be shown in the User Owner Category input, so all we need to do is save, and the changes will be reflected on the author user. Then, the personal user repository is created with just a few clicks!
Best Practices for Secure File Sharing
As we know, file sharing is a fundamental part of today's digital world, especially for professional purposes. However, the convenience of sharing files online comes with significant security risks, as they can be exposed to potential threats if not shared securely.
That's why you need to following these best practices will help you protect your data and maintain the confidentiality and integrity of your files. There are several best practices for secure file sharing:
- Use a secure file-sharing service
- Enable encryption
- Implement access controls
- Use strong passwords and multi-factor authentication
- Regularly update software
- Educate users
- Use secure file transfer protocols
- Set expiration and access time limits
- Regularly audit and monitor activity
- Backup your files
Calling all webmasters!
Enhance your client websites with WP File Download. Create secure and customizable file
repositories, allowing clients
to easily access and manage their files.
Upgrade your web design services today!
Conclusion
Restricting file downloads in WordPress can help you better manage the security of your website and allow you to control which users have access to the downloads, as well as the terms, limits, and permissions for using them.
Moreover, using the WP File Download plugin can gain full control over your file downloads, from visual organization to user access and download stats. Purchase and download the plugin from JoomUnited to explore features and plans!
When you subscribe to the blog, we will send you an e-mail when there are new updates on the site so you wouldn't miss them.

Comments