How to Add WordPress Image Captions

Do you want to add captions to images in WordPress to provide relevant information about them? Adding captions to images uploaded to your WordPress site not only provides relevant information about the images.
- Image captions significantly boost SEO by providing search engines with contextual text that helps index images and improves searchability, leading to higher rankings and increased organic traffic.
- Well-crafted captions enhance user engagement by making images more informative and relatable, with posts containing relevant images receiving 94% more views than those without.
- Captions improve website accessibility by providing context for visually impaired users who rely on screen readers, ensuring all visitors can understand and engage with your visual content.
Table of content
- The Importance of Add WordPress Image Captions for your Website
- How to Add WordPress Image Captions From the Media Library
- How to Add WordPress Image Captions in the Block Editor
- How to Add WordPress Image Captions in the Classic Editor
- How to Add WordPress Gallery Captions
- Best Practices for Writing Descriptive and Informative Captions
- Conclusion
Did you know that image captions also impact factors like improving your site's SEO? That's right—search engines favor content that is informative and well-structured. So, let's learn together how to maximize the potential of your images by adding engaging and useful captions.
The Importance of Add WordPress Image Captions for your Website

You might be wondering how important it is to add captions to images uploaded on WordPress. So, before we dive into how to add WordPress image captions, here are some key points about why adding image captions in WordPress is important for your website.
- Optimizing SEO: Search engines love content rich in information. Image captions provide additional context that can boost your SEO rankings.
- Enhancing user engagement: Captivating captions can hold the reader's attention longer, increasing the time spent on your site.
- Clarifying context: Sometimes, images alone don't tell the whole story. Captions help explain details that might not be immediately obvious or easily understood.
- Encouraging social interaction: Engaging captions can encourage readers to share your content on social media, expanding your reach.
How to Add WordPress Image Captions From the Media Library
The first way is to add captions to WordPress images via the media library. Click Media > Library > Add New Media File > Select File.

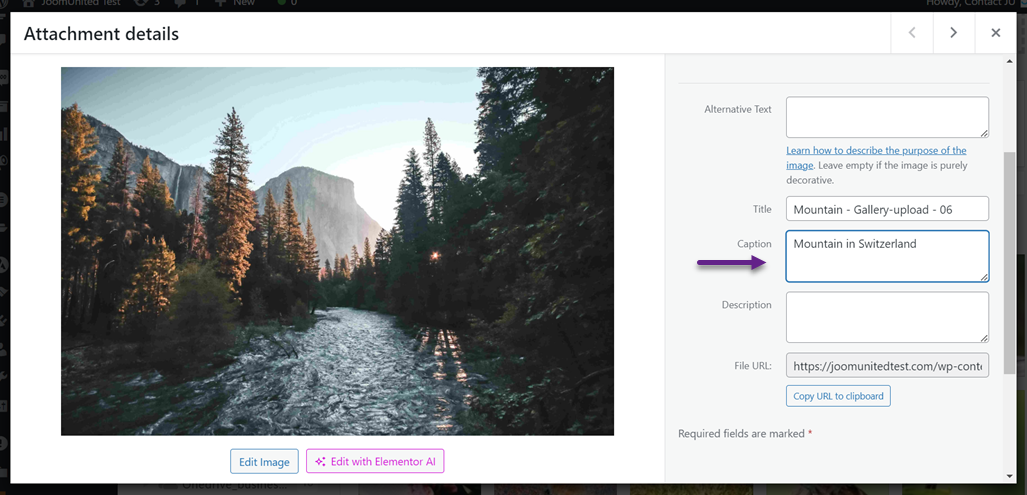
After the image has been successfully uploaded, click on it, and a display like the one below will appear. In the Caption column, enter a caption relevant to the uploaded image.
How to Add WordPress Image Captions in the Block Editor
Apart from adding via the media library, you can also add captions directly to the block editor. In the block editor, you have two options, choosing an image from the media library or uploading from a local computer.
Add WordPress Image Caption From Media Library in Block Editor
The first option is adding from the media library, which means you don't upload images from your computer but add them from existing media. Here are the steps.
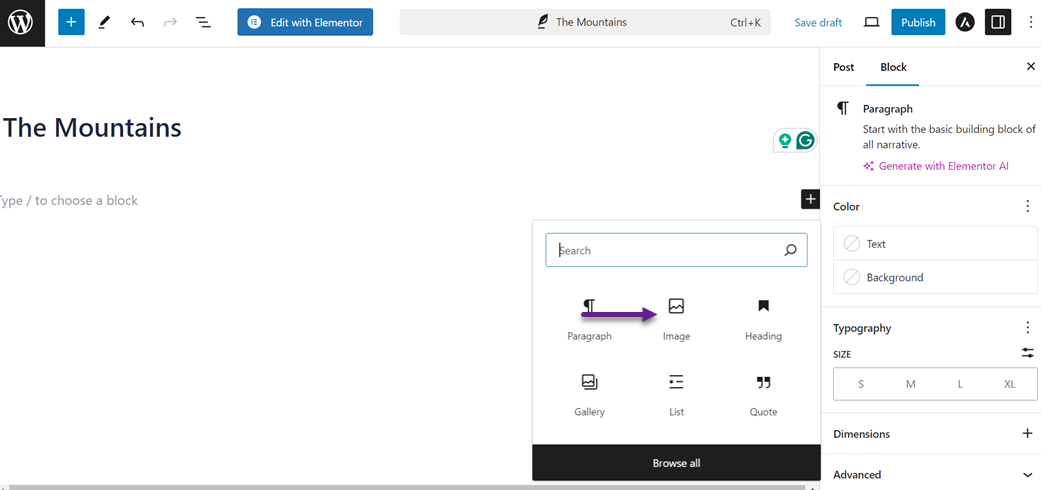
On the post you want to add an image to, click + to add a new block, then select image.
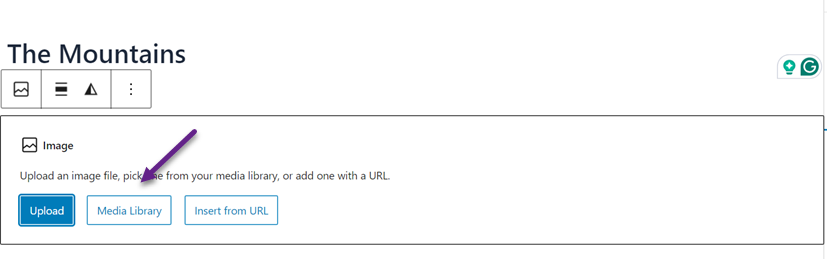
After that, select the Media Library button.
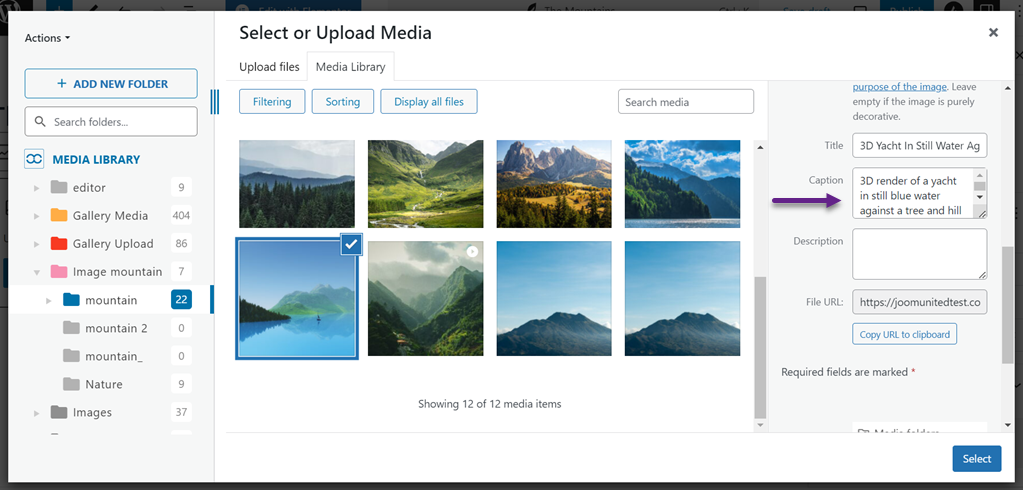
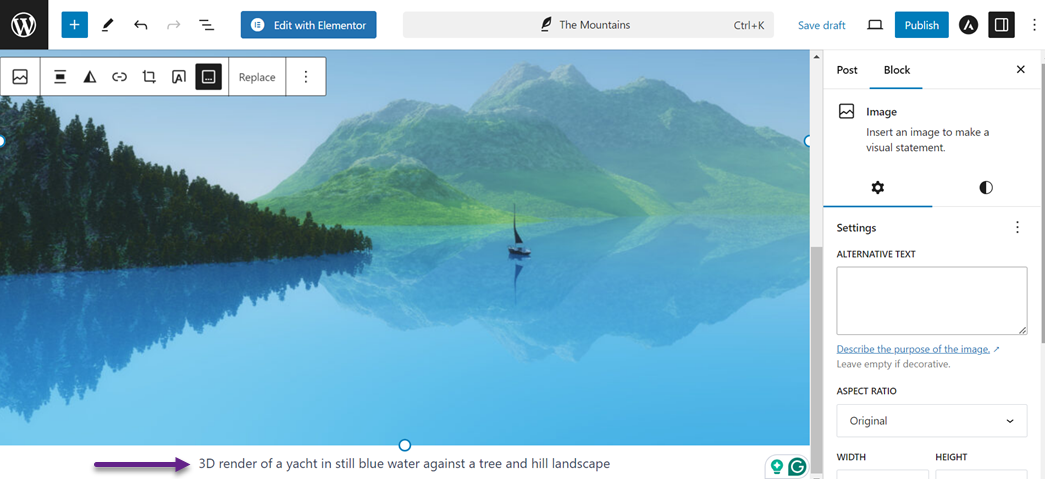
Select the image you want to insert, then enter a caption that is relevant to the image in the Caption column.
If the image is successfully added, the image display will appear along with the caption you have entered. If there is an error when writing the caption, you can also edit it directly here.
Add WordPress Image Caption From Upload in Block Editor
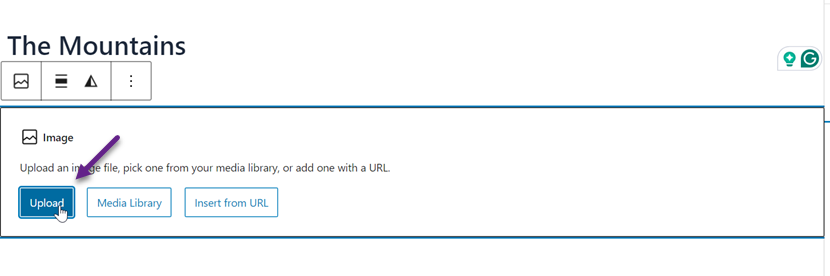
The first option is to add from upload, meaning you need to upload the image and add a caption at the same time. On the post you want to add an image to, click + to add a new block, then select Image.
Then select the Upload button.
After the image has been successfully uploaded, select the Add caption icon as in the following image.
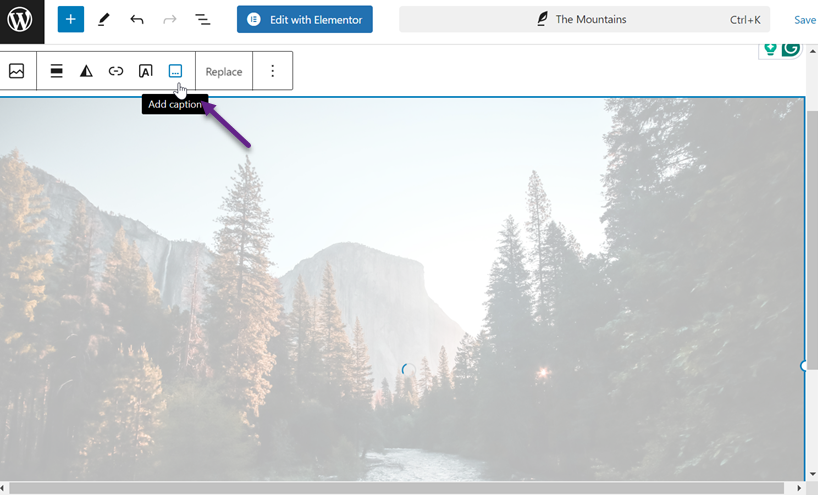
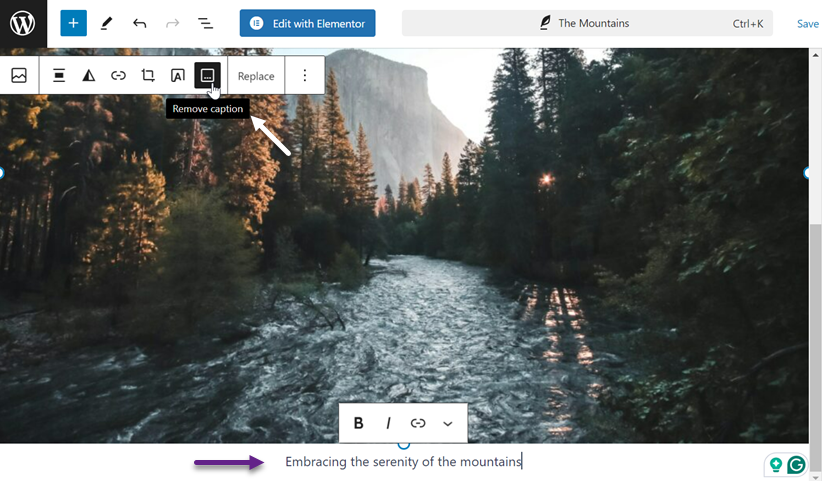
After that, enter the caption you want according to the image. If you want to delete the caption, just click the same feature as before.
How to Add WordPress Image Captions in the Classic Editor
If you don't use the block editor but the classic editor, you can still add captions to images quickly. Just like before, you have 2 options; via the media library or uploading an image.
Add WordPress Image Caption From Media Library in Classic Editor
The first option is to add from the media library. Open the post you want to add an image to, and click the Add Media button.

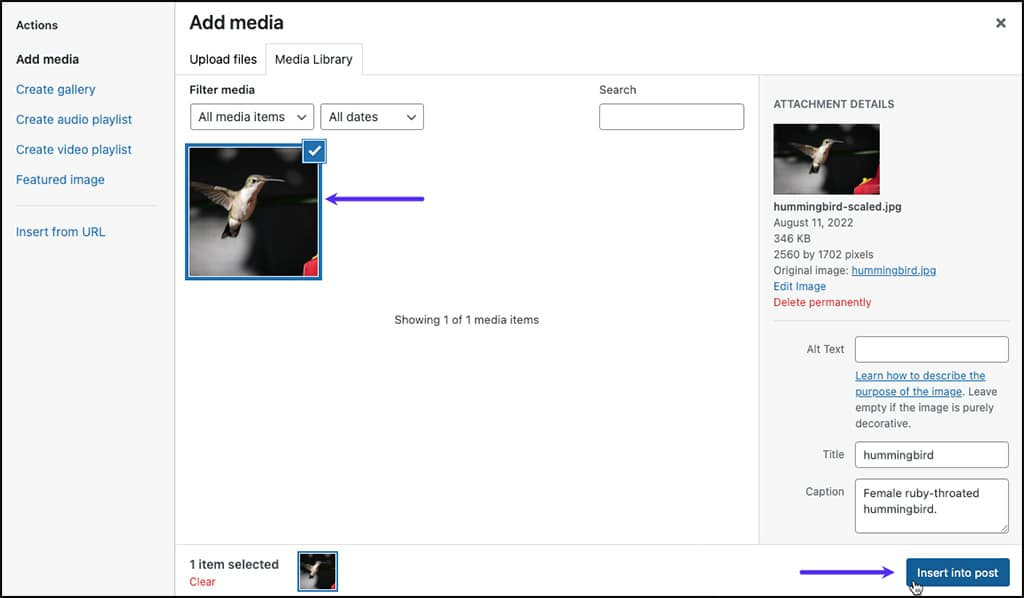
After that, select the image you want to insert, and then enter a caption in the Caption column. If so, click Insert into post.
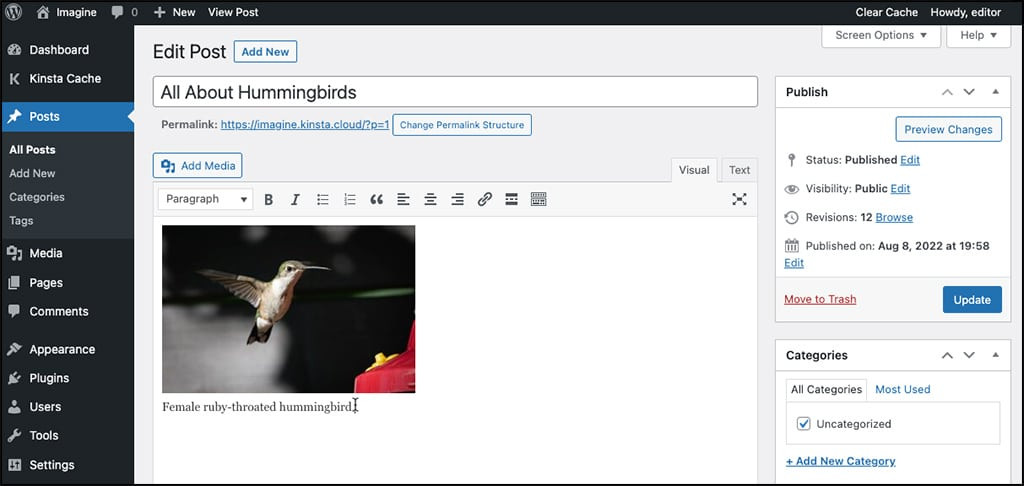
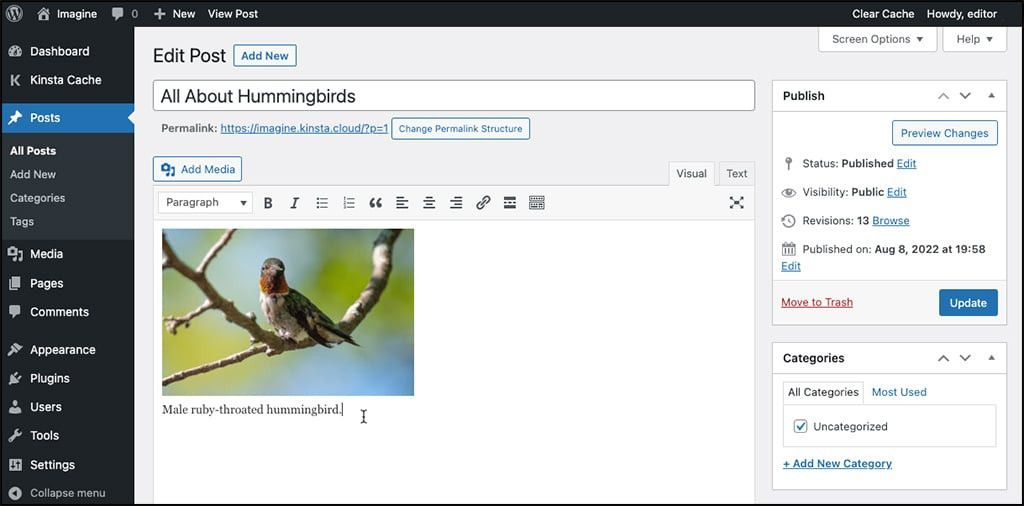
If the image is added successfully, it will look like this. The image will appear accompanied by a caption in the editor.
Add WordPress Image Caption From Upload in Classic Editor
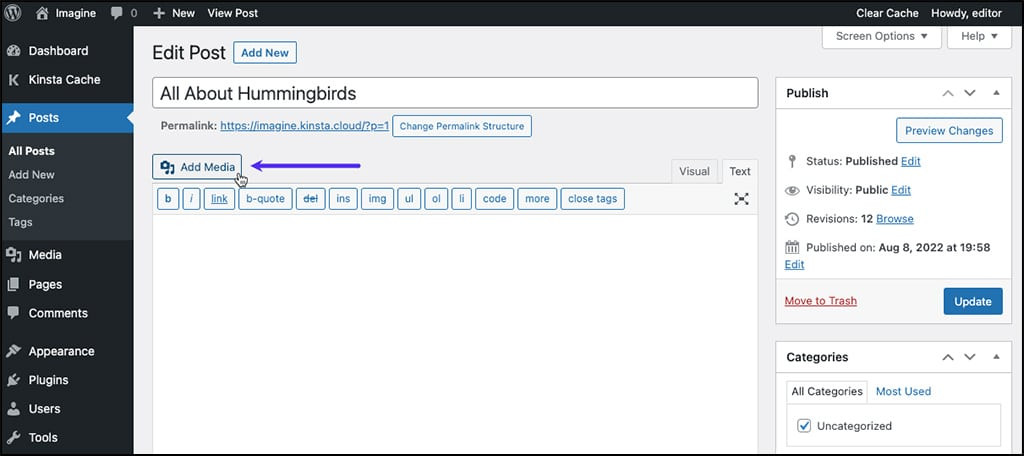
You can add images via the media library or upload them from your local computer. First, open the post to which you want to add an image and select the Add Media button.
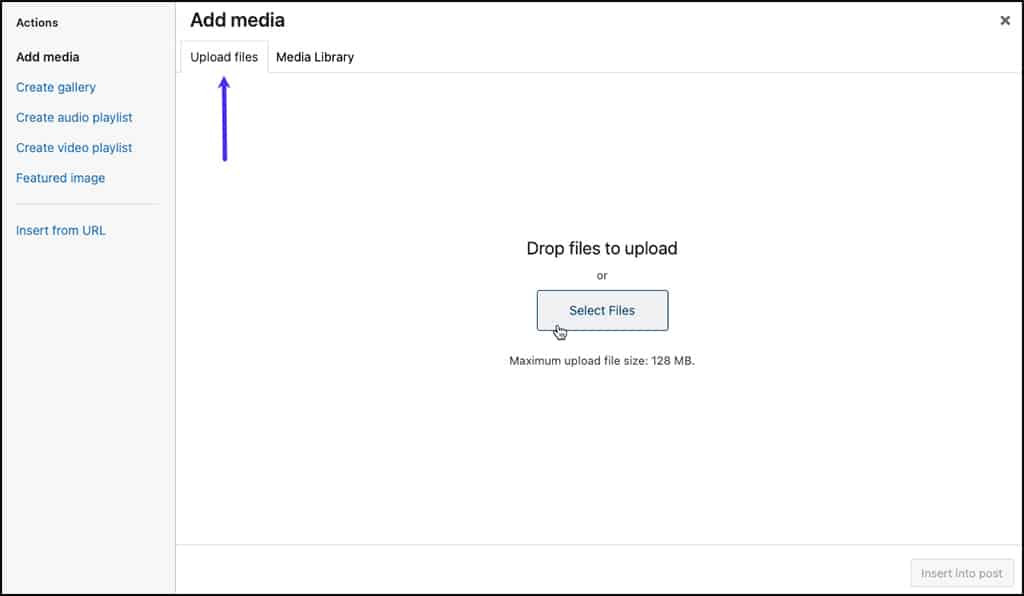
Then click on the Upload File button > Select File.
If the image is successfully uploaded, a display like the one below will appear. Next, if you have selected Insert to post, you can immediately enter a caption in the Caption column according to the context of the image.

Once added successfully, a display like the one below will appear on the editor page.
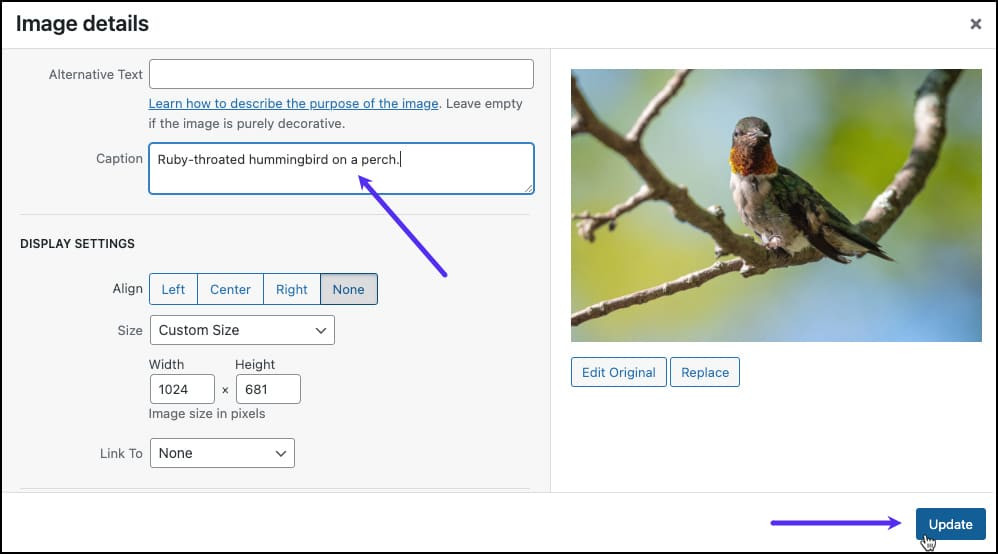
If there is an error when writing the caption in the image, click on the Edit icon below.
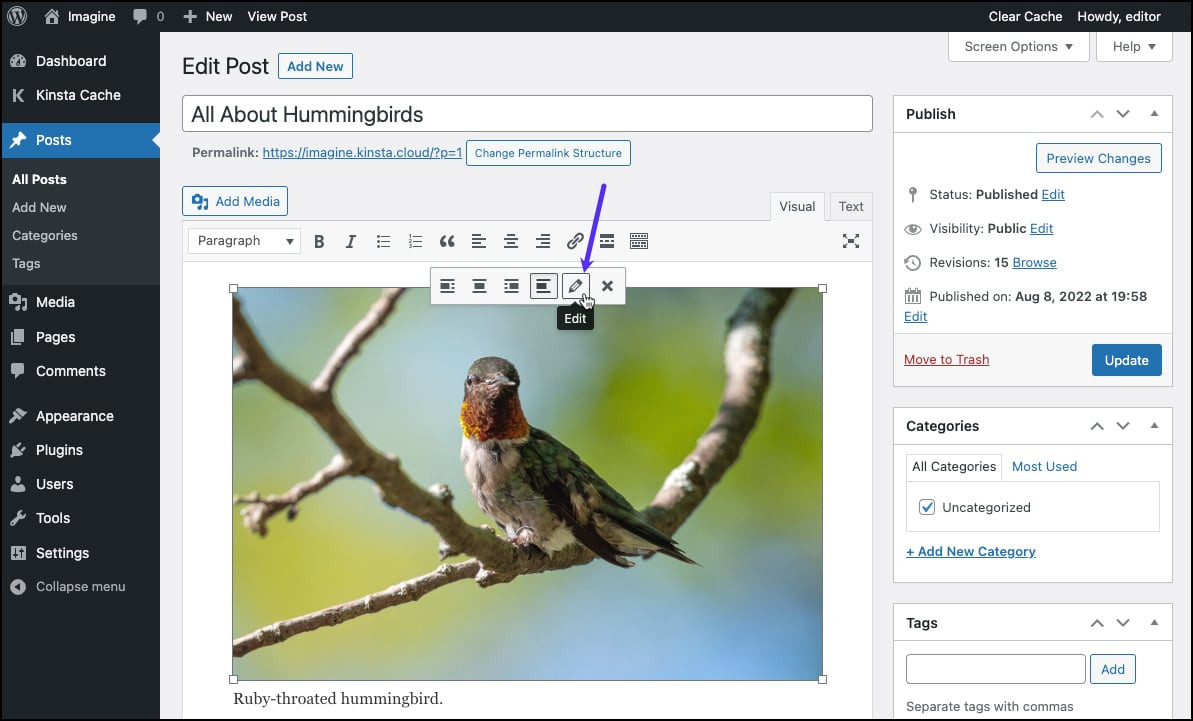
How to Add WordPress Image CaptionsThe detailed image display then appears. Here, you can immediately edit the caption. If so, click Update to save the changes.
Say goodbye to messy media library.
WP Media Folder lets you categorize files, sync folders with
cloud storage, create amazing galleries and even
replace images without breaking links.
Optimize your media workflow today
How to Add WordPress Gallery Captions
You can also add captions to images and add them to the WordPress gallery. In this method, we will discuss two options, the block editor and the classic editor.
Add WordPress Gallery Caption Using Block Editor
The first method is to add captions to the WordPress gallery using the block editor. But before that, you need to create a WordPress gallery containing images or videos.
To create it, you can go directly through the media library or use the WordPress media folder gallery plugin. Compared to the default media library, plugins allow you to customize the gallery freely, for example, with various gallery themes, and easily upload images from Google Drive, One Drive, or other platforms.
Here, we will try to create a gallery using one of the plugins, WP Media Folder. Before that, make sure you have followed the WP Media Folder installation steps.
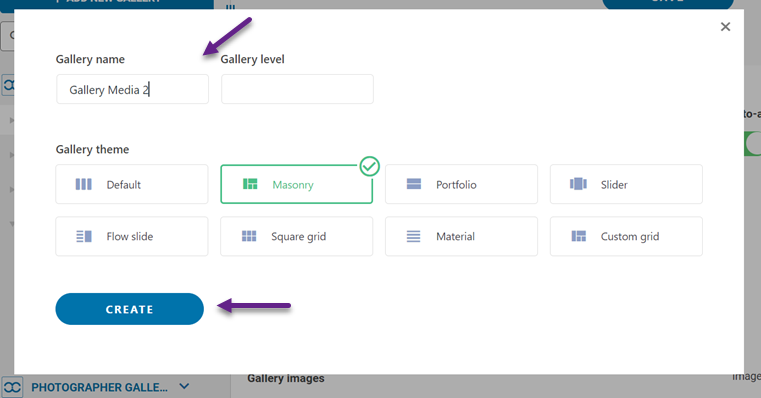
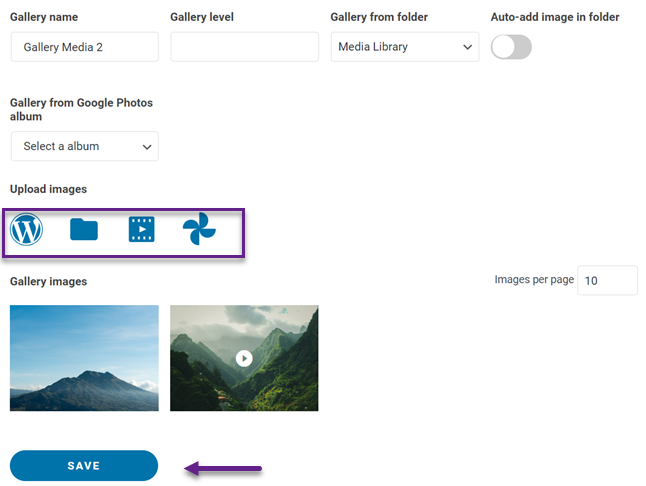
If it is installed correctly, open Media > Media Folder Galleries > ADD NEW GALLERY. Then, enter the gallery name in the Gallery name column and select the gallery level. Next, select the gallery theme you want and click CREATE.
After that, you need to upload the image to the gallery. You can upload from an existing media library, from a local computer, upload videos, or from Google Photos. For example, we will upload from the media library. Don't forget to enter a caption for each image added to the gallery, then select Import image.
If all images have been added, select Save.
Then, we will try to add the gallery to the post. To do this, open the post you want to add a gallery to, click the + icon to create a new block, and select WP Media Folder Gallery.

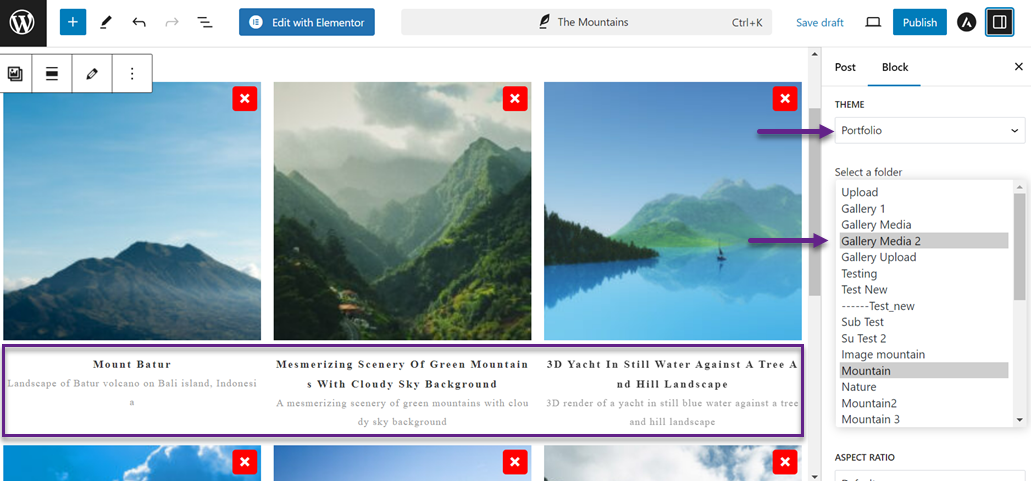
Gallery WordPressNext, on the right, select the gallery folder that has been created. After that, the gallery display will appear on the left. In addition, you can edit themes in the Theme section, such as Portfolio.
As you can see below, each image appears with a caption, which you previously added when uploading the image.
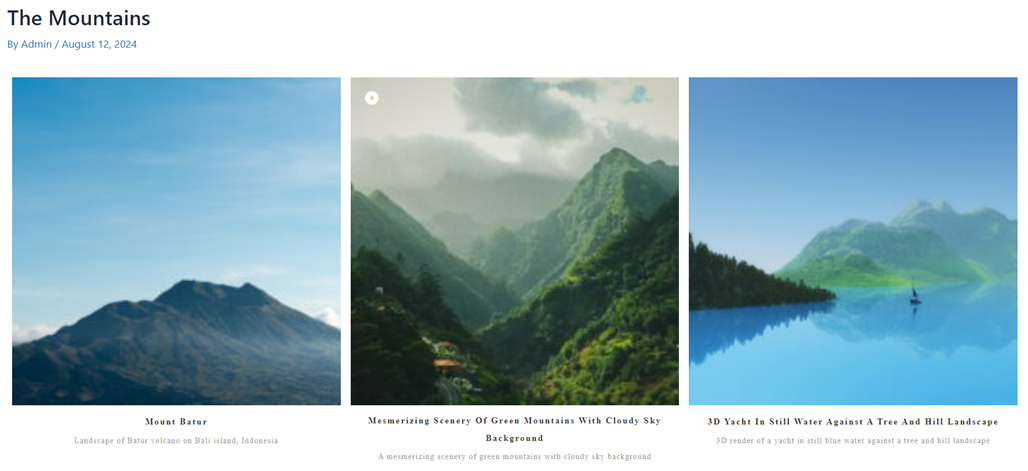
The following is a WordPress gallery display with captions that have been added.
Add WordPress Gallery Caption Using Classic Editor
The second way is to use the classic editor. First, open the post or page where you want to add a gallery. After that, click Add Media.
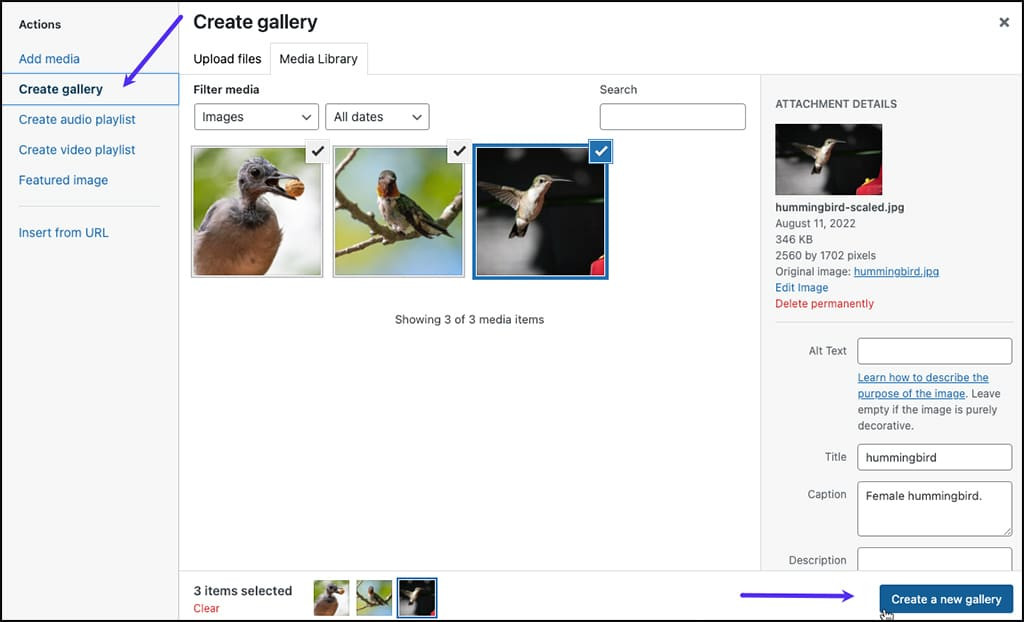
Navigate to the Media Library tab to view the available images for your gallery. Choose the images you want to include (marked with checkmarks). Click on Create a New Gallery. In the Edit Gallery window, you can adjust the caption for each image and rearrange their order as needed.
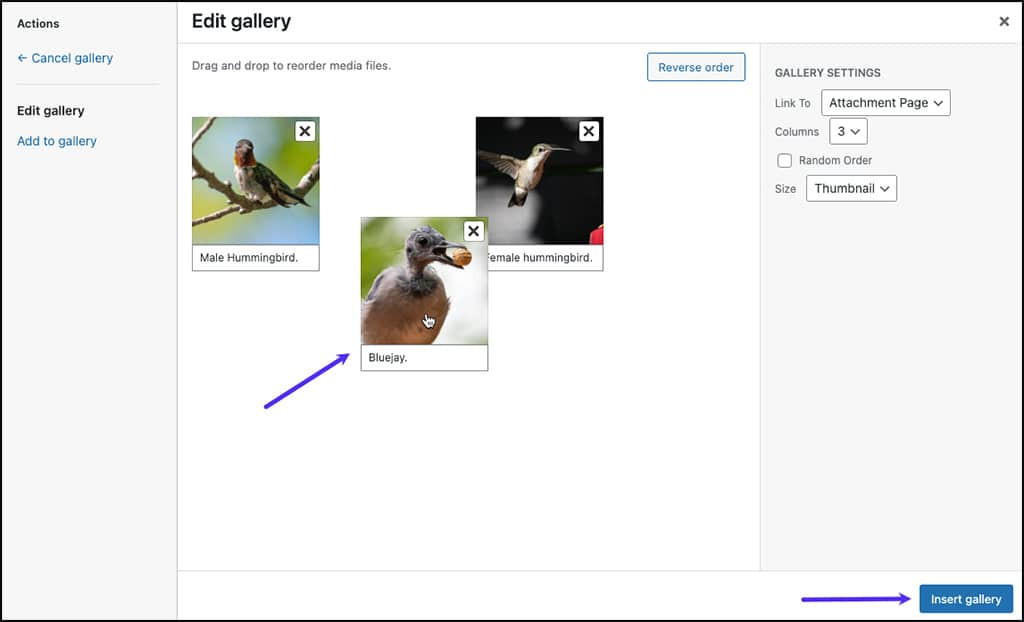
Once you are satisfied with the gallery content and image captions, click Insert Gallery. The image and caption will then appear in the editor.
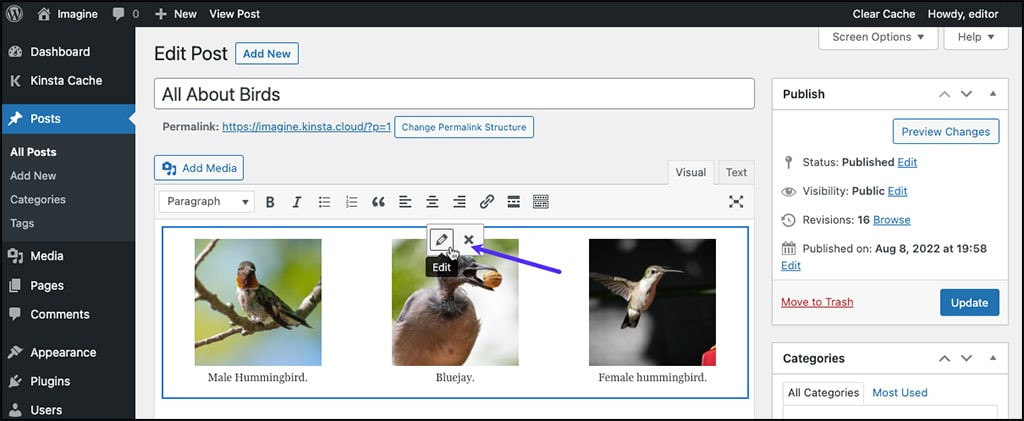
Keep in mind that text cannot be edited in this view. To make changes, click on any part of the gallery to select the group. Then, click the pencil icon. You'll be taken back to the Edit Gallery dialog from the previous step, where you can modify the captions.
Best Practices for Writing Descriptive and Informative Captions

Creating image captions for WordPress should not be done carelessly. Captions not only help readers understand the purpose of the image but can also optimize SEO. Here are some best practices to follow when crafting captions.
Use Relevant Keywords
Choose keywords that are closely related to the image and the topic of your article. This is not only beneficial for SEO but also helps readers quickly grasp the essence of the image.
For instance, if you're posting a photo of a mountain, use keywords like "mountain in Switzerland" or "largest mountain in the world." Remember, balance is key. Don't overload your caption with too many keywords to the point where it sounds unnatural. The goal is to create a caption that is informative and easy to read, not just a string of forced keywords.
Provide Contextual Information
A good caption describes the image and provides a broader context. This could include historical background, interesting facts, or even personal stories related to the image.
For example, instead of simply writing "Pisa Tower, Italy" under a photo of the leaning tower, you could write "Pisa Tower, an iconic Italian architectural marvel that has been leaning since the 12th century. Originally considered a construction failure, it has now become a world-famous tourist attraction with 1 million visitors annually." Contextual information like this makes your image more meaningful and engaging to readers.
Keep Captions Concise but Substantial
In today's fast-paced digital world, the ability to convey information succinctly yet informatively is crucial. Aim to keep your captions to no more than 1-2 sentences unless necessary.
For example, for a photo of the Eiffel Tower, you could write: "Eiffel Tower, a Paris icon since 1889. Standing 324 meters tall, it attracts 7 million visitors annually, with lights sparkling every night for 5 minutes each hour." This concise caption successfully conveys essential details and interesting facts about the Eiffel Tower in a single, dense sentence.
Calling all webmasters!
Save time and boost productivity with WP Media Folder. Effortlessly organize client media
files, create custom
galleries, and provide a seamless user experience.
Upgrade your website projects now!
Conclusion
Adding WordPress Image Captions is not just an additional feature but a vital element in maximizing the potential of your visual content. By following the steps we've discussed, you can easily add informative and engaging captions, whether through the media library, block editor, or classic editor.
Remember, a good caption is not just about describing the image but also providing context, enhancing SEO, and creating engagement with your readers. If you're looking to add captions to images or galleries easily, consider using the media folder gallery plugin, WP Media Folder, which offers many convenient features for managing your WordPress media!
When you subscribe to the blog, we will send you an e-mail when there are new updates on the site so you wouldn't miss them.


Comments